TutorialChip is offering free WordPress Chip Life theme for developers, bloggers and any other users. It has many powerful features. Chip Life theme supports 8 Widget Areas, Post Formats, Navigation Menus, Post Thumbnails, Custom Backgrounds, Custom Image Headers, and Custom Editor Style.
So today, in this article I will show you that how manage the custom header in Chip Life WP theme. I mention this tutorial step by step below. If you fallow these steps, you can easy mange the custom header in Chip Life theme.
You May Also Interested:
- How to Install WP Theme in WordPress
- How to Manage Widgets in WordPress Sidebar
- How to Install WordPress Blog Locally on Windows
- WAMP Server Installation Guide for Windows 7 32/64 Bits
Step 1
First of all you will login in your WordPress admin panel.
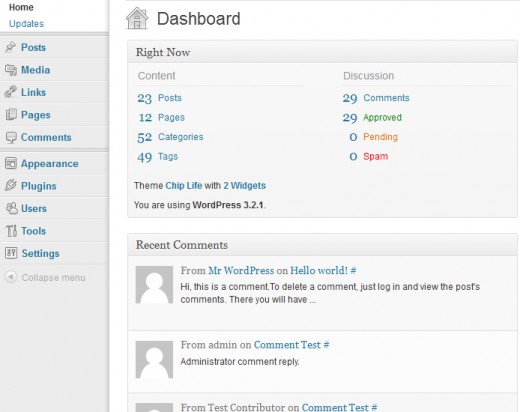
Step 2
When you login in admin panel then you can see the Appearance Tab on admin’s front page.
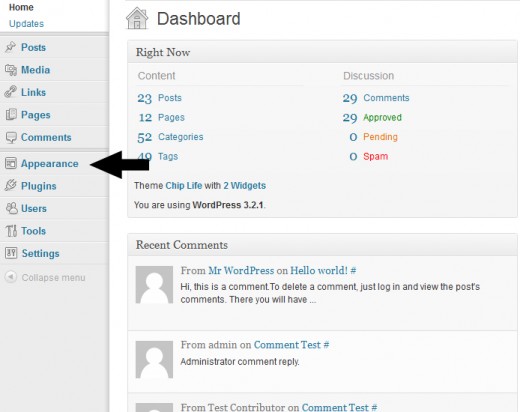
Now click on the Appearance tab, in which result many options will be opened. But you will opened the Chip Life Options.

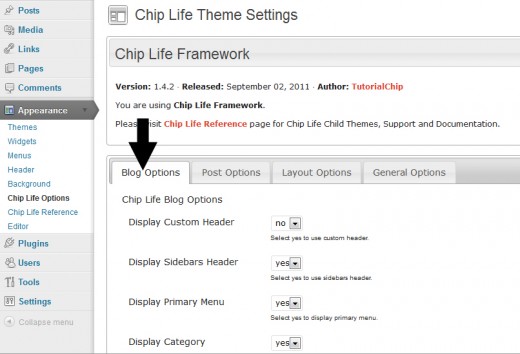
After opened the Chip Life Options you will see the Chip Life Theme Settings page. Now click on the Blog Options.
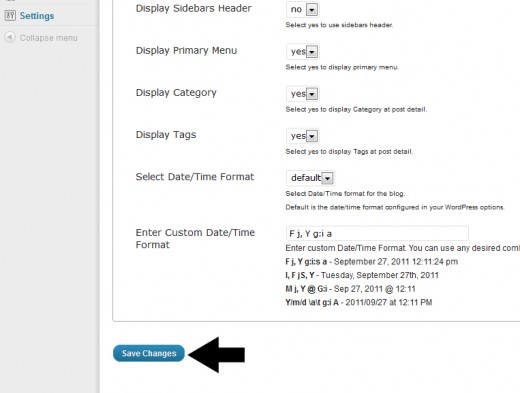
Step 3
In this step you change the Display Custom Header into “Yes” and change the Display Sidebars Header into “No“.
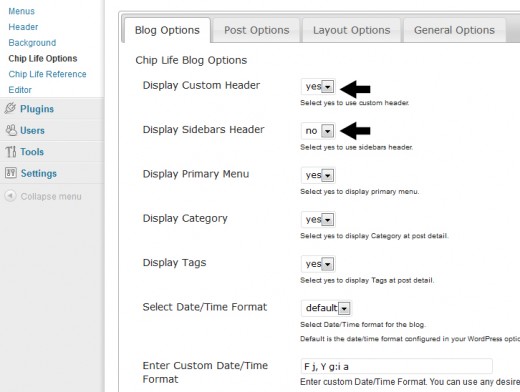
After set these options click on the Save Changes button.
Step 4
If you want change the header in Chip Life theme, you click on Header option in Appearance tab.

Chip Life theme offer the ready made different six headers. Chip Life theme sported the 960 × 200 pixels header.
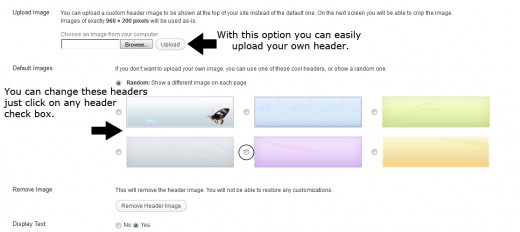
After chose the any header click on the Save Changes button.

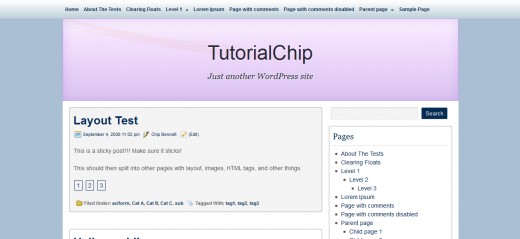
After change the header our Chip Life theme home page as like in this preview below.
I hope you have enjoyed the tutorial about How to Set the Custom Header in Chip Life Theme. Don’t Forget to Follow TutorialChip on Twitter or Subscribe to TutorialChip to Get the Latest Updates on Giveaways, Tutorials and More for Free.