Today we are going to learn how to create a complex apple safari icon in photoshop CS5. In this tutorial you will learn that how to create shapes and use different layer styles to create this fantastic icon. We Hope you will like this exquisite creation. Enjoy it and never forget to share your suggestions with us.
More expensive photoshop tutorials:
- How To Create a Sim Card in Photoshop CS5
- Create a Thermometer Icon in Photoshop CS5
- How to Create a Glass Table Icon in Photoshop
- Create a Wonderful Crystal Ball in Photoshop CS5
Tutorial details:
- Program: Adobe Photoshop CS5
- Difficulty: Intermediate
- Estimated Completion Time: 50 Mins
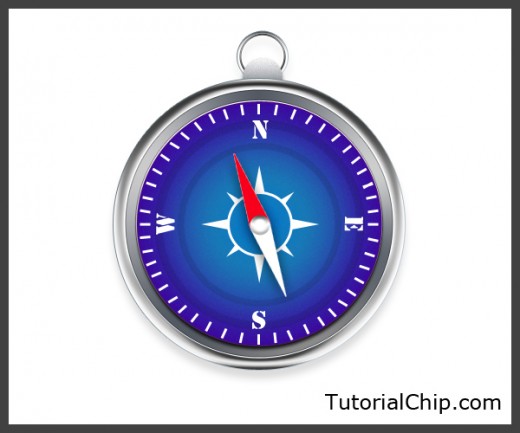
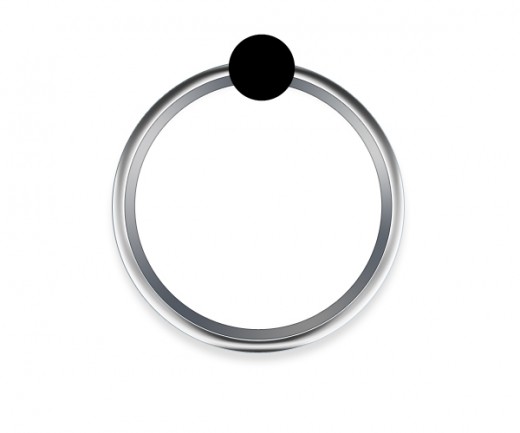
Create an Apple Safari Icon in Photoshop – Final Preview
Tools and Resources

External Resource
Photoshop Tools
- Text Tool
- Ellipse Tool
- Gradient Overlay
- Rectangle Tool
- Custom Shape Tool
- Polygonal Lasso Tool
Lets start to create our apple safari icon in photoshop.
Step 1
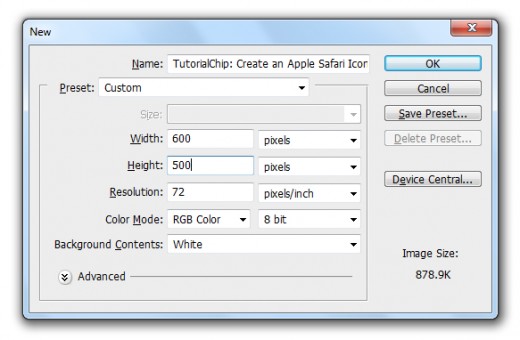
Create a new document (Ctrl+N) with 600×500 of size.
Step 2
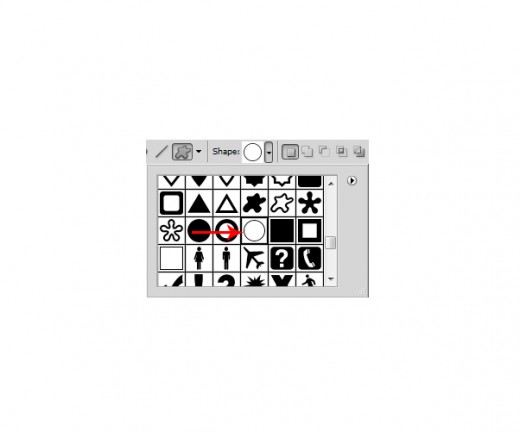
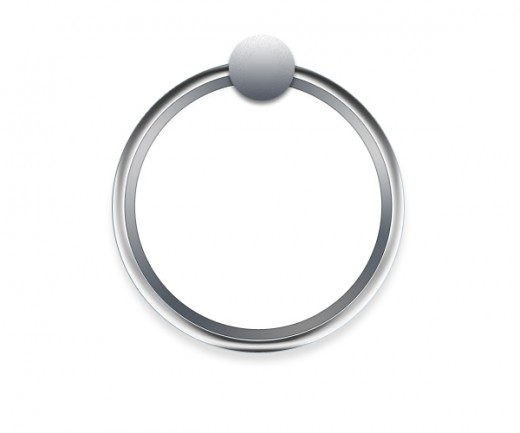
Select Custom Shape Tool from tool panel, select Circle Shape.
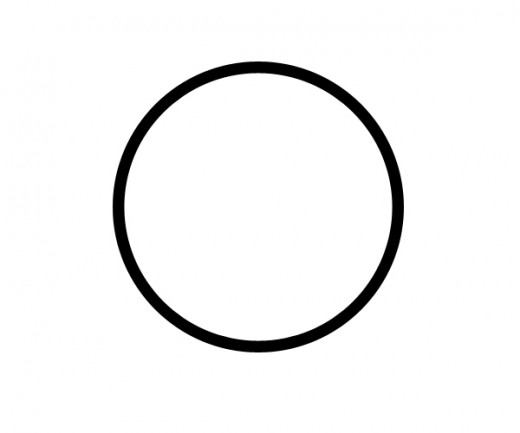
Draw circle shape with black color #000000 name it Outer Circle, as like in preview.
Now I am going to applying some Blending Options to this outer circle layer.
Go to Layer > Layer Style and applying these Blending Options.
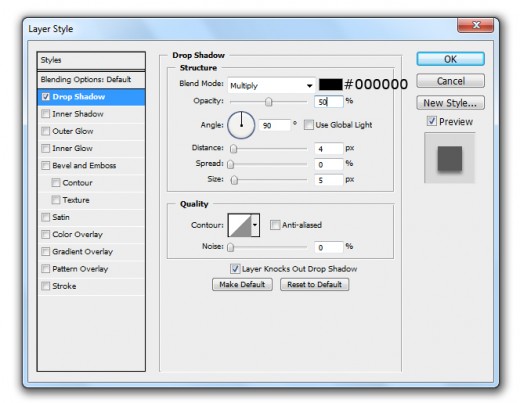
Drop Shadow

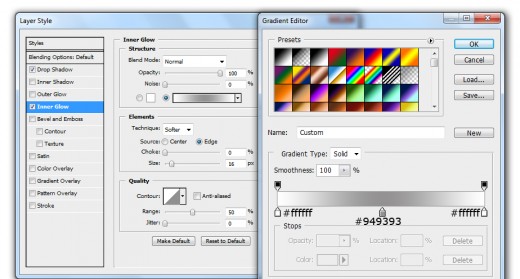
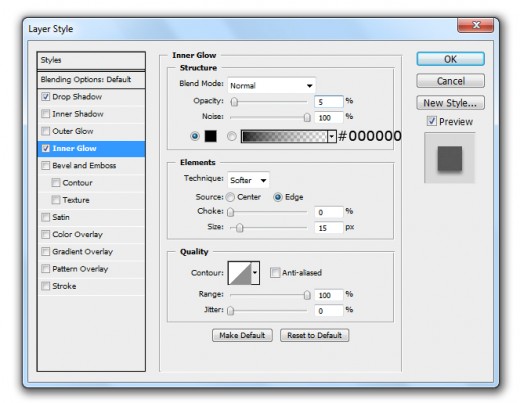
Inner Glow
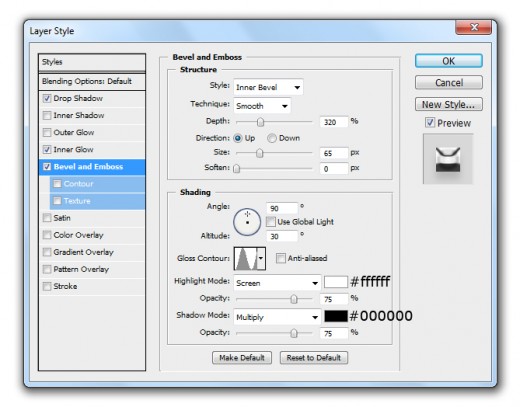
Bevel and Emboss
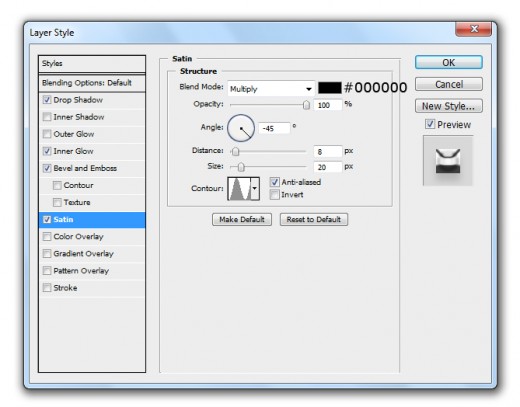
Satin
Color Overlay

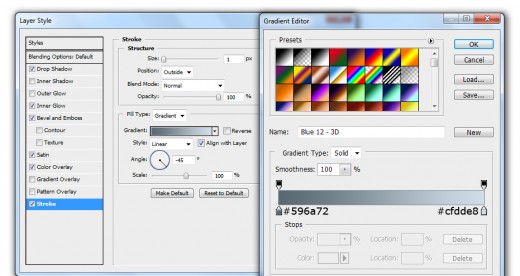
Stroke
After applying these layer styles we get this new effect on outer circle layer.
Step 3
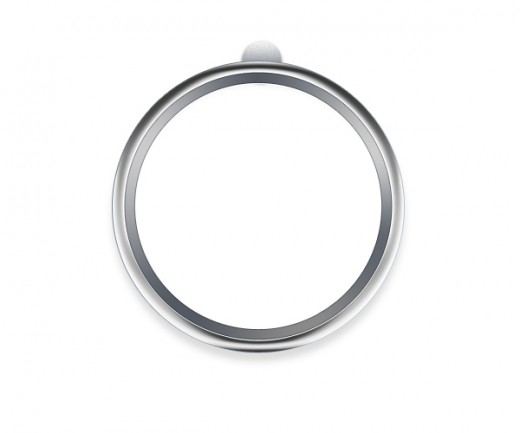
Duplicate outer circle layer, go to Edit > Transform or press (Ctrl+T) and minimize size of duplicate circle layer.
After minimize size we get this result.
Now named this layer Inner Circle and applying some Layer Styles on it.
Go to Layer > Layer Style and applying these Blending Options.
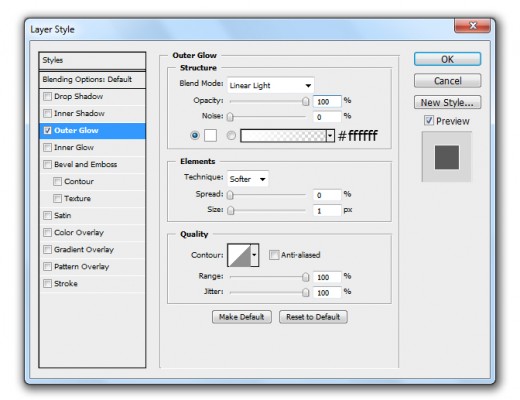
Outer Glow
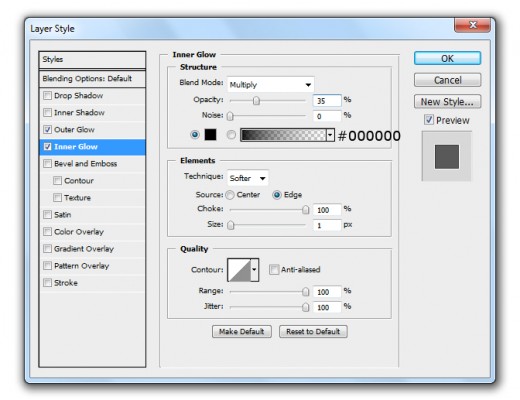
Inner Glow
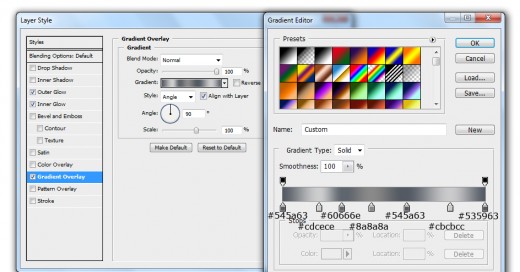
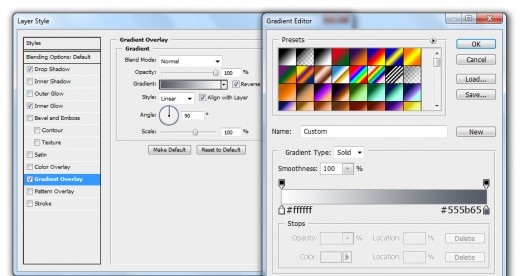
Gradient Overlay
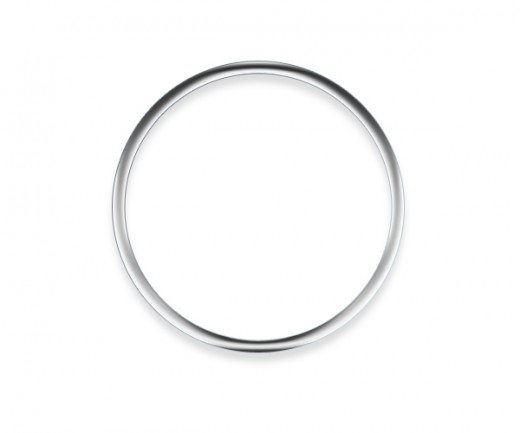
After applying these layer styles we get nice effect on inner circle layer.

Step 4
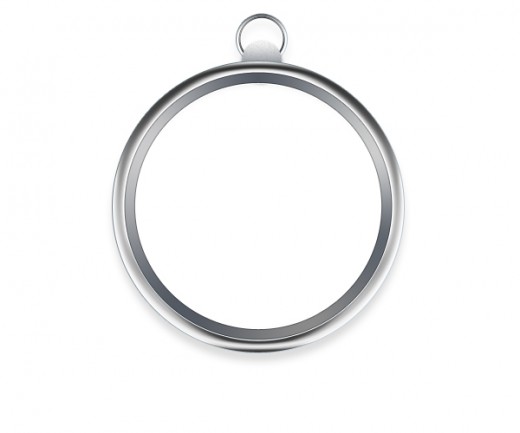
Select Ellipse Tool from tool panel and create a small circle with black color #000000 as like in picture below.
Now applying some blending options on this circle layer.
Go to Layer > Layer Style and applying these Layer Styles.
Drop Shadow
Inner Glow
Gradient Overlay
After applying these layer styles we get nice effect on circle layer.
Set this circle bottom of all layers then go to Edit > Transform (Ctrl+T) and minimize the size of this circle layer.
After minimize size we get this result.
Now select both outer and inner circles and merge them (Ctrl+E) now duplicate this merge layer then go to Edit > Transform (Ctrl+T) and down the size of this duplicate layer.
After minimize size of duplicate layer set this layer bottom of small circle layer as like in preview.
Step 5
Select Ellipse Tool again and create a circle with black color #000000 name it layer Center Circle.
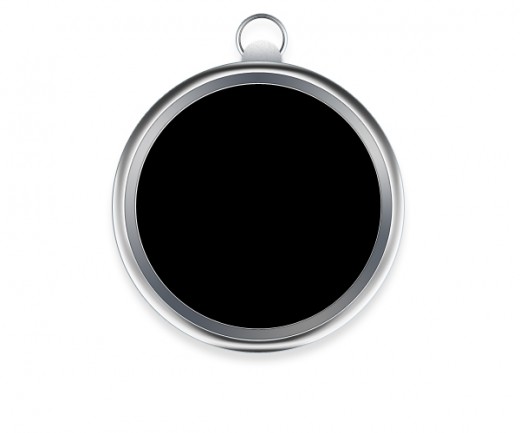
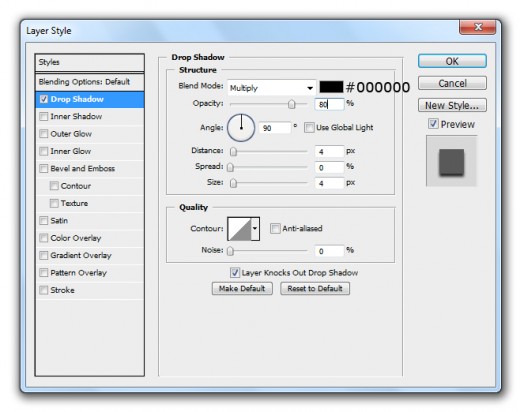
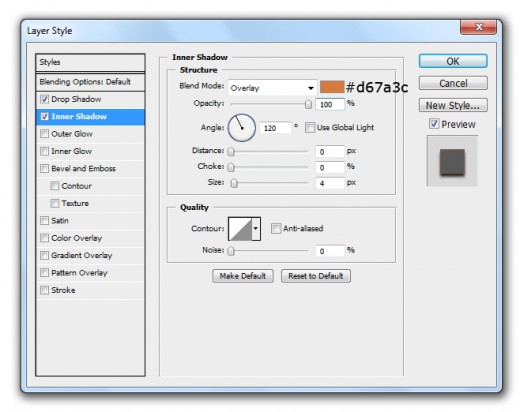
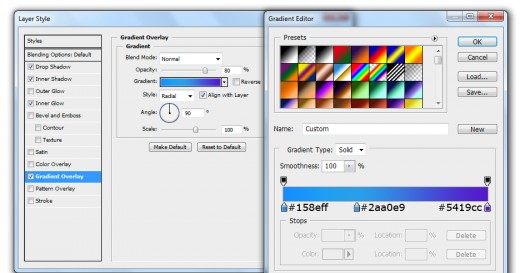
Go to the Blending Options and applying some Layer Styles on this center circle layer.
Drop Shadow
Inner Shadow
Inner Glow

Gradient Overlay
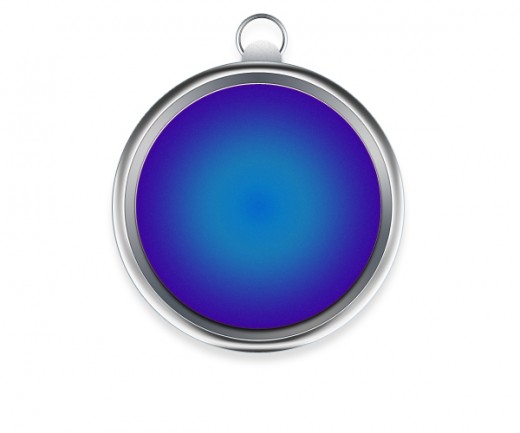
After applying these layer styles we get awesome effect on center circle layer.
Step 6
Select Custom Shape Tool from tool panel, chose a Circle Shape and draw a circle with black color #000000 as like in preview.
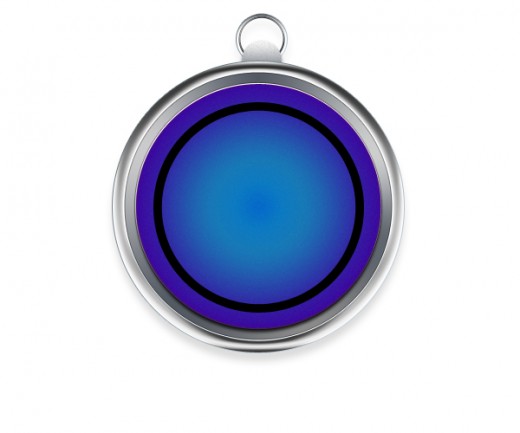
Set Fill (10%) of this circle shape layer.
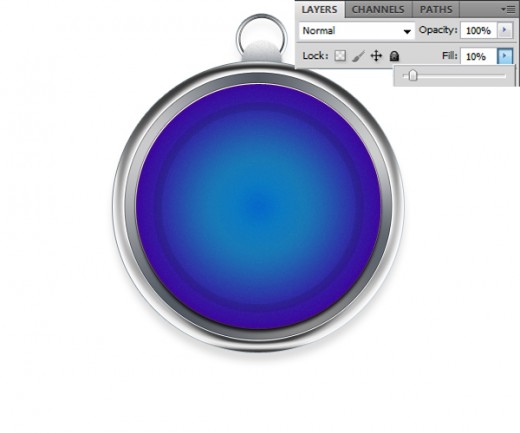
Duplicate this circle shape layer go to Edit > Transform or press (Ctrl+T) and down the size of duplicate circle shape layer.
After transform circle shape layer we get new result.
