Photo retouching tutorial is a best way to enhance your Photoshop skills. Retouching is most important part of Photoshop and commonly used in magazines, books, advertisements. In this tutorial we tell you that how to convert and improve the damage picture in to celerity. I hope you will like this amazing tutorial.
You may also be interested in:
- How to Draw a Laptop in Photoshop CS5
- Create a Realistic Landscape in Photoshop
- Create a Glossy Emblem Text Effect in Photoshop
- Create a Fantastic Special Lighting Effect in Photoshop
Tutorial details:
- Program: Adobe Photoshop CS5
- Difficulty: Intermediate
- Estimated Completion Time: 40 Mins
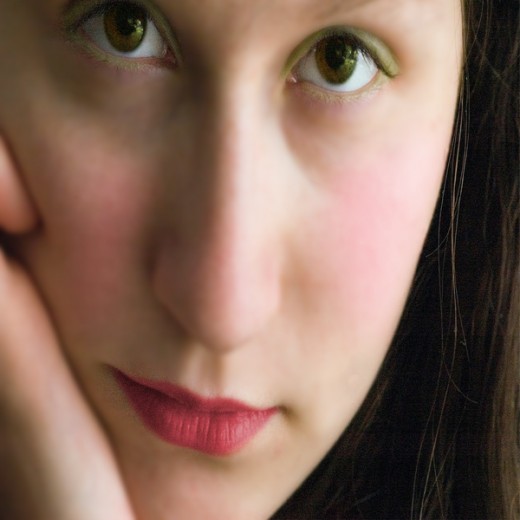
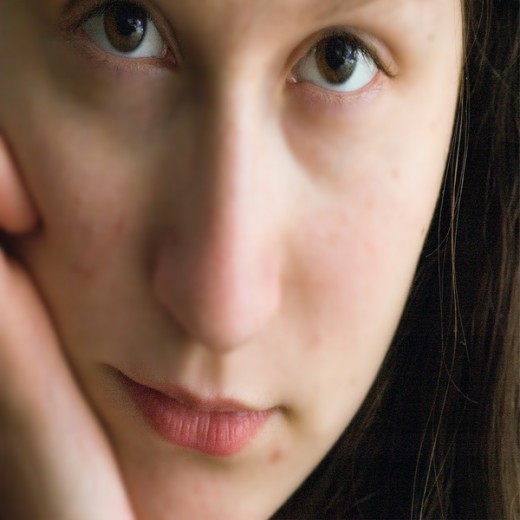
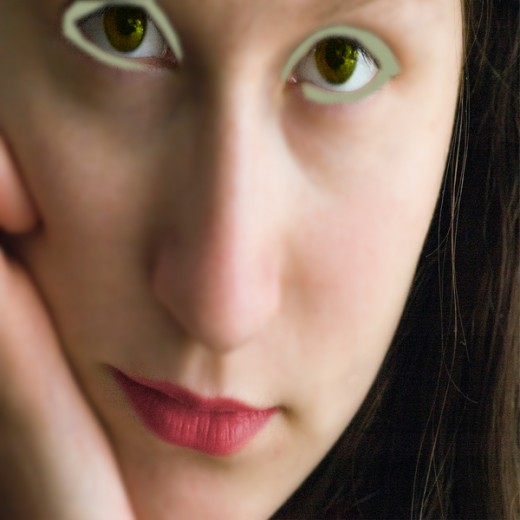
Photo Retouching Tutorial in Photoshop – Final Preview
Tools and Resources
Photoshop Tools
- Brush Tool
- Eraser Tool
- Healing Brush Tool
- Elliptical Marquee Tool
- Polygonal Lasso Tool
External Resource
Lets start to create our awesome photo retouching tutorial.
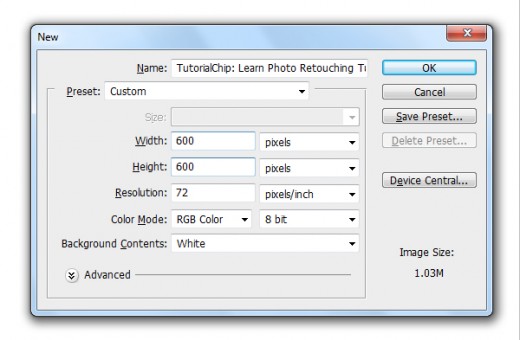
Step 1
Create new document (Ctrl+N) 600×600 of size.
Step 2
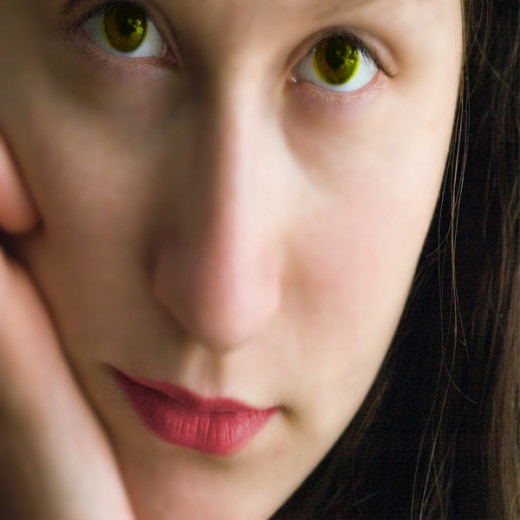
In this first step I am going to add image in Photoshop.

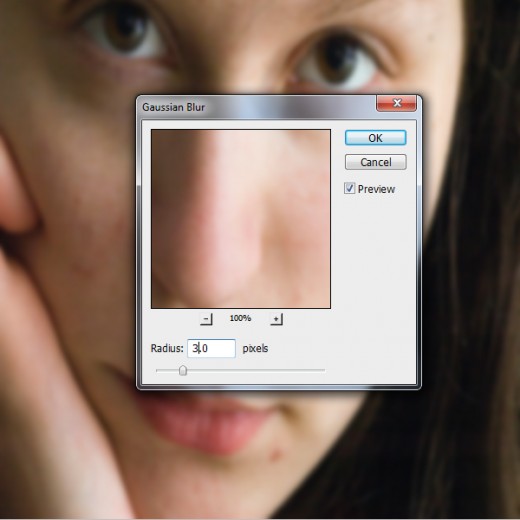
Step 3
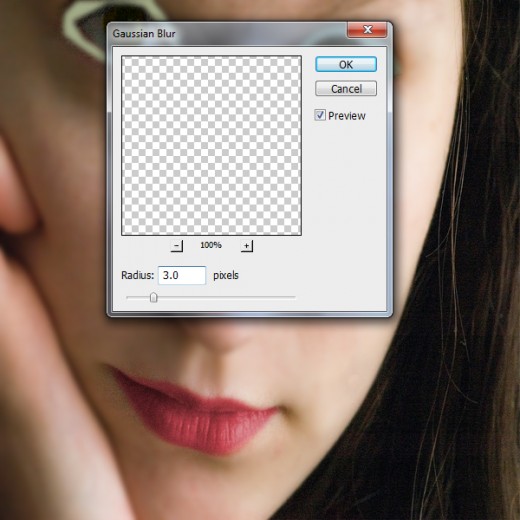
Duplicate image and go to Filter > Blur > Gaussian Blur and set radius 3px.
Step 4
After applying Gaussian Blur we can see that image effect going to be changed.

Step 5
Now hide the first original image select the Eraser Tool and erase the unneeded area with eyes and lips of duplicate image layer as like in preview.
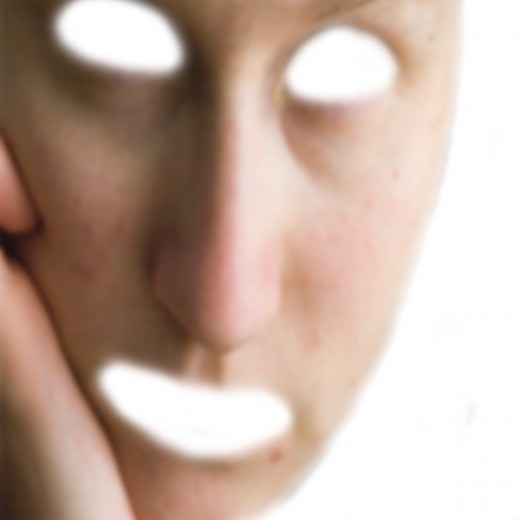
Now unhidden the first image layer and see the result.
Step 6
Now I am going to set the pimple area of the image with Healing Brush Tool (J) you can also use here Clone Stamp Tool (S).
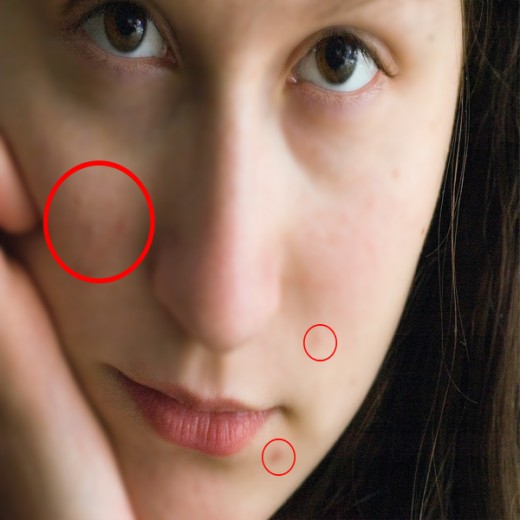
When we set the pimple area select both image layers and merge them (Ctrl+E) here we get nice effect in picture below.

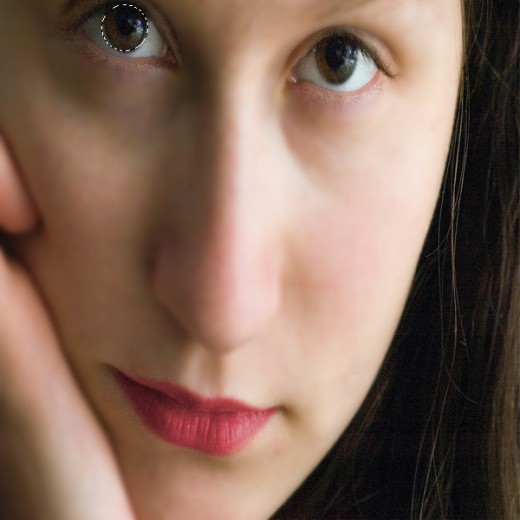
Step 7
Select Polygonal Lasso Tool and make a selection on her lips to change the lips color as like in preview.

Press (Ctrl+J) to duplicate the selection area and go to Image > Adjustment > Hue Saturation and set it as like in picture.

When we set hue saturation we get something new like in preview.

Now select the Eraser Tool and erase the outer area then we get awesome new lips color as like in preview.

Step 8
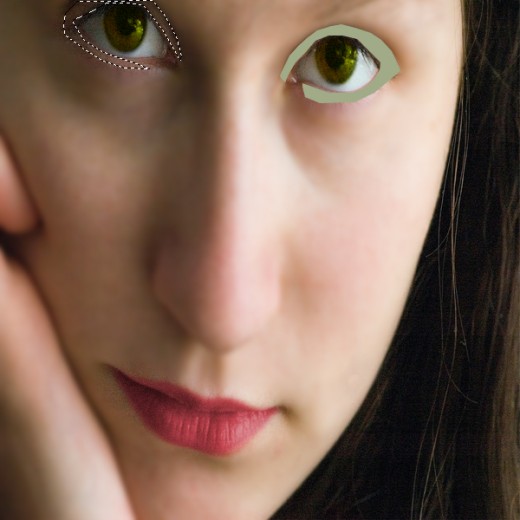
Now select Elliptical Marquee Tool and make a selection of eye to applying new effect, and press (Ctrl+J) to duplicate it as like in picture below.
As same as make a selection of second eye with Elliptical Marquee Tool and duplicate it (Ctrl+J)

Now select both duplicate eye layers and merge them (Ctrl+E) and go to Image > Adjustment > Levels and set it as shown picture below.
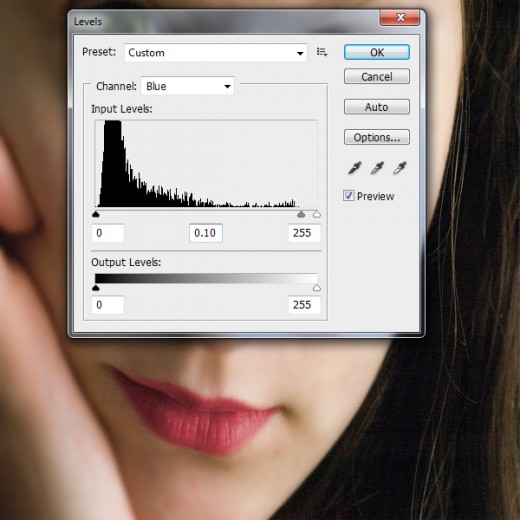
After applying levels sating we get new effect on duplicate eyes layer.
Now select the Eraser Tool and erase the sides area of duplicate eye layers as like you see in picture.

Step 9
Create new layer select Polygonal Lasso Tool from tool panel and make a selection as like in preview.

After creating the selection fill it with this color #a1ab88.

Again select Polygonal Lasso Tool and make a selection of second eye.
Fill the selection with this color #a1ab88.

Now I am going to applying filter on this layer go to Filter > Blur > Gaussian Blur and set radius 3px.
After applying Gaussian blur we get this result.
Now set the Blend Mode to (Hue) and Opacity (50%) of this layer.
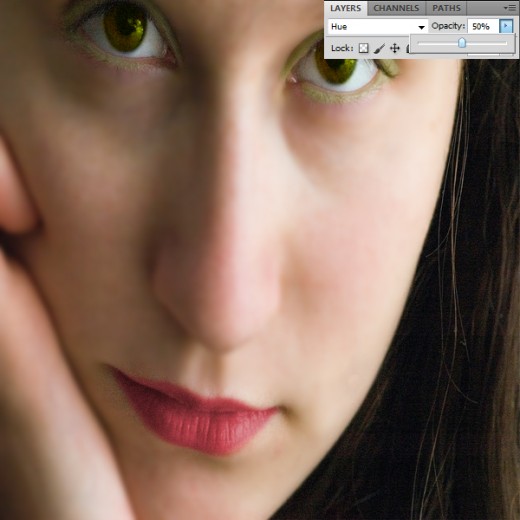
After down the opacity we get new effect as like in preview.

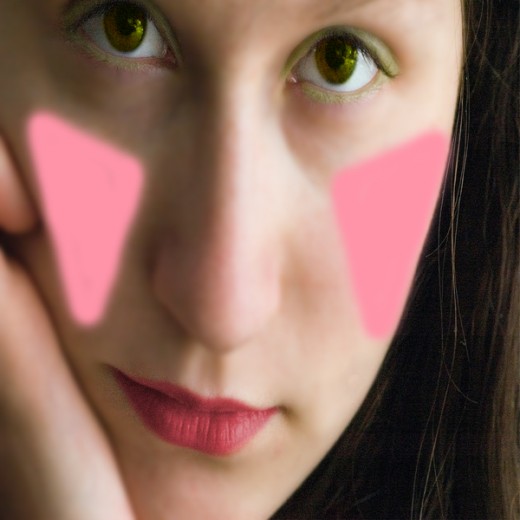
Step 10
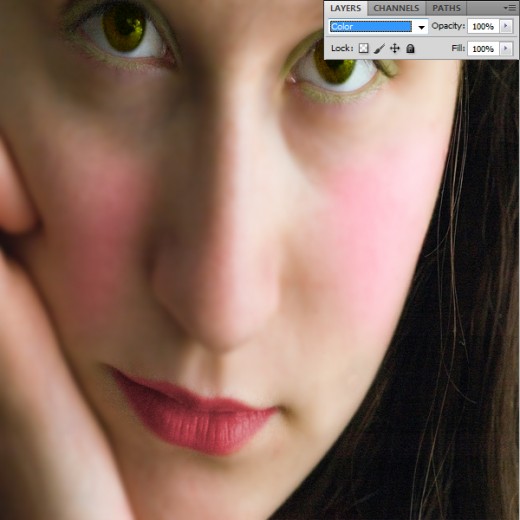
Create a new layer select Brush Tool and draw a shape both sides of her checks with this color #ff94ab8.
Now I am going to applying Gaussian blur on this brush layer go to Filter > Blur > Gaussian Blur and set radius 17px.
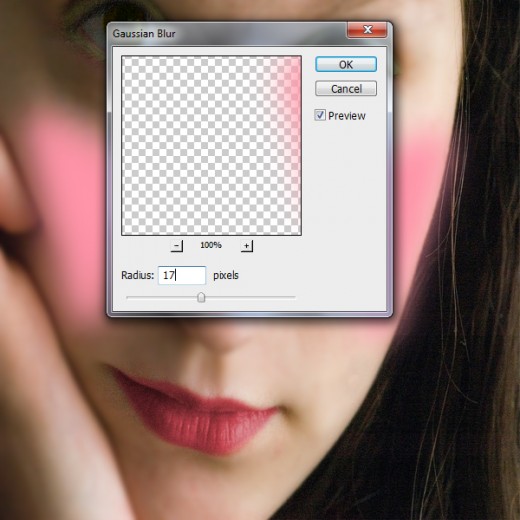
After applying Gaussian blur get result.

Now set the Blend Mode to (Color) of this brush layer and erase the unneeded area with Erase Tool.
After applying all effects in this last step select the eyes duplicate layer and down the opacity 50% then we get awesome final preview.
Final Preview

I hope you enjoyed this awesome photo retouching tutorial and always look forward to your comments. Don’t Forget to Follow TutorialChip on Twitter or Subscribe to TutorialChip to Get the Latest Updates on Giveaways, Tutorials and More for Free.
Very good tutorial