Photo manipulation has become an art form in itself. It allows artists to freely create an awesome piece of art by using stock images and editing them afterwards. With your creativity and imagination, you can manipulate any photograph the way you want!
So today, in this tutorial you can learn that how to manipulate pictures each together. This tutorial is very useful and awesome. In this tutorial you can learn many new techniques of Photoshop CS5. I hope you will like this tutorial and never forget to share your comments with us.
More expensive tutorials of photoshop:
- How to Apply Face Makeup in Photoshop CS5
- Create a Wonderful Crystal Ball in Photoshop CS5
- How to Apply Texture on Human Face: Photoshop Tutorial
- How to Create a Glossy and Shiny Text Effect in Photoshop
Tutorial details:
- Program: Adobe Photoshop CS5
- Difficulty: Intermediate
- Estimated Completion Time: 30 Mins
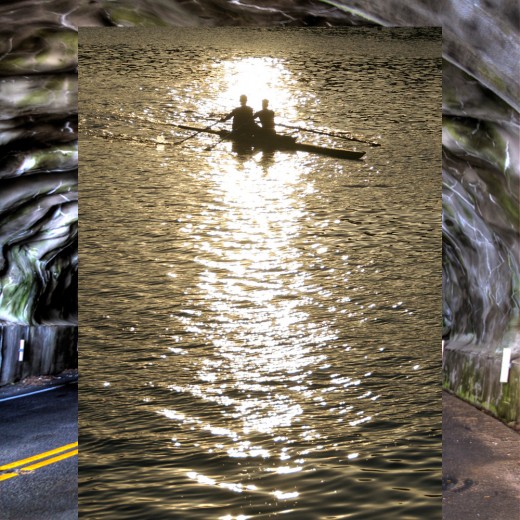
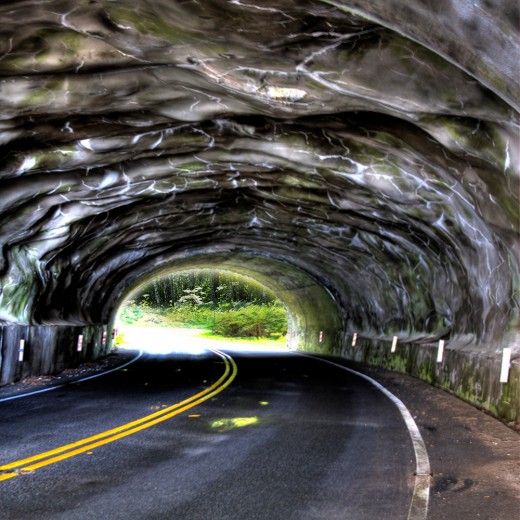
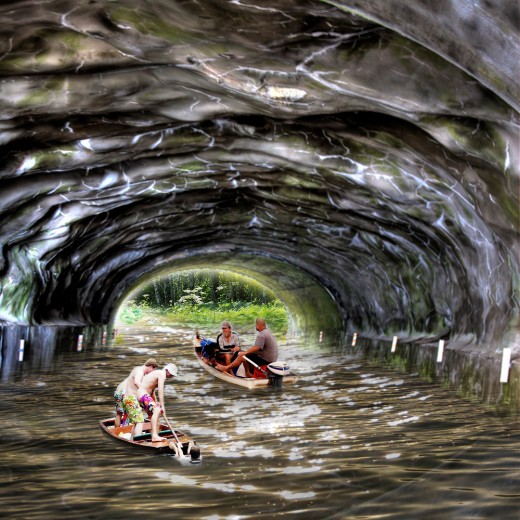
Fantasy Photo Manipulation Tutorial in Photoshop – Final Preview

Tools and Resources
External Resources
Photoshop Tools
- Rectangle Marquee Tool
- Eraser Tool
Lets start to create our photo manipulation tutorial in photoshop.
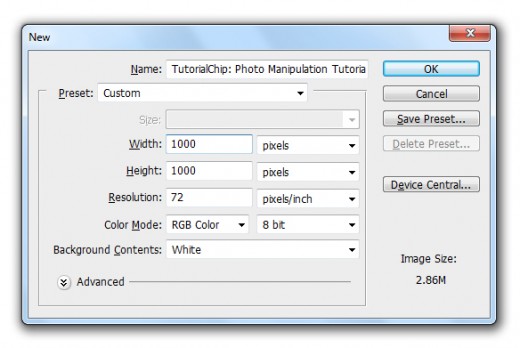
Step 1
Create a new document (Ctrl+N) with 1000×1000 of size.
Step 2
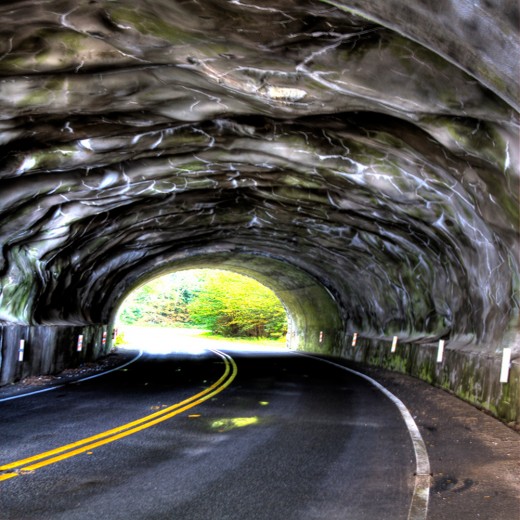
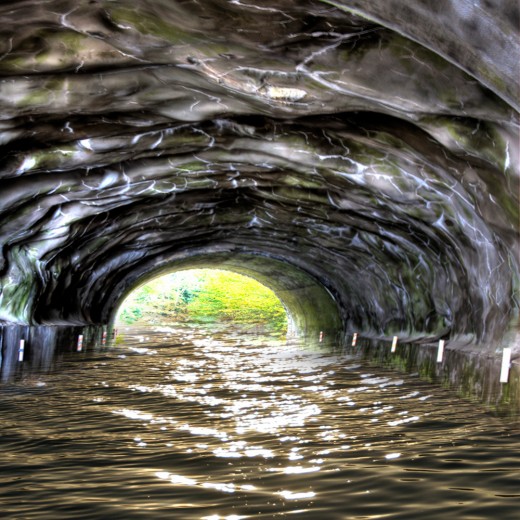
First of all I am going to add the Underpass Image in Photoshop.

Press (Ctrl+T) to transform this image layer and expand to the whole canvas as like in preview.
After transform the image we get this result.
Step 3
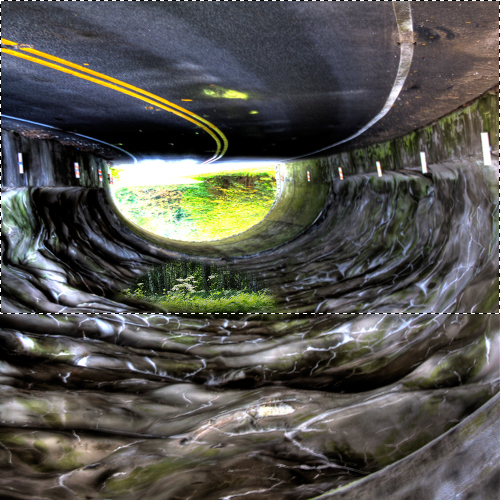
Its time to add the Water Image in photoshop to make a new effect, add the water image.
Press (Ctrl+T) or go to Edit > Free Transform and expand the water image to the whole canvas.

After set this image to the whole canvas we press enter button and get this result.
Now select the Eraser Tool from tool panel and erase the upper and sides area of this water image layer then we get a awesome new effect, as like in picture below.
Step 4
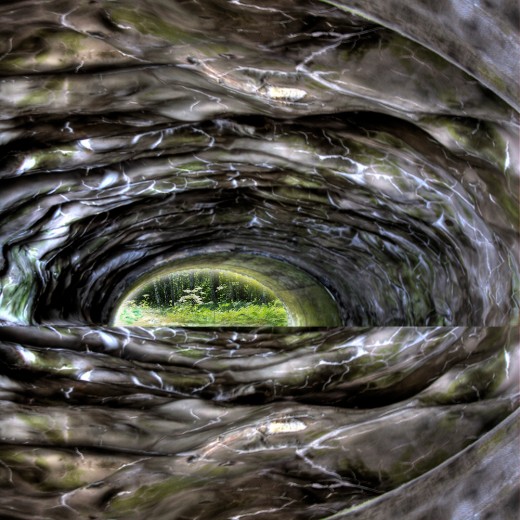
Now I am going to add the Forest Image in adobe photoshop to cover the front whole area of image.
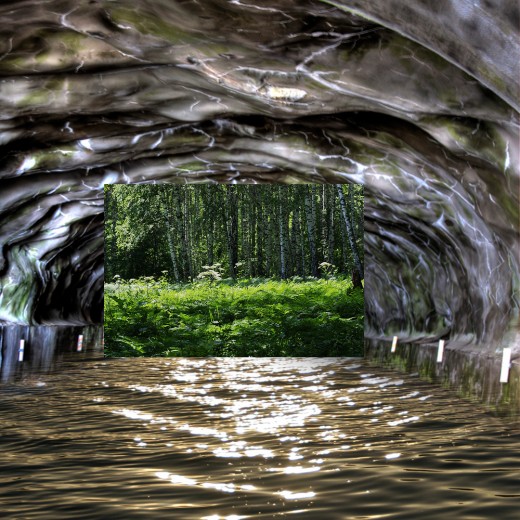
Select Eraser Tool again and erase the sides of this forest image layer, we get beautiful result.
Step 5
Now select the underpass image layer and press (Ctrl+J) to duplicate it and move this duplicate layer top of all the other layers.
Go to Edit > Transform > Flip Vertical.
After flip vertical select the Rectangle Marquee Tool from tool panel and make a selection half upper area of this layer.
After make selection hit Delete button to delete the selected area then press (Ctrl+D) to deselect the selection.
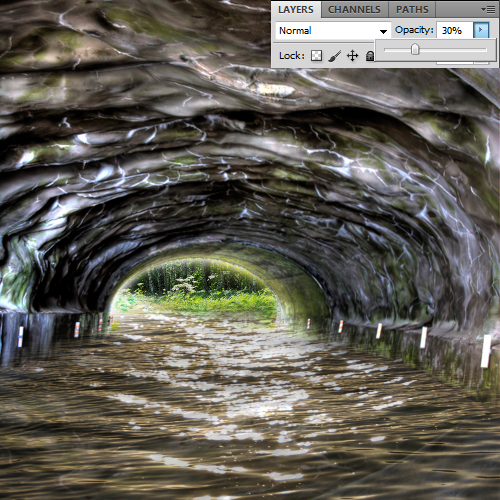
Now select the Eraser Tool and erase the sides area of this duplicate underpass layer.
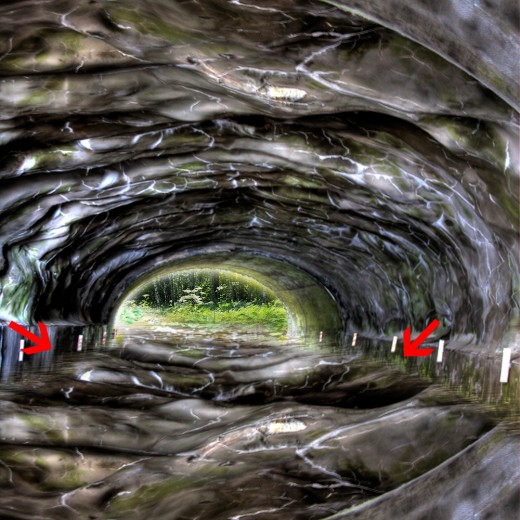
After erase the sides set the Opacity to (30%) of this duplicate underpass layer to make a shadow in water of this underpass.
Step 6
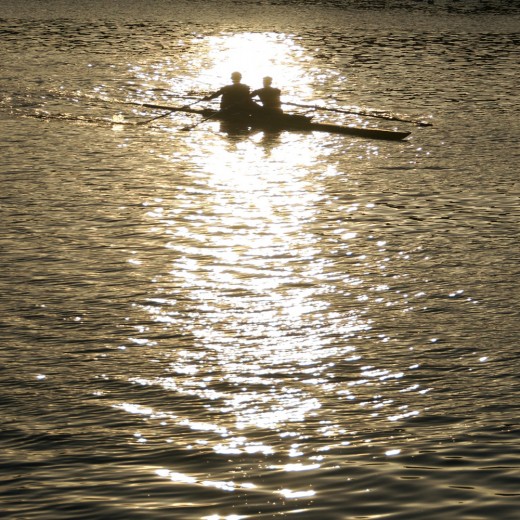
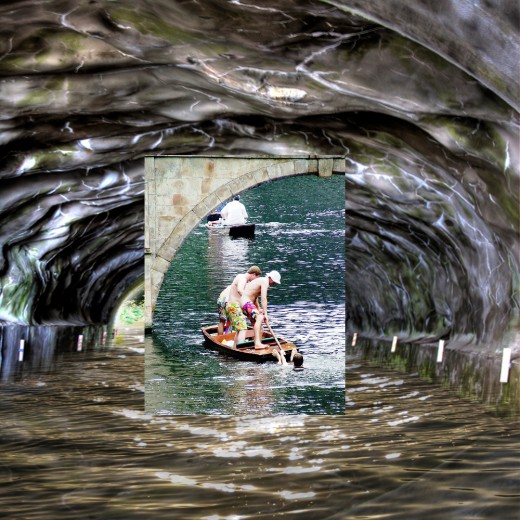
Now we are going to add the Boat Image in photoshop.
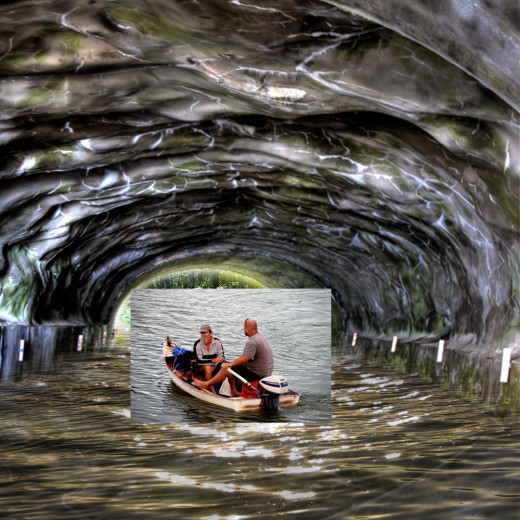
Press (Ctrl+T) to transform the boat image layer and minimize the size of this layer.
After transform press enter and get this result.
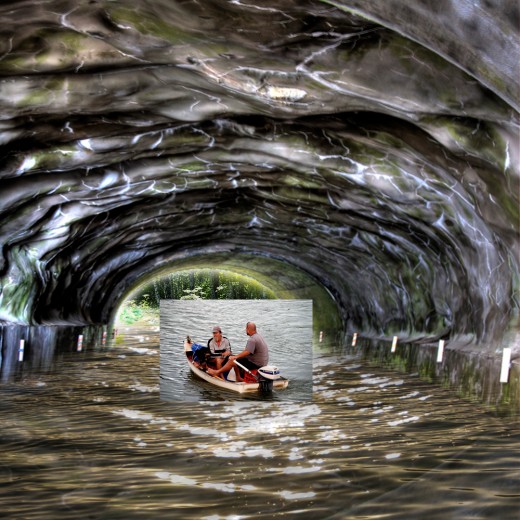
Select the Eraser Tool and erase the sides of boat layer as like in preview.
Step 7
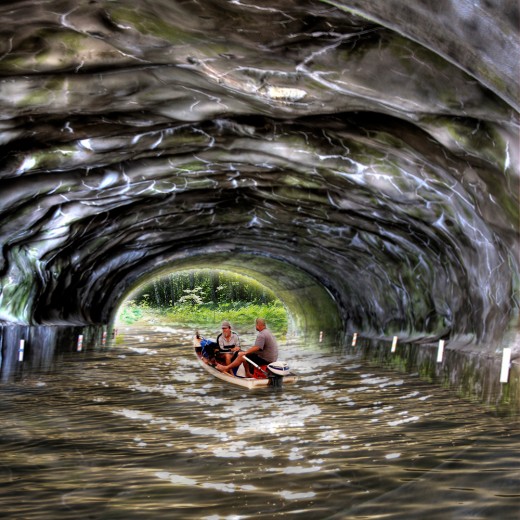
Now here we add the 2nd Boat Image to make our image more expansive.
Set this image left side of the canvas as like in picture below.
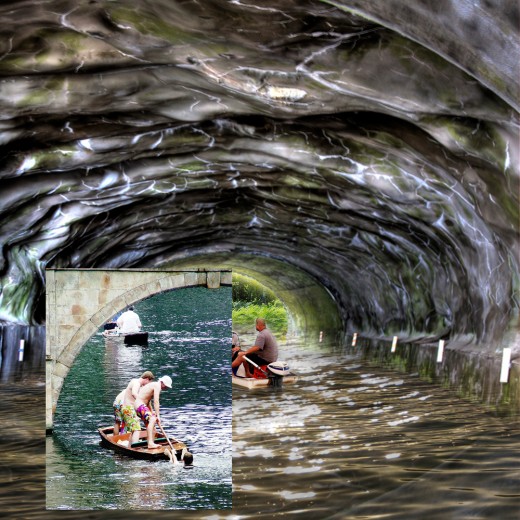
Select the Eraser Tool ones more time and erase the sides of this 2nd boat image layer now here we get a awesome final preview.
Final Preview
I hope you will enjoyed this photo manipulation tutorial and always share your comments. Follow TutorialChip on Twitter or Subscribe to TutorialChip to Get the Latest Updates on Giveaways, Tutorials and More for Free.