Step 10
Click Create New Adjustment Layer select Photo Filter Option.
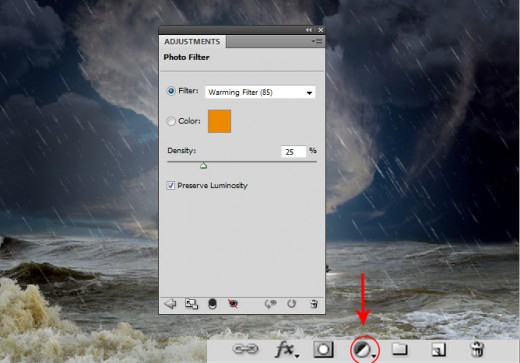
When we set photo filter option we get new result.
Ones again click on Create New Adjustment Layer button and select Photo Filter option, this time change the setting.
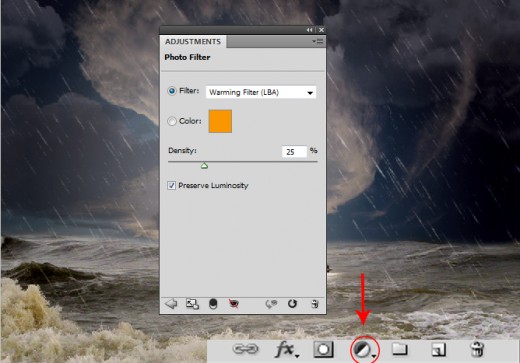
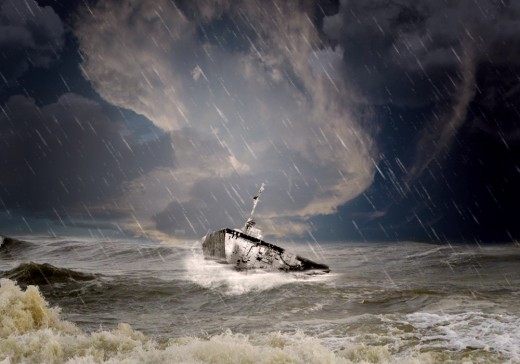
After this setting get this result.

Step 11
Click on Create New Adjustment Layer button select Brightness and Contrast option and set.
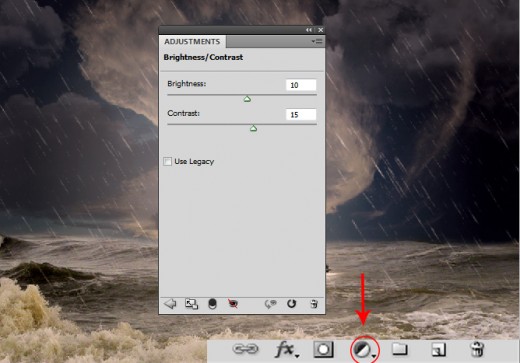
After set brightness we can see a new result.

Step 12
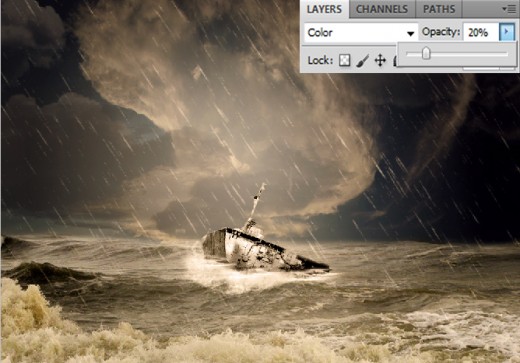
Create a new layer (Ctrl+Shift+N) applying this color #ffe081.

Set Blend Mode to (Soft Light) and Opacity (20%) of this layer.
Step 13
Click on Create New Adjustment Layer button from layer panel and select Curves option.
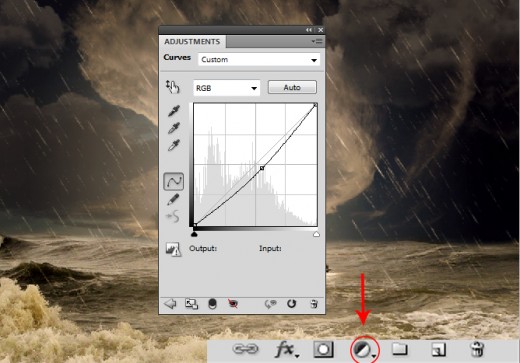
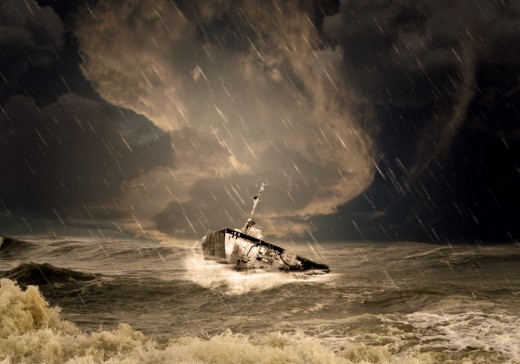
When we set curves we get this beautiful effect.
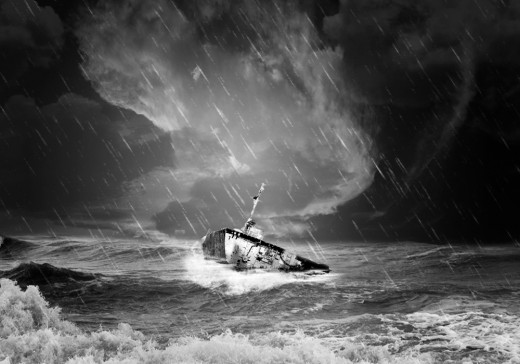
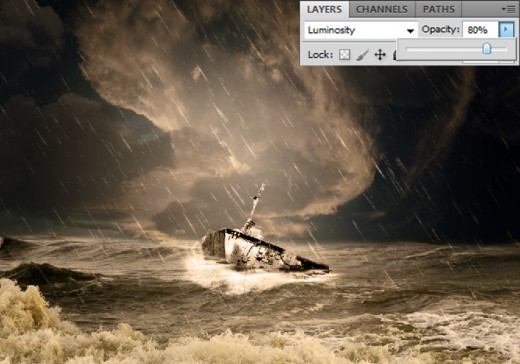
Step 14
Again and last time click on Create New Adjustment Layer button from layer panel select Gradient Map option and set black and white gradient.
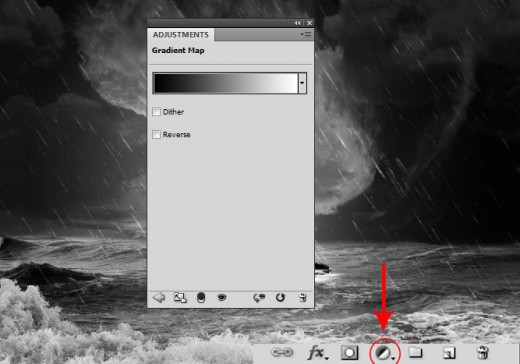
After this gradient map we get new effect as like in preview.
Set Blend Mode to (Luminosity) and Opacity (80%) of this gradient map layer.
Step 15
Now in this step I am going to add the Man Image in photoshop.
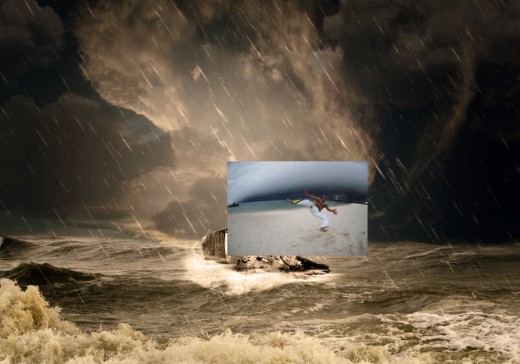
Here we need just man image so I am going to erase the outer area of this image.
Resterize this layer select Eraser Tool from tool panel and erase it.
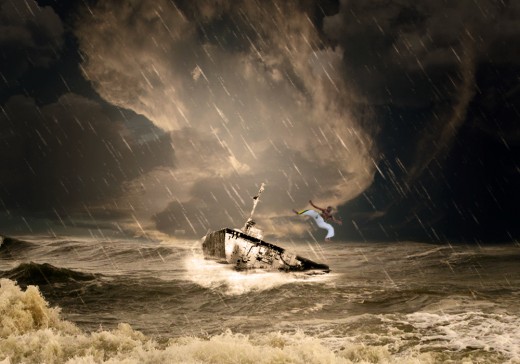
After erase image set this man image bottom of rain layer as like in preview.

Now I am going to Transform this image and minimize the size.
Go to Edit > Free Transform or press (Ctrl+T).
After minimize the size we get result.
Step 16
In this step add the Seamless Canvas Textured Paper in photoshop.
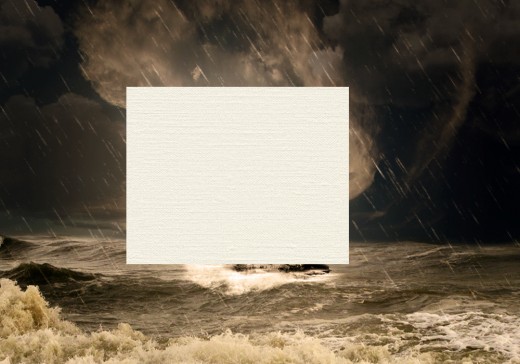
Transform texture layer and expand it to the whole canvas.
Go to Edit > Free Transform or press (Ctrl+T).
After Transform we get this result.
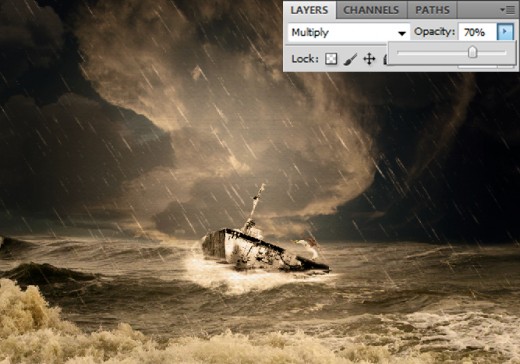
Set Blend Mode to (Multiple) and Opacity (70%) of this seamless canvas textured paper layer.
Step 17
Add Grungy Paper Texture in Photoshop.
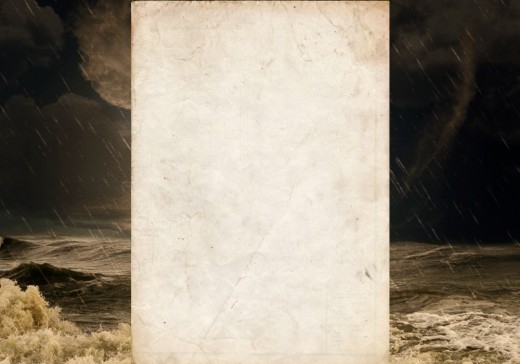
Transform it and set to the whole canvas.
Go to Edit > Free Transform or press (Ctrl+T).
After set texture we get result.
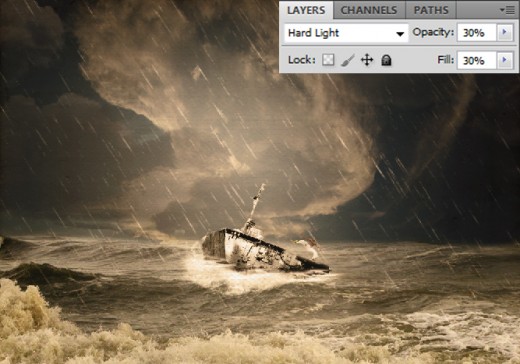
Set Blend Mode to (Hard Light), Opacity (30%) and Fill (30%).
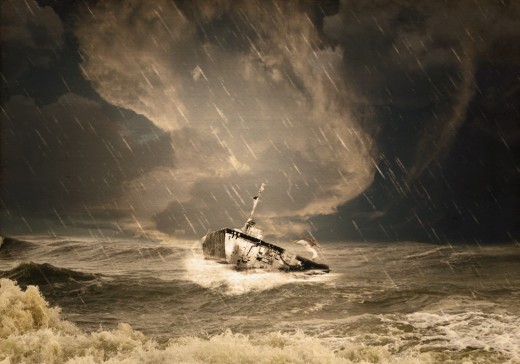
After all the struggle we get our medieval fantasy themed photo in final preview.
Final Preview
I hope you will definitely like this medieval fantasy themed photo tutorial and always share your lovely comments with us. Follow TutorialChip on Twitter or Subscribe to TutorialChip to Get the Latest Updates on Giveaways, Tutorials and More for Free.
Thanks for the tips on this. It would be easy to create such themes with this.
Excellent tutorial very much useful. Thanks a lot for sharing !!