Step 10
Select Small Rectangle layer and duplicate is 15 times and adjust them for making the watch bracelet as like in preview.
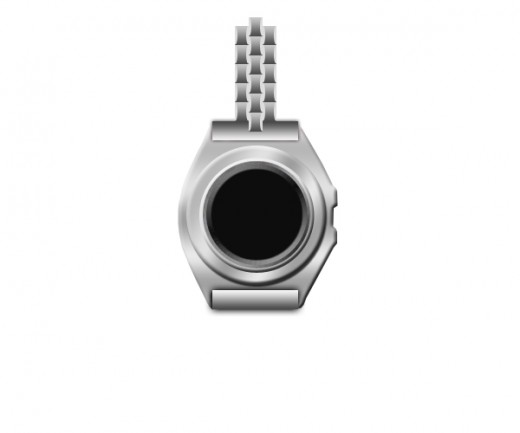
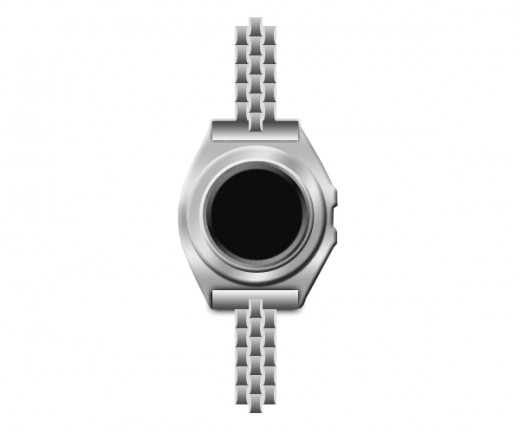
Now select all these bracelet layers and press (Ctrl+E) to merge them named it layer bracelet, duplicate it and adjust bottom side of the watch skin as like in preview.
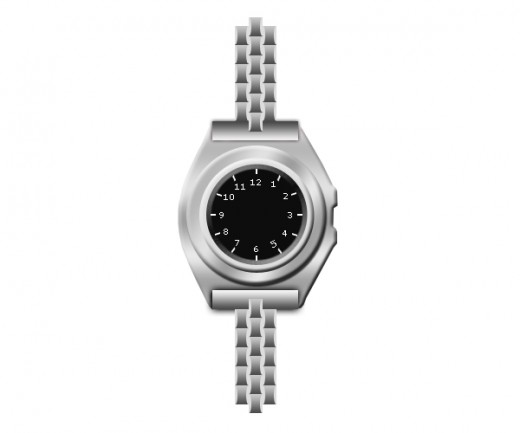
Step 11
Now select the Line Tool and draw a line with white color #ffffff.

Duplicate this line layer eleven time and adjust them as like in picture.

Step 12
Now Select the Text Tool and write 1 to 12 counting and adjust them in circle as like in preview.
Step 13
Select the Ellipse tool and create a small circle with white color #ffffff adjust it center of the black circle as like in picture.
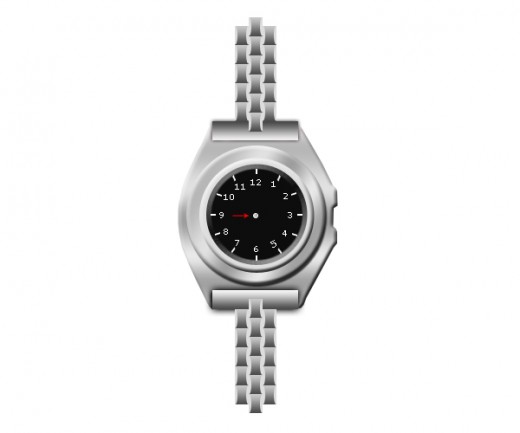
Step 14
Select the Pen Tool draw watch needle with white color #ffffff as like in preview.
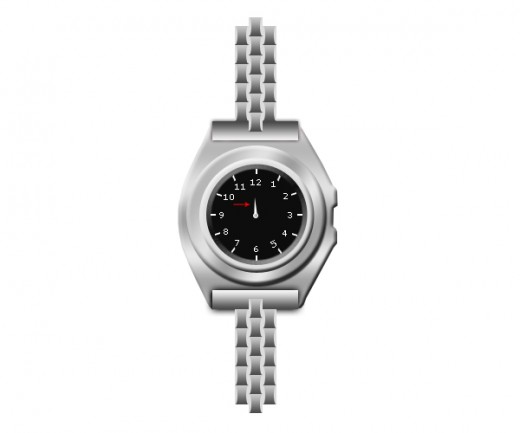
Now make second needle same as step 14.
One more time select the line tool and create the third needle.
Step 15
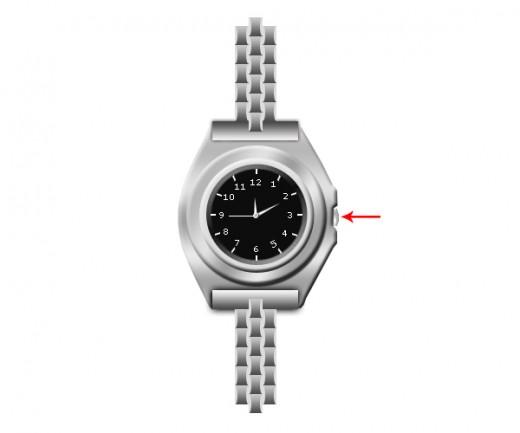
Draw a small rectangle with help of the Rectangle Tool and apply #adadad color as like in preview.

Now applying Gradient Overlay on this rectangle layer.
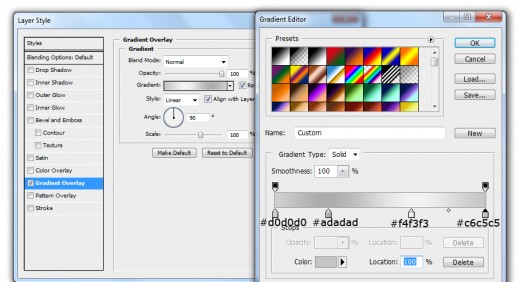
Now we get something new in preview.

Step 16
Now in this final step with the help of Pen Tool or Ellipse Tool create a small circle with this color #adadad and adjust it as like in preview.
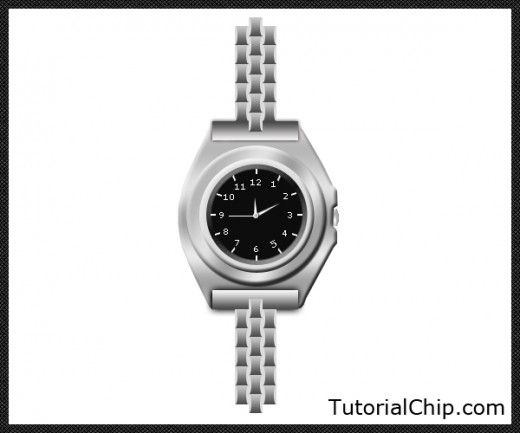
Congratulation, we have successfully create a watch in Photoshop.
Final Preview
I hope you have enjoyed this awesome watch tutorial, remember to shear your opinions with us. Follow us on TutorialChip on Twitter or Subscribe to TutorialChip to Get the Latest Updates on Giveaways, Tutorials and More for Free.