Step 7
Now I am going to set Curves, Go to Layer > New Adjustment Layer > Curves.
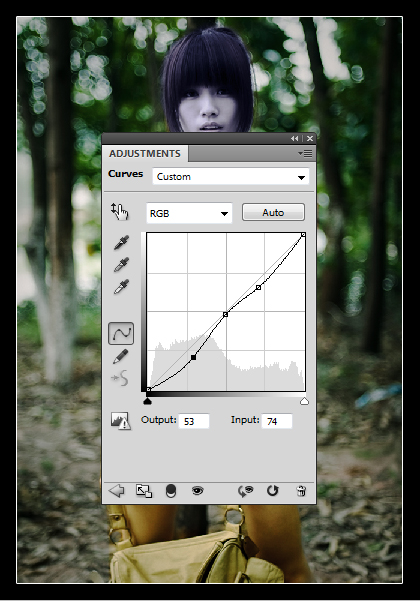
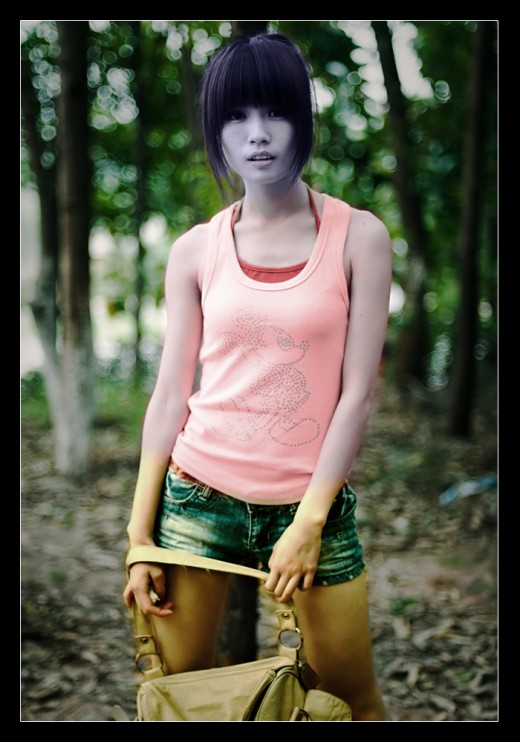
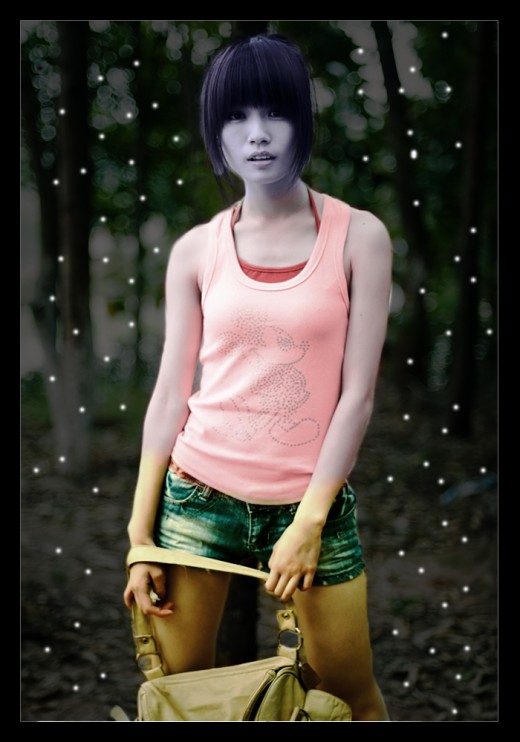
After set curves we get new result.
Step 8
Create a new layer (Shift+Ctrl+N) top of all layers fill it with black color #000000, set opacity (60%) of this layer.
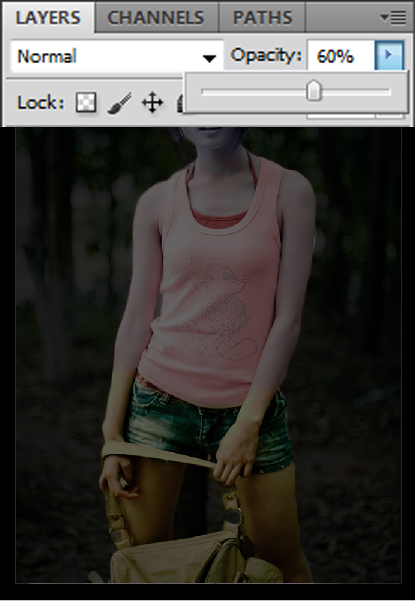
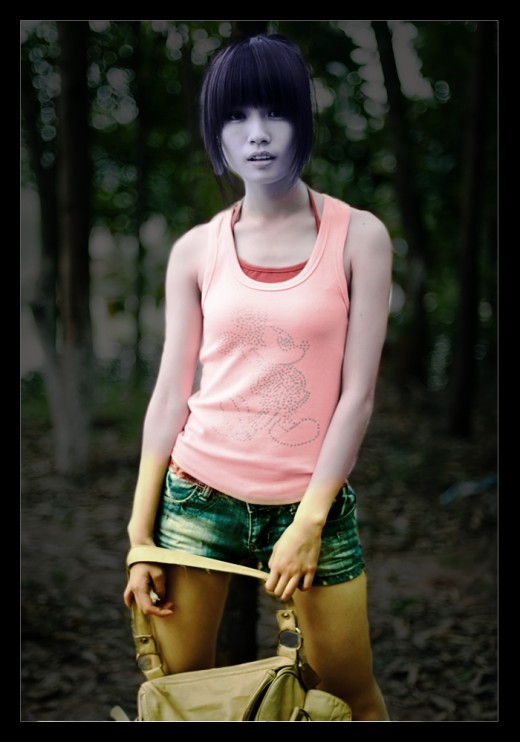
Select Eraser Tool from tool panel and erase girl area of this new black color layer.
Step 9
Create a new layer select 10px soft round brush and paint around the girl with white color #ffffff as like in preview.
Step 10
Select 250px brush create a new layer paint girl area with this color #e30489.
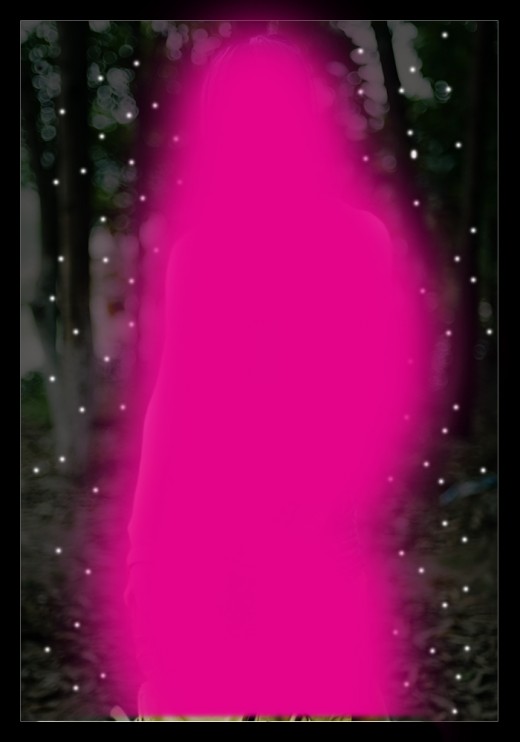
Set Opacity (10%) of this brush layer.
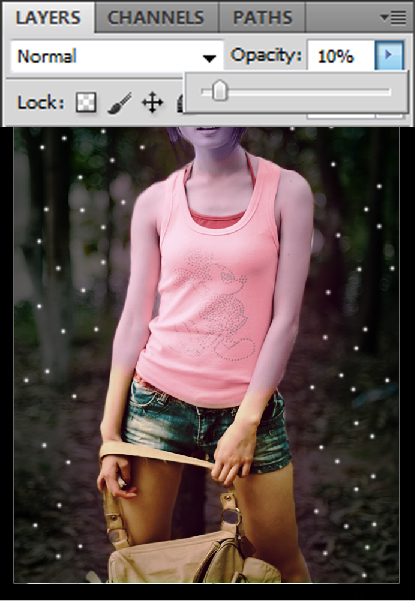
After down opacity we get nice result as like in picture below.
Step 11
In this step I am going to paint with Spark and Star Brush.
Create a new layer (Shift+Ctrl+N) select spark and star brush and paint with different sizes as with white color #ffffff as like in preview.
After paint with star brush, now applying Gaussian Blur on this star layer.
Go to Filter > Blur > Gaussian Blur.
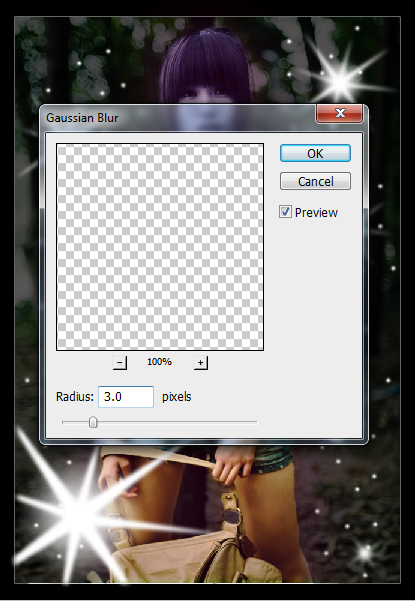
After applying gaussian blur we get this beautiful result.

Step 12
Go to Layer > New Adjustment Layer > Curves.
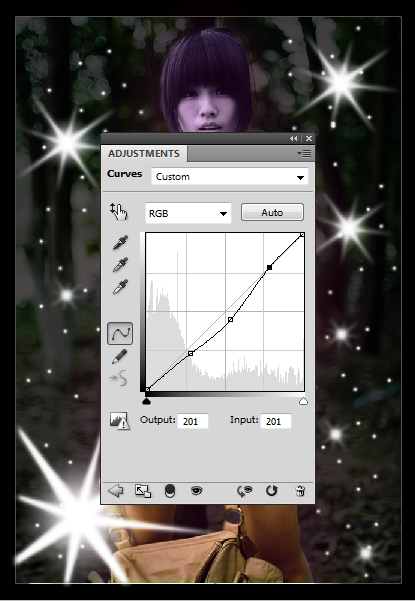
After set curves we get nice effect as like in picture below.

Step 13
Create a new layer (Shift+Ctrl+N) select 15px star brush and paint around the girl with white color #ffffff as like in preview.
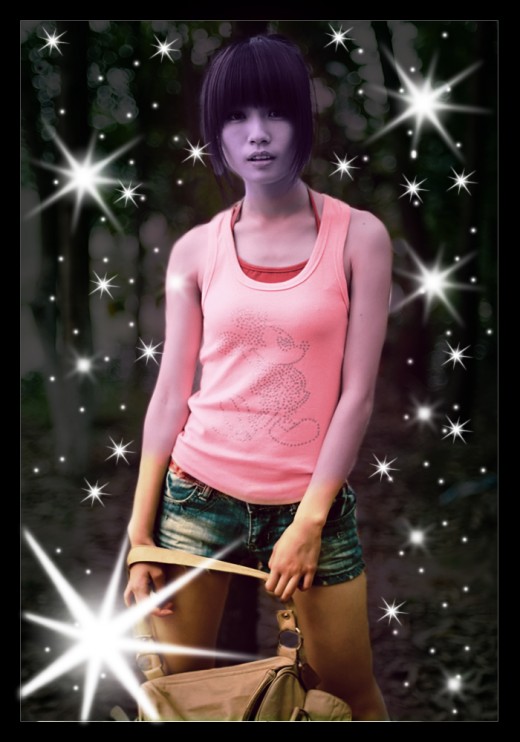
Set Opacity (60%) of this star brush layer.
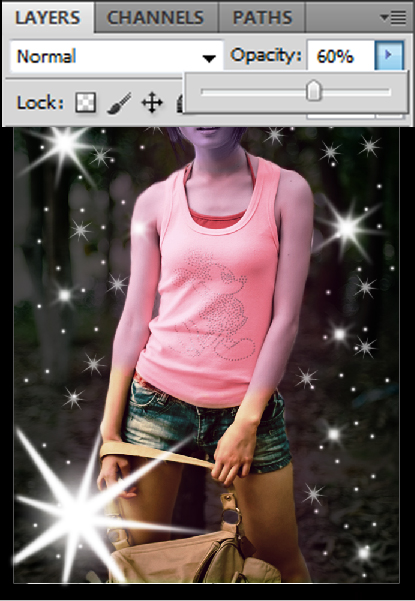
After set opacity we get this new result.
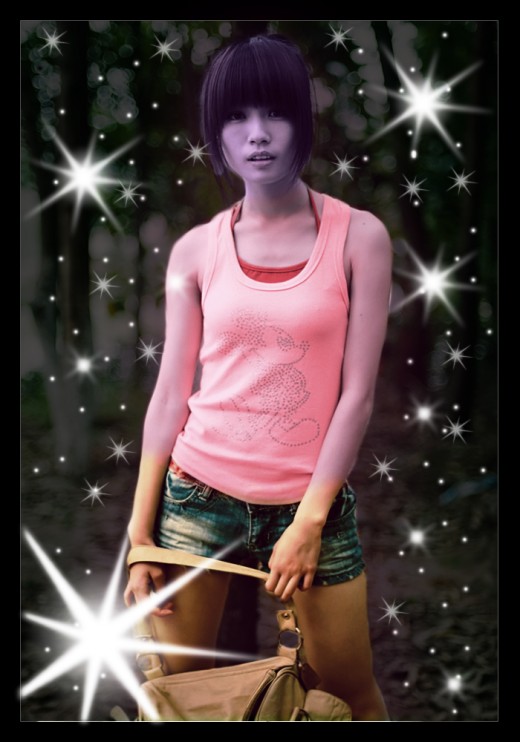
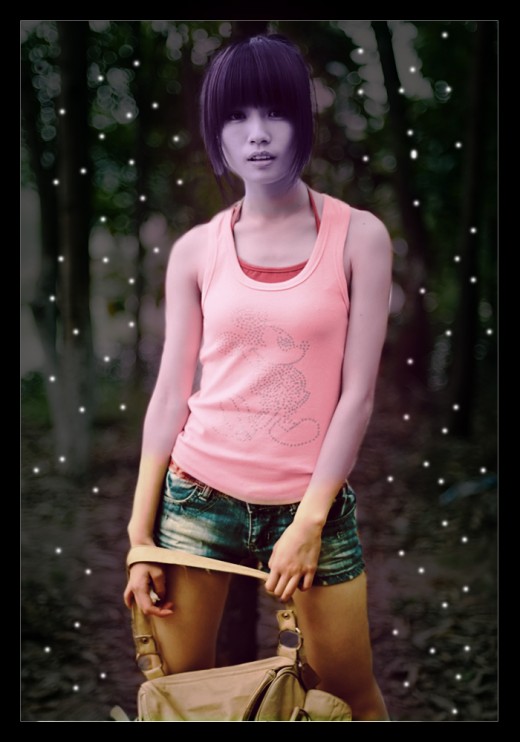
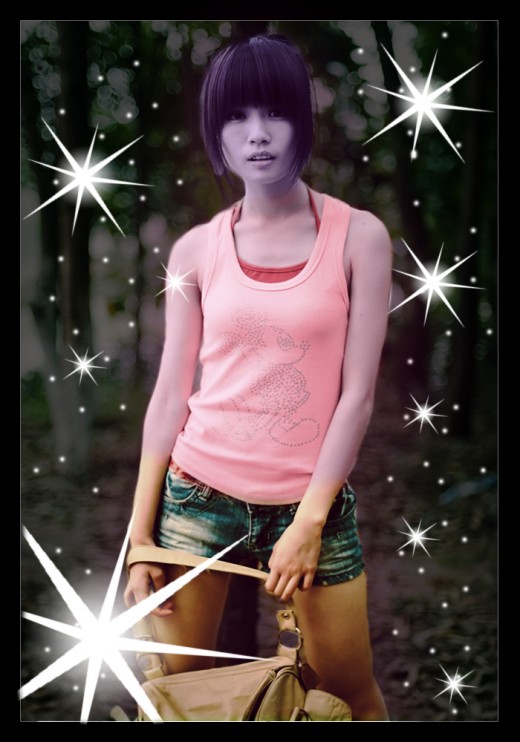
After all the struggle we get our shining effect photo in final preview.
Final Preview

I hope you will definitely like this shining effect tutorial and always share your lovely comments with us. Follow TutorialChip on Twitter or Subscribe to TutorialChip to Get the Latest Updates on Giveaways, Tutorials and More for Free.