Photoshop gives us the ability to made something that look like not possible in real life. Today in this tutorial we are going to create a floating over grown tree in Photoshop to combine several images. We are sure that you will definitely like our this awesome creation. So enjoy it and feel free to share your lovely comments with us.
Other photoshop tutorials:
- Breathtaking Space Explosion Tutorial in Photoshop
- How to Create a Vector Composite Effect in Photoshop
- How to Create a Collage of Polaroids Photo in Photoshop
- Create a Fantasy Photo Manipulation Tutorial in Photoshop
Tutorial details:
- Program: Adobe Photoshop CS5
- Difficulty: Intermediate
- Estimated Completion Time: 50 Mins
Create a Floating Over Grown Tree in Photoshop – Final Preview

Tools and Resources

External Resources
Photoshop Tools
- Eraser Tool
- Gradient Overlay
- Polygonal Lasso Tool
- Clone Stamp Tool
Lets start to create our floating over grown tree in Photoshop.
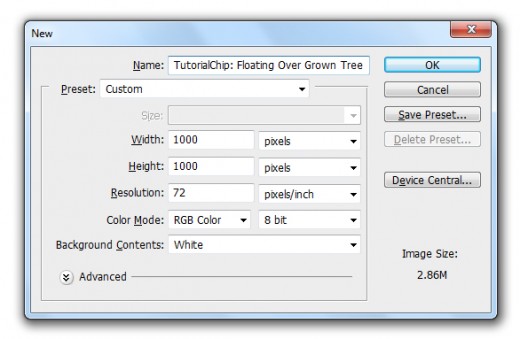
Step 1
Create a new document (Ctrl+N) with 1000×1000 of size.
Step 2
Now first of all we are going to add the Sky Image in photoshop.

After add the sky image rasterize it, now select the Eraser Tool from tool panel and erase the bottom area of this sky image as like in preview.

Now go to Edit > Free Transform or press (Ctrl+T) and set this sky image to the whole canvas.
After set image we get this result.

After set image to the whole canvas we are going to rotate this image.
Go to Image > Image Rotation > 90 CW.

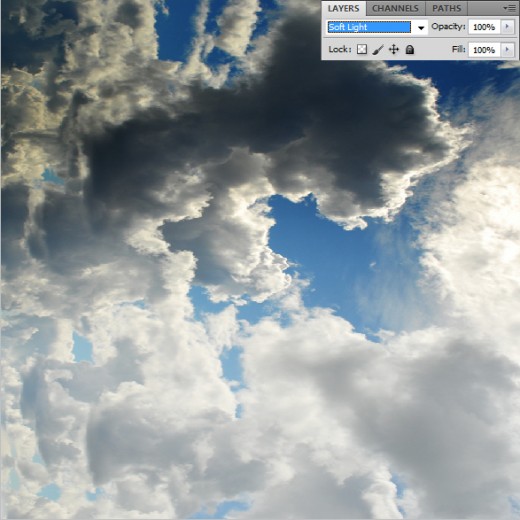
Step 3
Now create a new layer and applying radial gradient on this new layer.
Go to Layer > New > Layer, name it layer Gradient and applying black and white liner Gradient.

Set the Blend Mode to (Soft Light) of this gradient layer.
Step 4
Here we are going to set the Color Balance of gradient layer.
Go to Image > Adjustment > Color Balance.
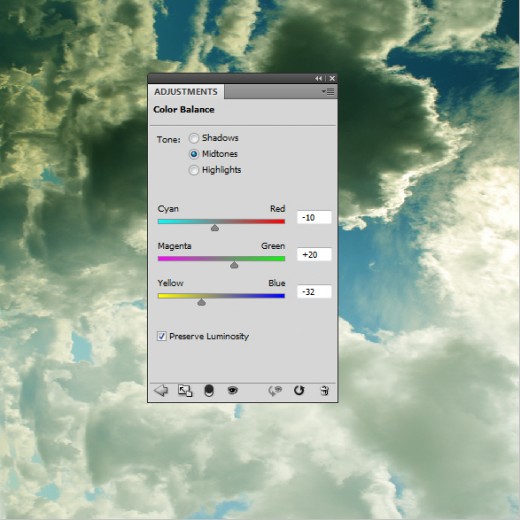
After set color balance we get this new effect on gradient layer.

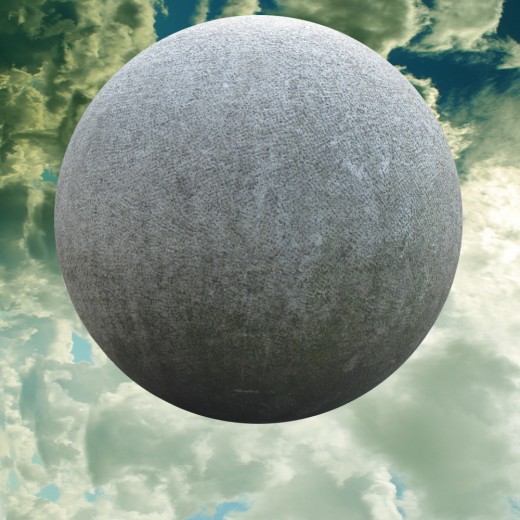
Step 5
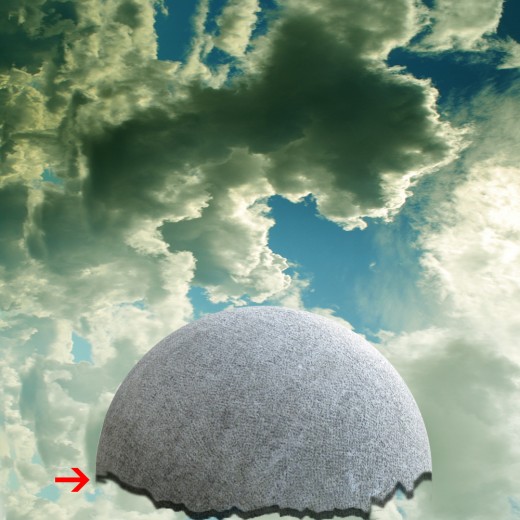
In this step add the Spherical Image in photoshop.
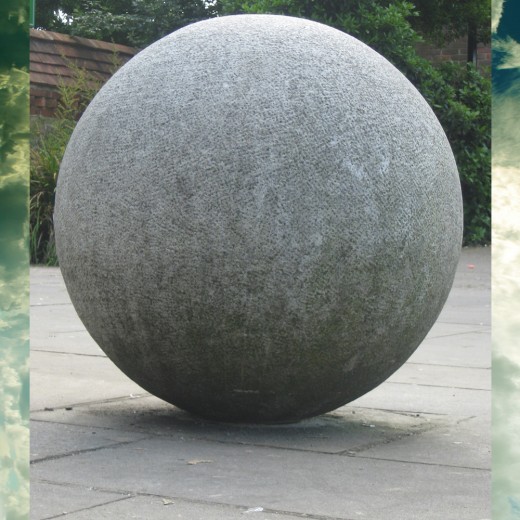
Rasterize this layer and select the Eraser Tool and erase the unneeded area as like shown in picture below.
After erasing this image go to Edit > Free Transform or press (Ctrl+T) and minimize the size of this spherical image.
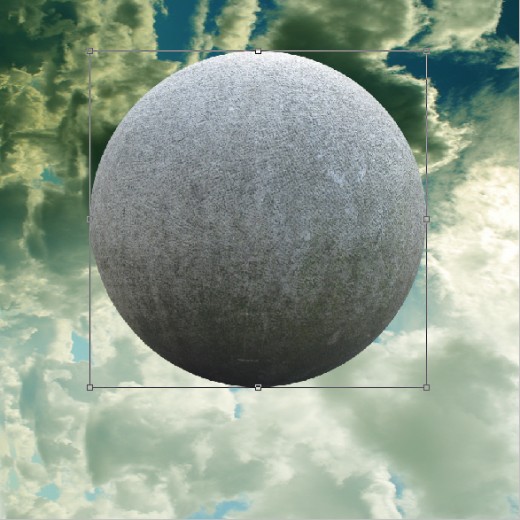
Press enter for complete the transform option, now set this spherical image bottom of the canvas as like in preview.
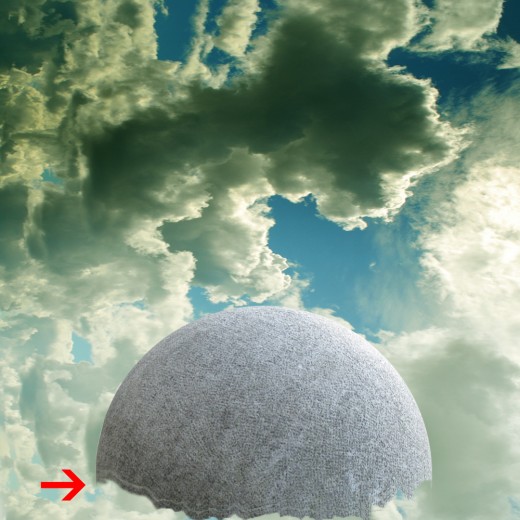
Step 6
Now select Polygonal Lasso Tool and make a selection of this spherical image down area as like in picture below.

Hit Delete button to delete the selected area.

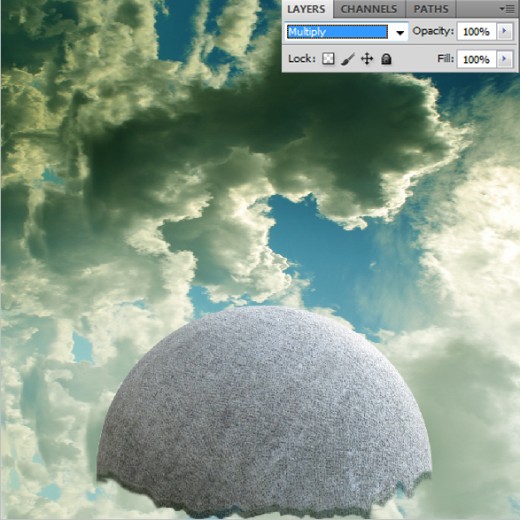
Step 7
After delete the bottom area now select again Polygonal Lasso Tool and make a selection as like in preview.

Press (Ctrl+J) to duplicate the selection and set little bit down of this duplicate layer as like shown in picture, name it layer Shadow.
Set the Blend Mode to (Multiple) of this shadow layer.
Now go to the Blending Options, applying Inner Shadow on this layer.
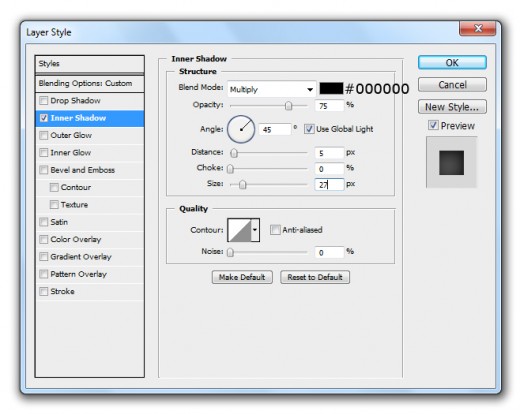
After applying inner shadow we get this new result.
Step 8
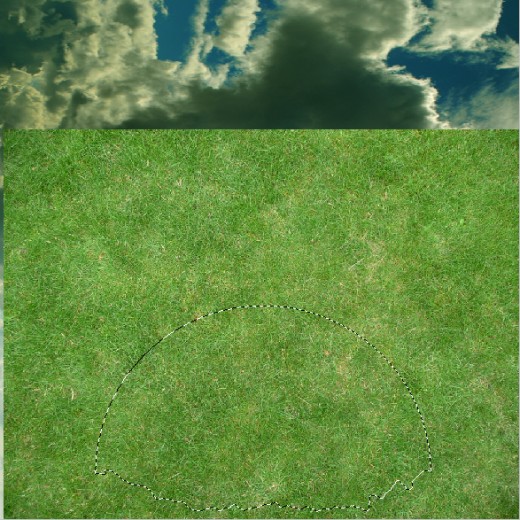
In this step add the Grass Texture Image in photoshop.

Now hold Ctrl key and click on thumbnail of spherical image then a selection created.
Press (Ctrl+Shift+I) to inverse the selection.
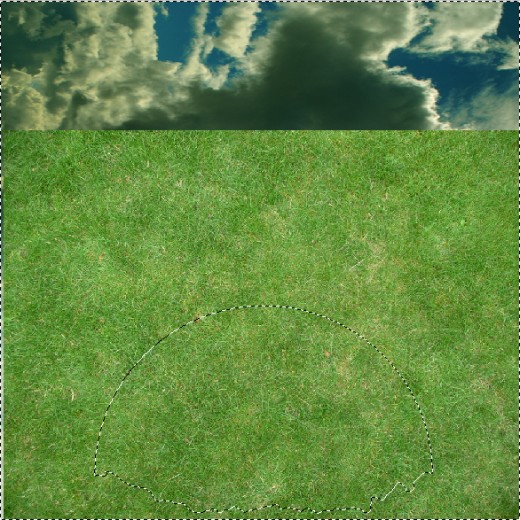
After inverse the selection hit delete button to delete the outer area, press (Ctrl+D) to deselect the selection and get this result.

Step 9
Now we are going to add the Bark Deciduous Image in Photoshop to create next effect.
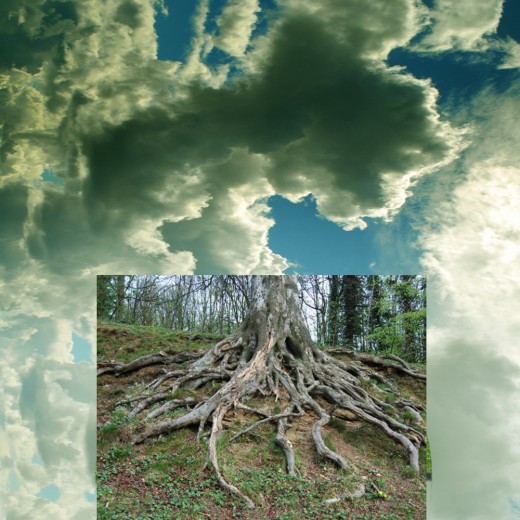
Rasterize this image, select Eraser Tool from tool panel and erase the unneeded area as like in preview.

Now set the Color Balance of this bark deciduous image layer.
Go to Image > Adjustment > Color Balance.
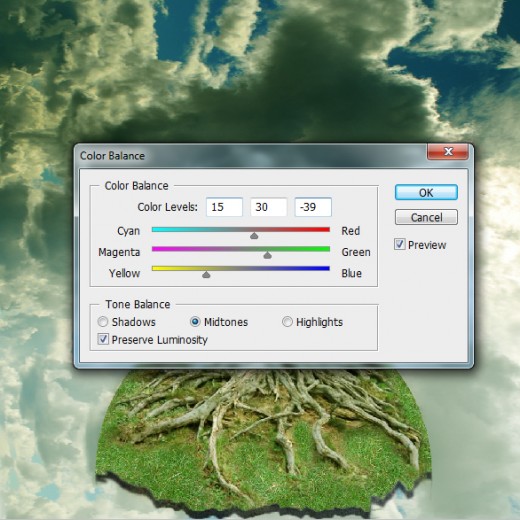
After set color balance we get nice effect on this bark deciduous layer.

Step 10
In this step add the Mexico Tree Image in photoshop.
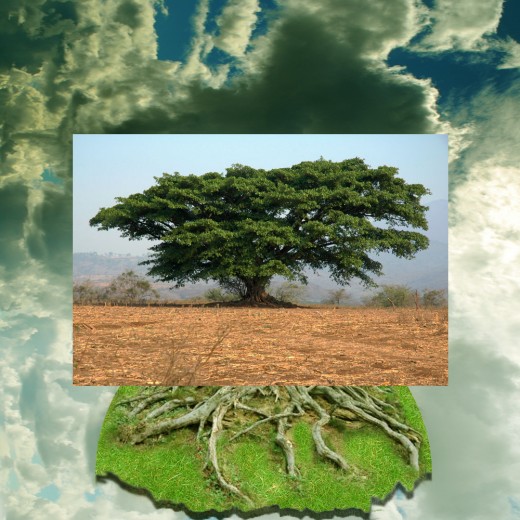
Rasterize the tree image, select Eraser Tool erase unneeded area as like you see in preview.

Now select the Clone Stamp Tool and fill the bottom area of tree as like in preview.
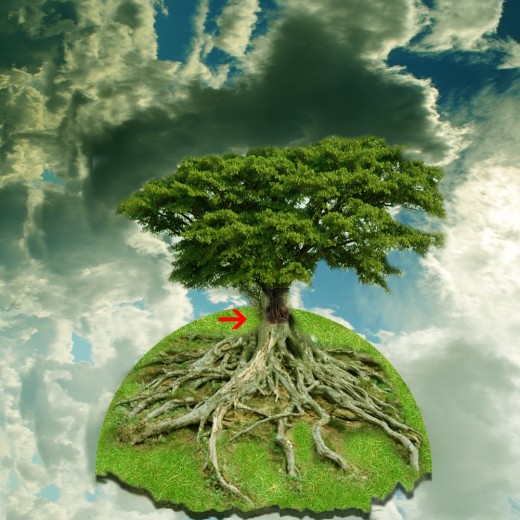
After filling the area we get awesome result.

Step 11
Create a new layer, select Gradient Tool and applying black to white Radial Gradient on this new layer.

Set Blend Mode to (Overlay) of this gradient layer.
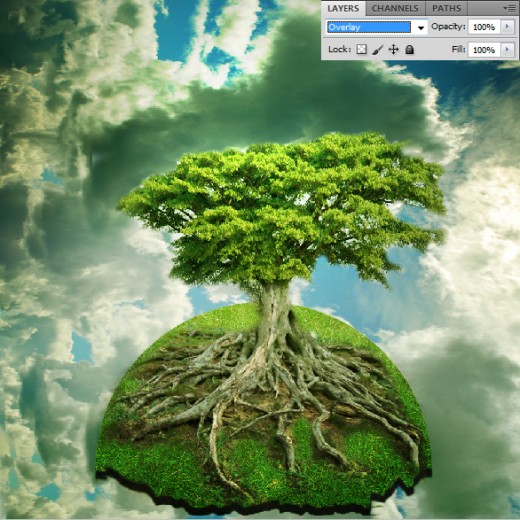
Here we complete our floating over grown tree tutorial, look result in final preview.
Final Preview
We hope you will be happy to see this floating over grown tree tutorial and always share your lovely comments with us. Follow TutorialChip on Twitter or Subscribe to TutorialChip to Get the Latest Updates on Giveaways, Tutorials and More for Free.