Today we are going to create a Gothic Building tutorial in Photoshop. In this tutorial you can learn that how to manipulate pictures each together. This tutorial is very attractive and awesome. In this tutorial you can learn many new techniques of Photoshop CS5. I hope you will like this tutorial and never forget to share your comments with us.
Other related tutorials:
- Create a Realistic Landscape in Photoshop
- Tutorial: Create a Rainbow Effect in Photoshop
- Awesome Photo Retouching Tutorial in Photoshop
- Create a Fantastic Special Lighting Effect in Photoshop
Tutorial details:
- Program: Adobe Photoshop CS5
- Difficulty: Intermediate
- Estimated Completion Time: 30 Mins
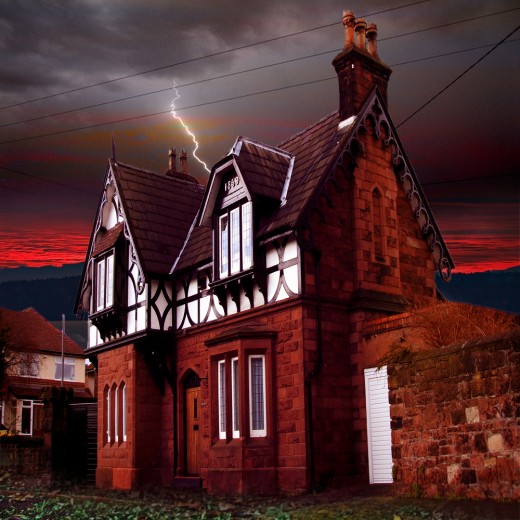
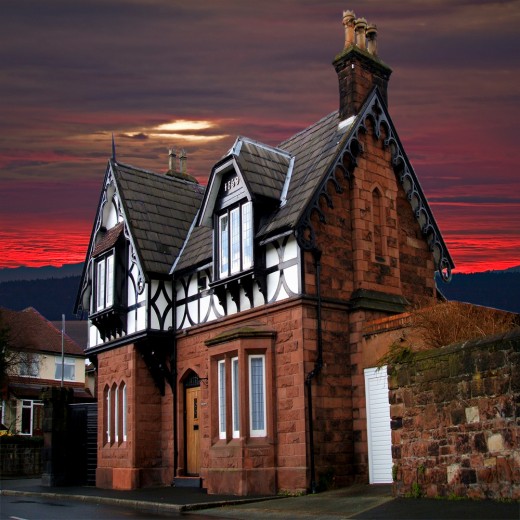
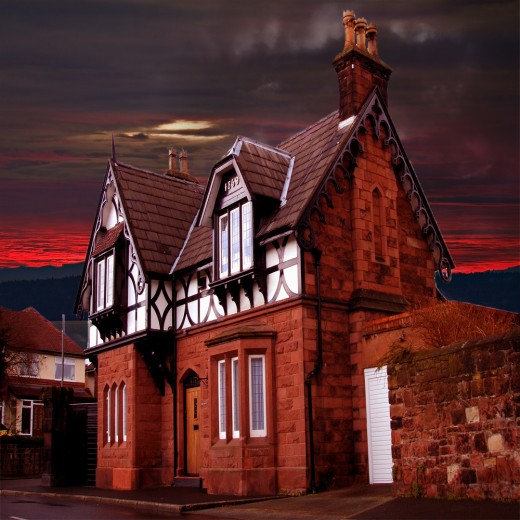
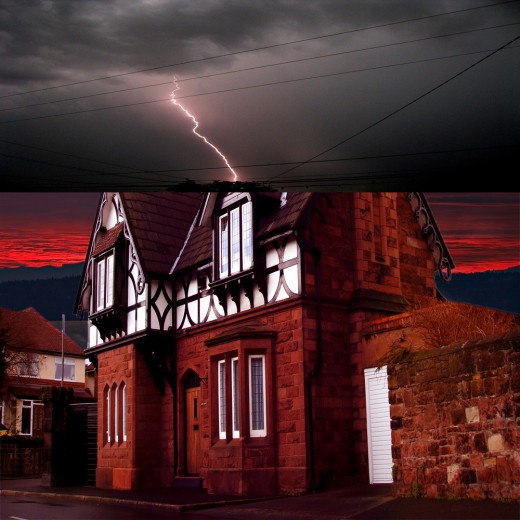
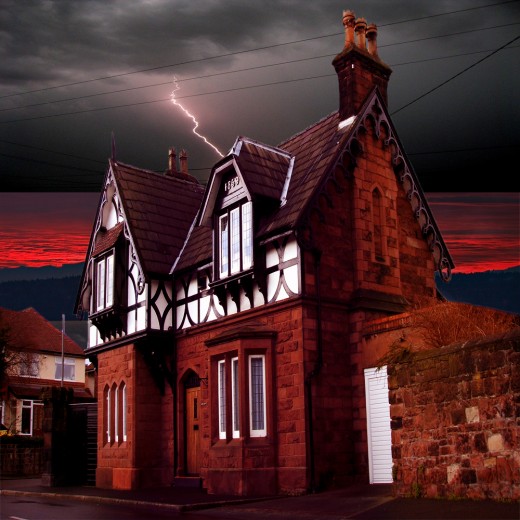
Gothic Building Tutorial in Photoshop – Final Preview
Tools and Resources

External Resources
Photoshop Tools
- Eraser Tool
Lets start to create our Gothic school in Photoshop.
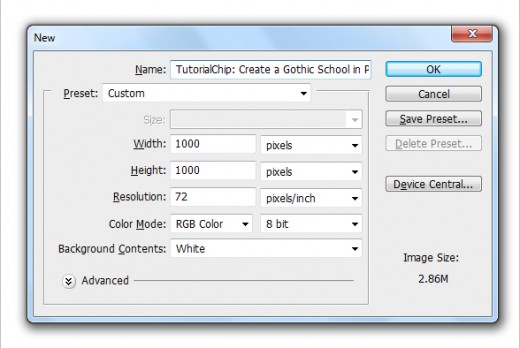
Step 1
Create a new document (Ctrl+N) 1000×1000 of size.
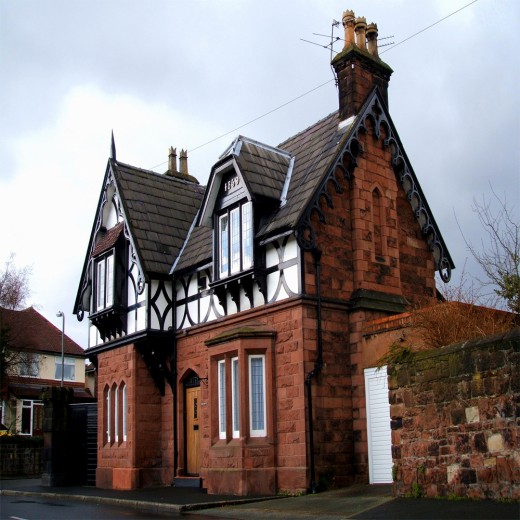
Step 2
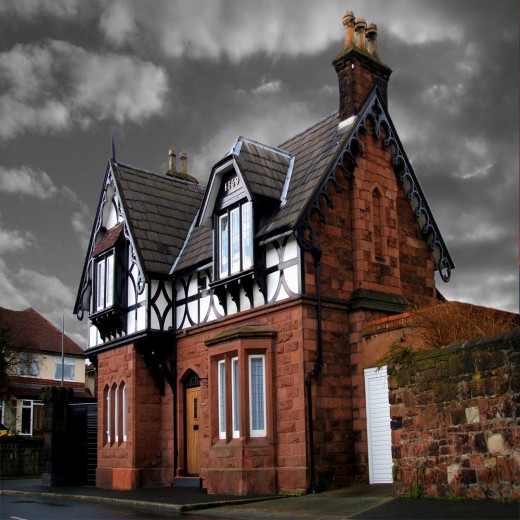
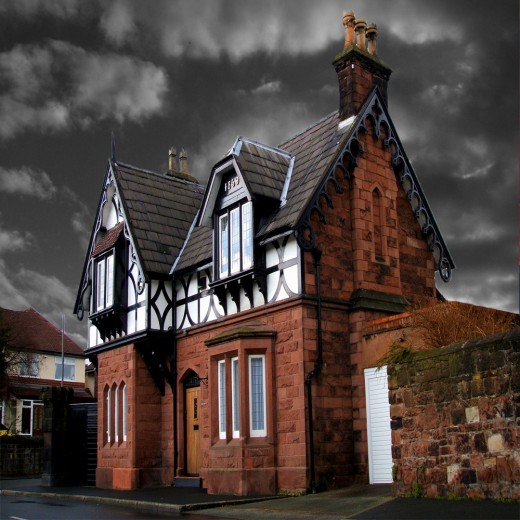
Add the Image of Old Building in Photoshop.
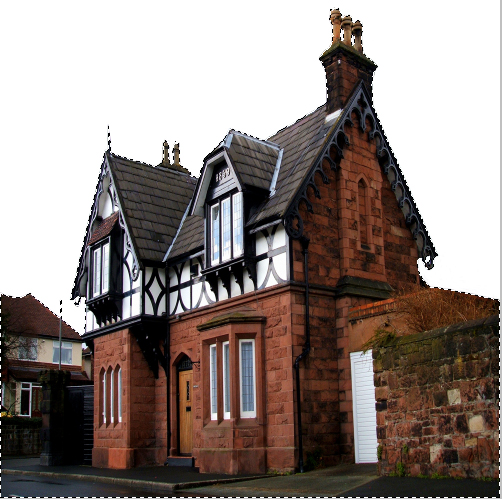
Step 3
Select Eraser Tool and erase the sky area of this image.
Step 4
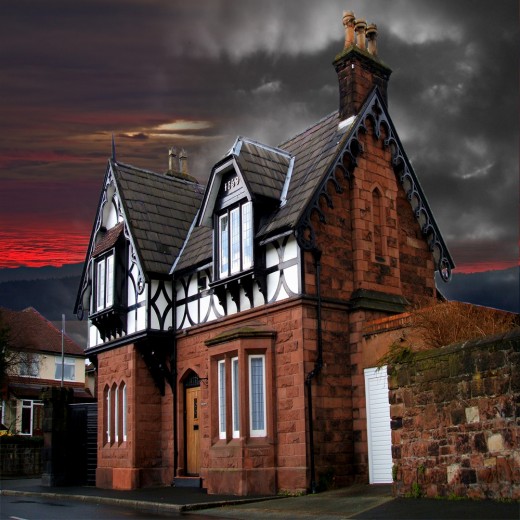
Add the Sunset image in Photoshop to make our background beautiful and attractive.
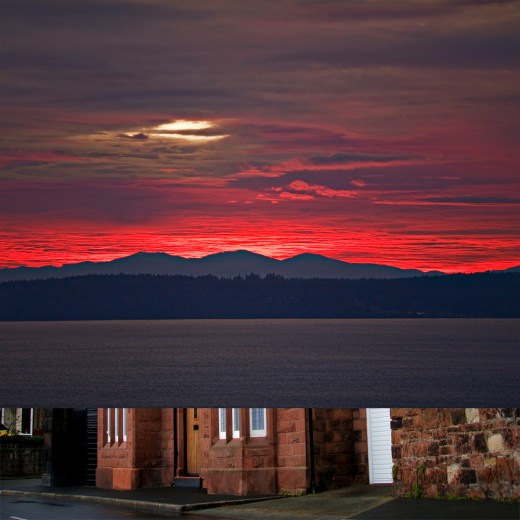
Set the sunset image to backside of building image.
Step 5
Now I am going to add the Clouds image in Photoshop to for made Gothic building background attractable.
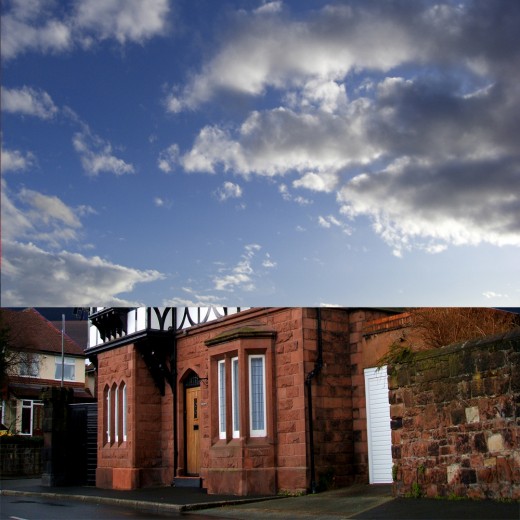
Set this cloud image backside of the building image as line in preview.
Go to Image > Adjustment > Desaturate (Shift+Ctrl+U) after this you can see the result.
Now go to Image > Adjustment > Brightness/Contrast and set brightness -40 and contrast 60.

When we set brightness we get nice effect on clouds layer.
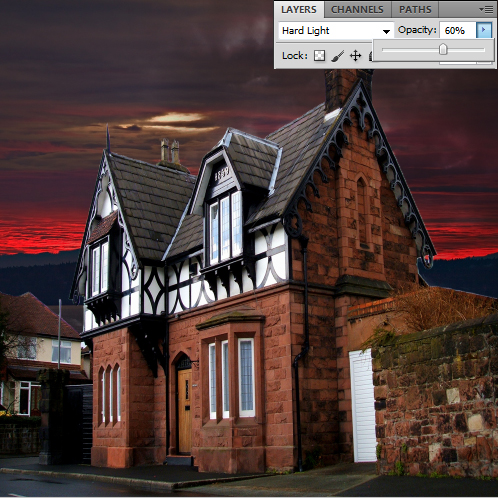
Step 6
Now select the Eraser Tool again and erase the left side and little bit right side of clouds image as like shown picture below.
Set the Blend Mode (Hard light) of the clouds image layer.
Now change the Opacity (60%) of the clouds image layer.
Step 7
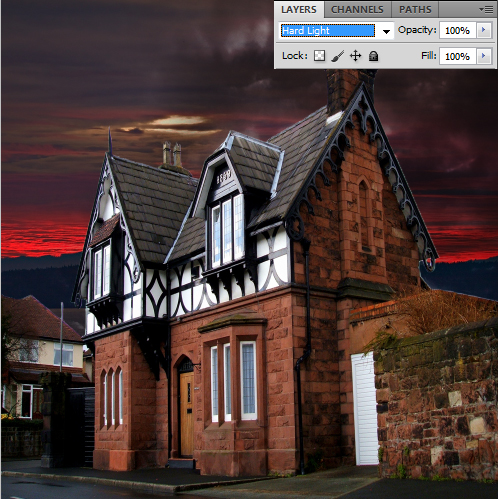
Now select the Gothic building image layer and go to Image > Adjustment > Color Balance and set color levels +70.
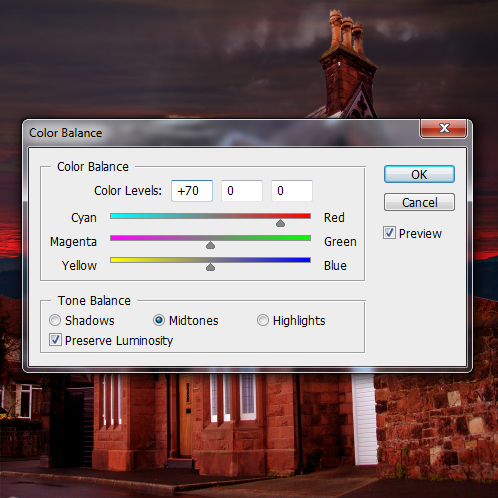
After set the color balance we get new effect on Gothic building image layer.
Step 8
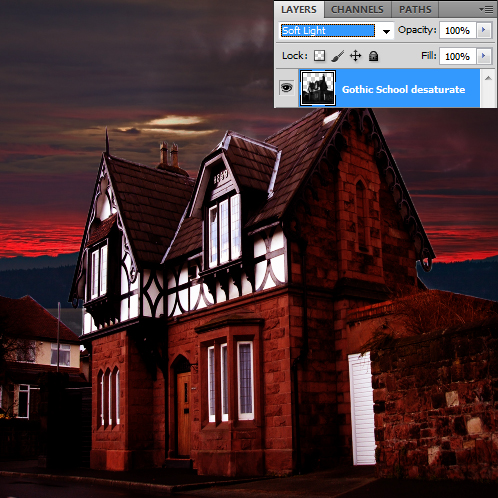
Duplicate Gothic building image and go to Image > Adjustment > Desaturate then get new result.
Step 9
Now select this current duplicate building image layer and applying another effect, go to Image > Adjustment > Brightness/Contrast and set brightness (-70) and contrast (100).
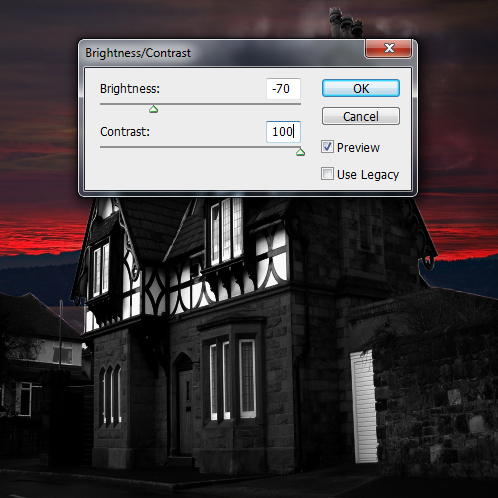
Now set the Blend Mode to (Soft Light) of this duplicate building layer.
Select the Eraser Tool and erase the left and right both sides of this duplicate building layer and leave the center area.

Step 10
Again duplicate the original Gothic building image layer and set it top of the all layers then go to Image > Adjustment > Color Balance and set the balance.
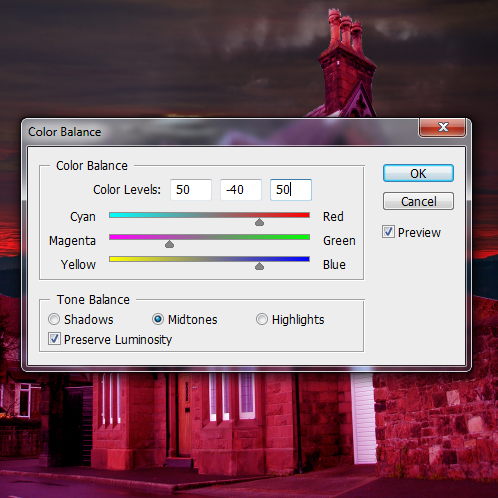
After set color balance we get new result.
Now on this 2nd duplicate building layer applying one more effect go to Image > Adjustment > Levels and set level.
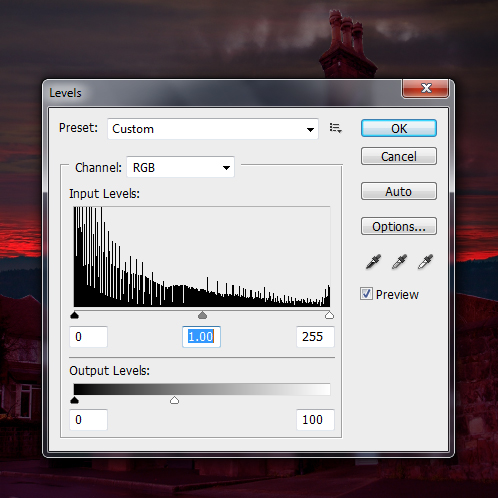
After set levels we get cool effect on second duplicate building image layer.
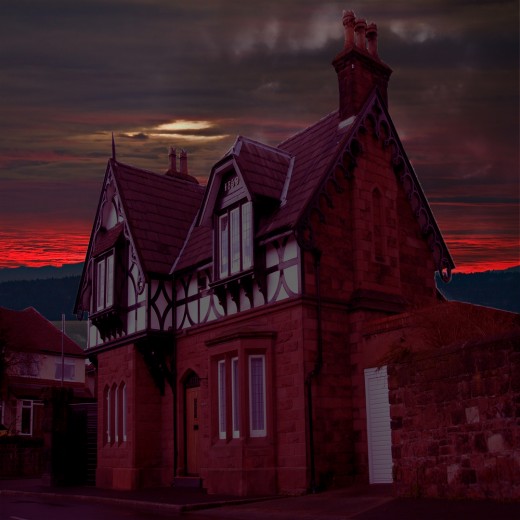
Set Blend Mode to (Lighten) of this second duplicate building image layer.
Step 11
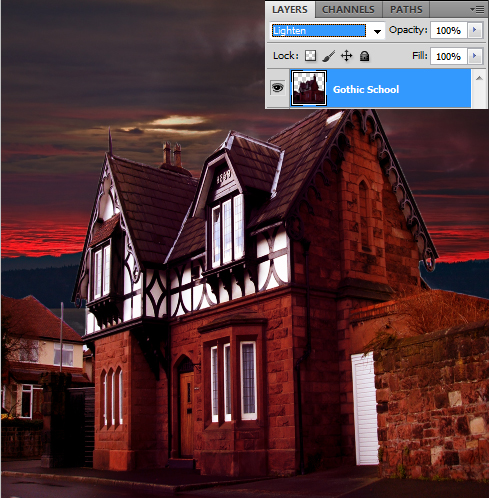
Now in this step add another image of Lightning Clouds in Photoshop.
Set backside this image to Gothic building image layer.
Set Blend Mode to (Luminosity) of this lightning image layer.
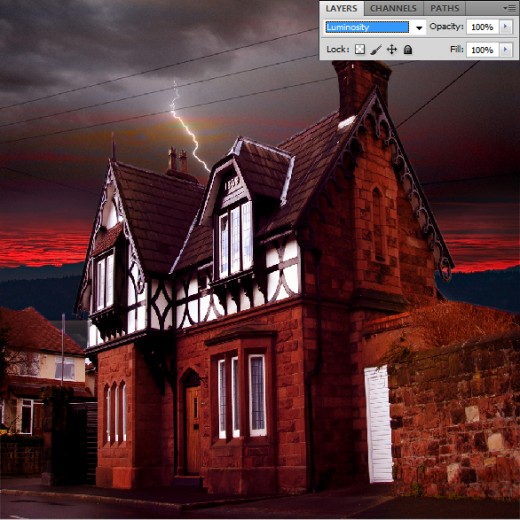
After set blend mode we get nice result.
Step 12
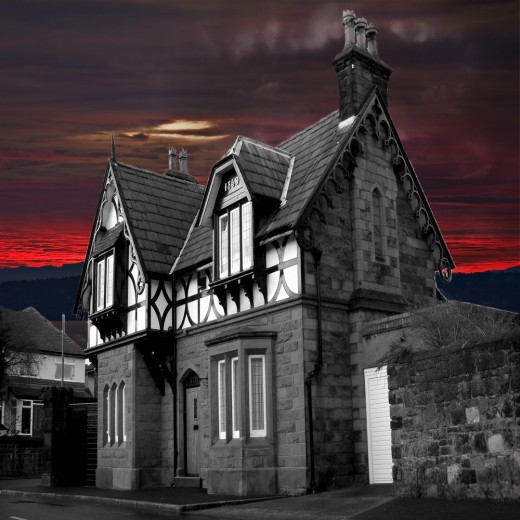
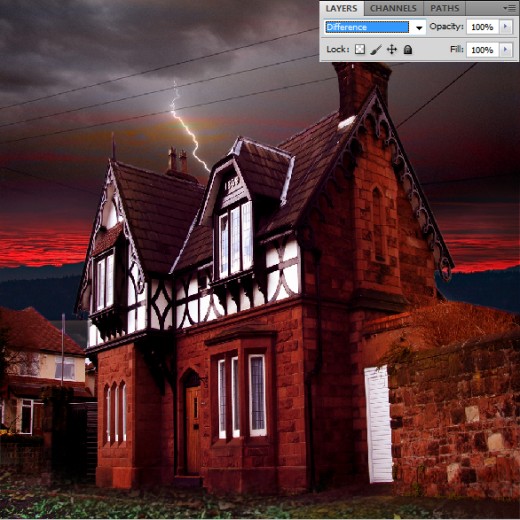
Now add the Old Tree image in Photoshop to make our image more effective.
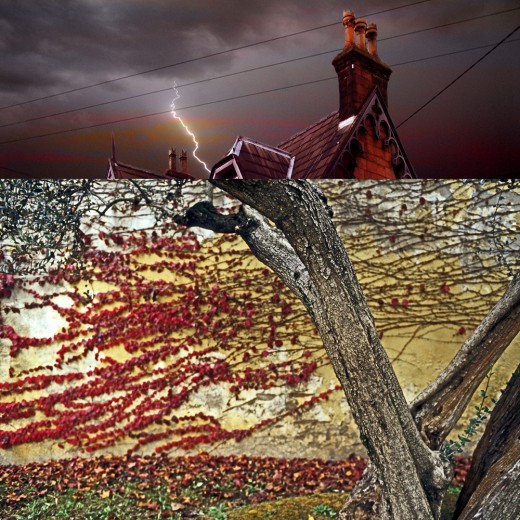
Select Eraser Tool and erase the upper side of this image and set Blend Mode to (Difference) as like in preview.
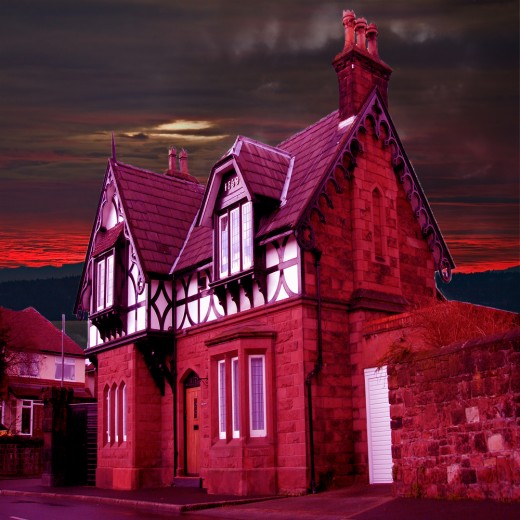
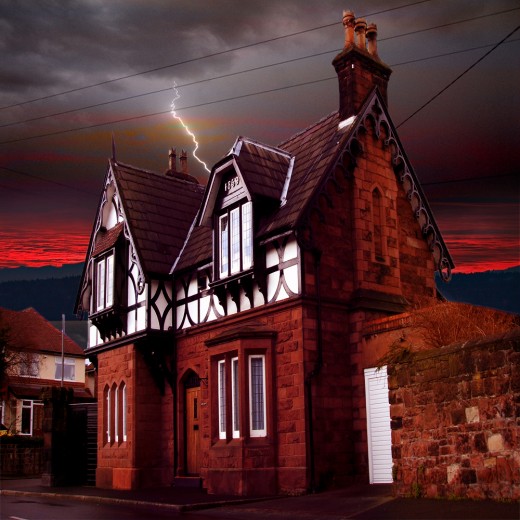
Here is our final preview.
Final Preview

I hope you have like this Gothic Building tutorial. Never forget to share your comments with us. Follow TutorialChip on Twitter or Subscribe to TutorialChip to Get the Latest Updates on Giveaways, Tutorials and More for Free.