A hard drive, also known as a hard disk drive or HDD, is a fundamental part of modern computers. The hard drive is where all of your programs and files are stored. So today we are going to create a hard drive in Photoshop CS5. You can learn many new techniques and enhance your Photoshop skills with this tutorial. Never forget to share your suggestions with us.
More creative photoshop tutorials:
- Create a Realistic iPhone in Photoshop
- Create a Beautiful Lady Bag Using Photoshop
- Creating a Cool Rolling Counter in Photoshop
- How to Make a Bluetooth Device: Photoshop Tutorial
Tutorial Details:
- Program: Adobe Photoshop CS5
- Difficulty: Intermediate
- Estimated Completion Time: 50 Mins
Download source file:
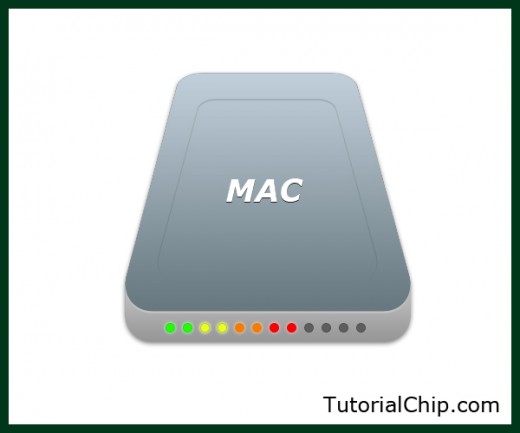
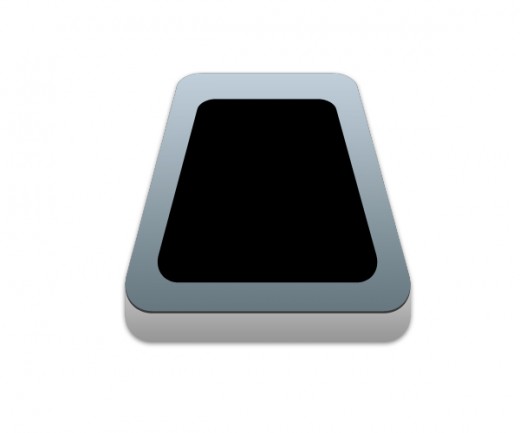
Create a Hard Drive in Photoshop – Final Preview
Tools and Resources
Photoshop Tools
- Rectangle Tool
- Rounded Rectangle Tool
- Ellipse Tool
- Pen Tool
- Polygonal Lasso Tool
- Gradient Tool
- Text Tool
Lets start to create a hard drive icon in Photoshop.
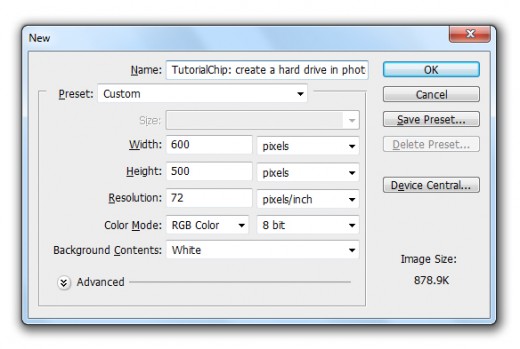
Step 1
Create new document (Ctrl+N) 600×500 of size.
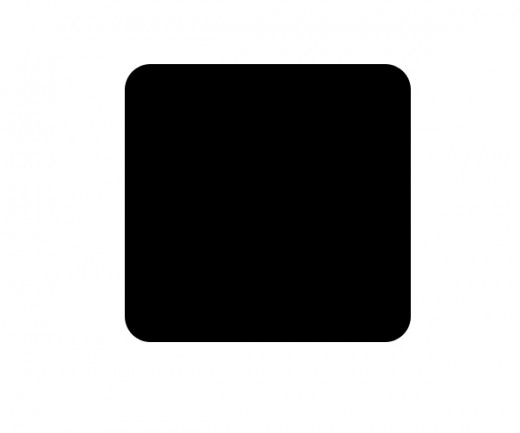
Step 2
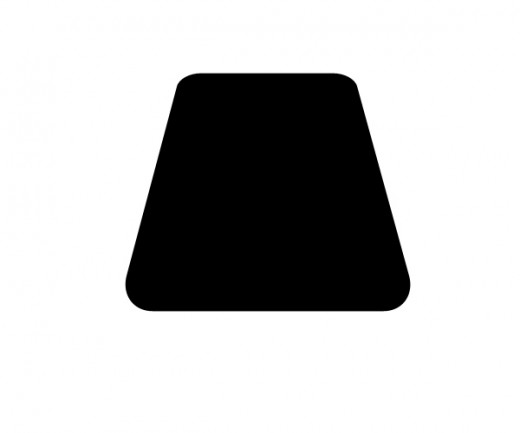
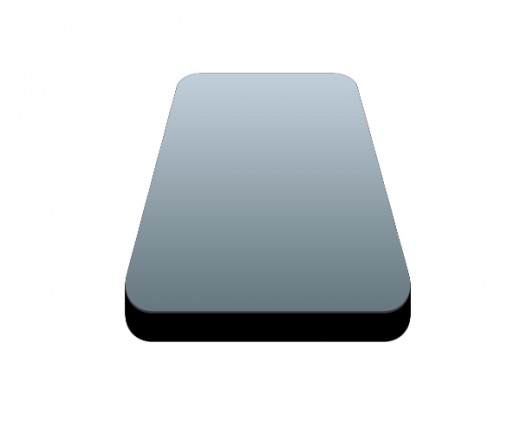
Select the Rounded Rectangle Tool and draw a rectangle with black color #000000 set radius 30% named it layer Background.
Go to Edit > Transform > Perspective and minimize the size upper side of the background layer.

After transform on the background layer we get a new shape.
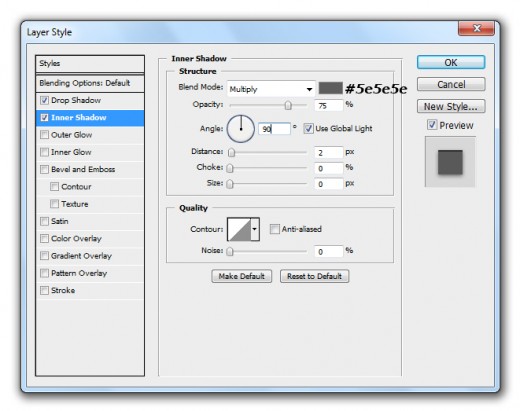
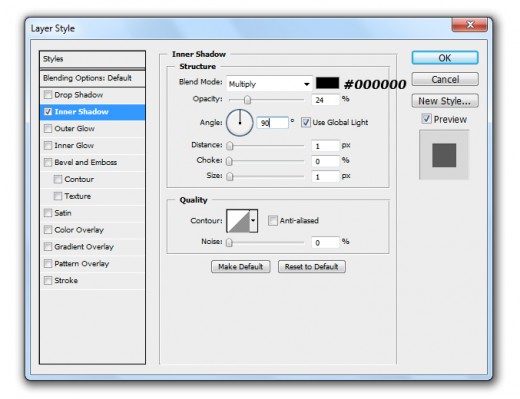
Now applying some Blending Options on this rectangle background layer.
Inner Shadow
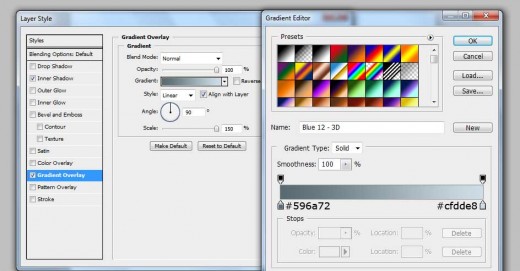
Gradient Overlay
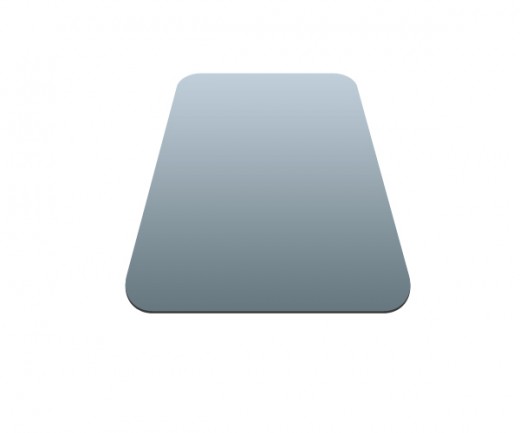
After applying blending options we get nice result.

Step 3
Duplicate the background layer clear all effects set lower side of background layer with this color #393939.
Step 4
Now select the background rectangle layer press Alt key and press the down arrow key 42 time, then select all the duplicate layers clear the effects on all layers and merge them (Ctrl+E).
Step 5
Go to layer > Layer Style and applying some effects.
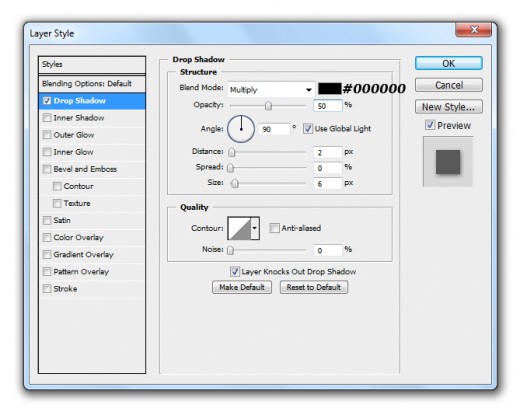
Drop Shadow
Inner Shadow

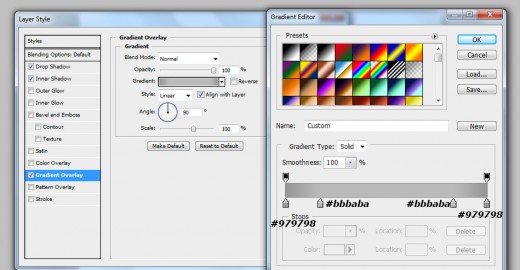
Gradient Overlay
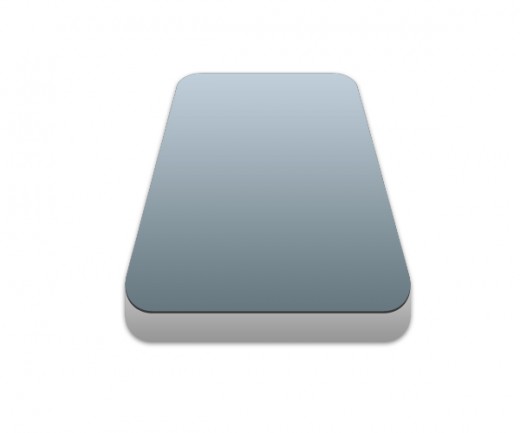
Now we get a cool new effect on this rectangle.
Step 6
Duplicate background rectangle clear all effects and go to Edit > Transform and minimize the size as like shown in preview.
Now go to blending option and applying Inner Shadow on this current rectangle layer and set blend mode Lighten.
Now we get a new effect on this rectangle layer.
