A SIM card or Subscriber Identity Module is a portable memory chip used in some models of cellular telephones. So today in this tutorial, I will try to deliver a technique that will help you to create sim card using a very simple and easy techniques. I hope you will like this tutorial. Feel free to share your comments with us.
More useful photoshop tutorials:
- Creating a 3D Globe in Photoshop CS3
- How to Draw a Laptop in Photoshop CS5
- How to Create a Webcam Icon: Photoshop Tutorial
- Awesome Apple QuickTime Icon Tutorial in Photoshop
Tutorial details:
- Program: Adobe Photoshop CS5
- Difficulty: Intermediate
- Estimated Completion Time: 30 Mins
Download source file:
Create a Sim Card in Photoshop – Final Preview

Tools and Resources
Photoshop Tools
- Rounded Rectangle Tool
- Polygonal Lasso Tool
- Gradient Tool
- Pen Tool
- Line Tool
- Text Tool
Lets start to create a Sim card in Adobe Photoshop.
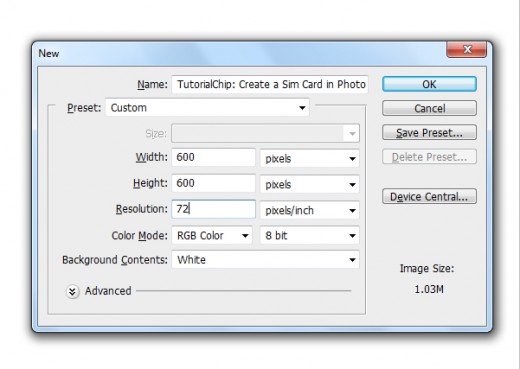
Step 1
Create a new document (Ctrl+N) 600×500 of size.
Step 2
Select Rounded Rectangle Tool from tool panel create a rectangle with black color #000000 set radius (20%).

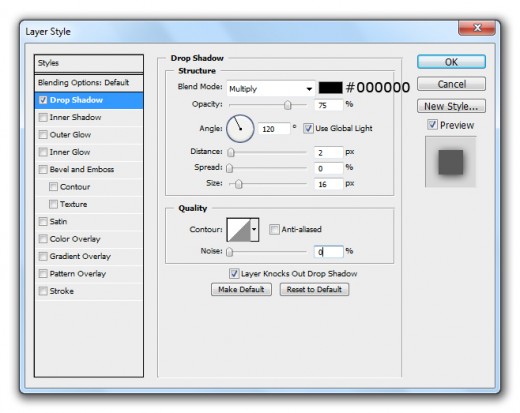
Go to Layer > Layer Style applying some Blending Options.
Drop Shadow
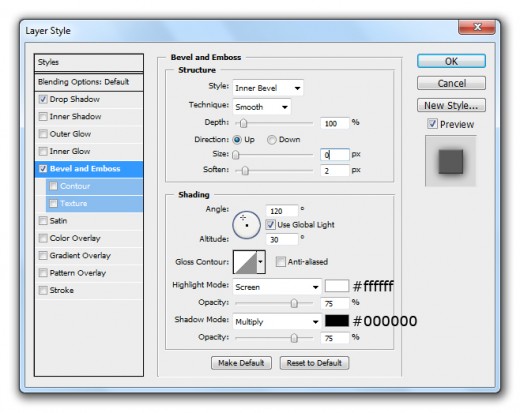
Bevel and Emboss
Gradient Overlay
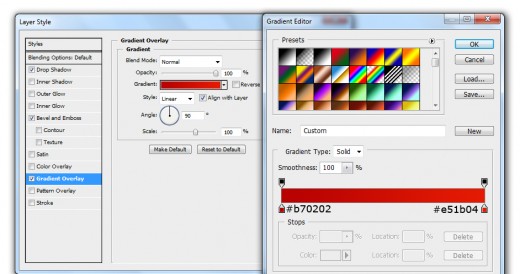
After applying these blending options we get nice effect on rectangle layer.

Step 3
Create again a rectangle of black color #000000 with Rounded Rectangle Tool radius (20%).

Now I am going to applying some Blending Options to the second rectangle layer.
Bevel and Emboss
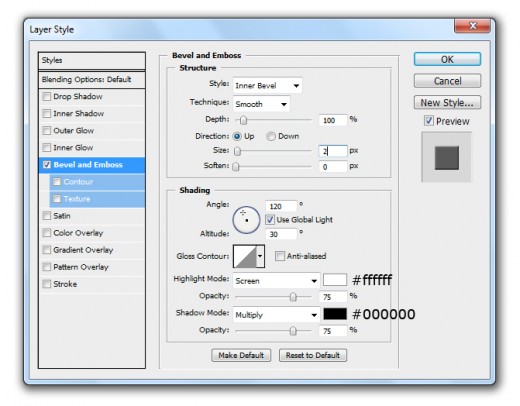
Gradient Overlay
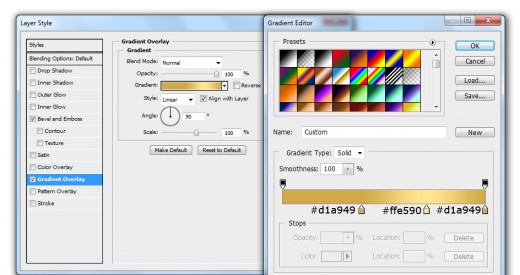
Stroke
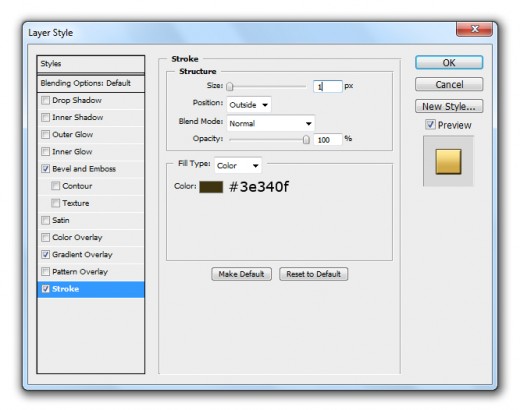
After applying these blending options we get cool effect on this rectangle layer.

Step 4
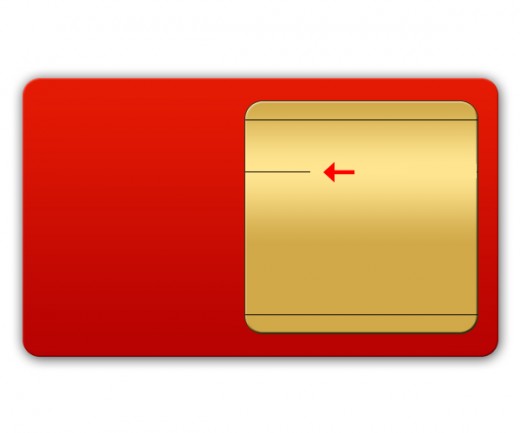
Select Line Tool and draw a line with black color as like in preview.

Duplicate the line layer and set duplicate layer down side as like in picture below.

Step 5
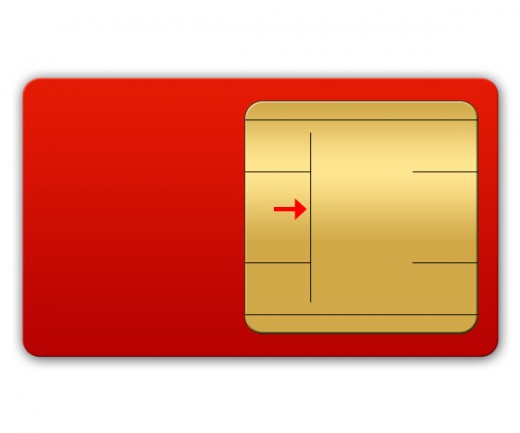
Select again Line Tool and draw a line with black color #000000.
Duplicate this line and set it right side as like shown image below.

Now select both small lines and merge them (Ctrl+E) then duplicate it and adjust it downside as like in preview.

Step 6
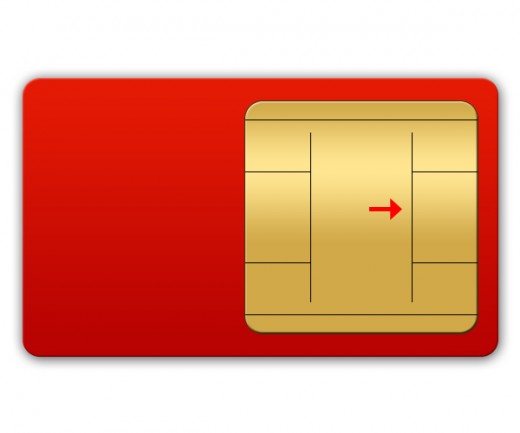
Select Line Tool ones more time and create a vertical line with black color #000000.
Duplicate this vertical line and adjust it right side like shown picture below.
Step 7
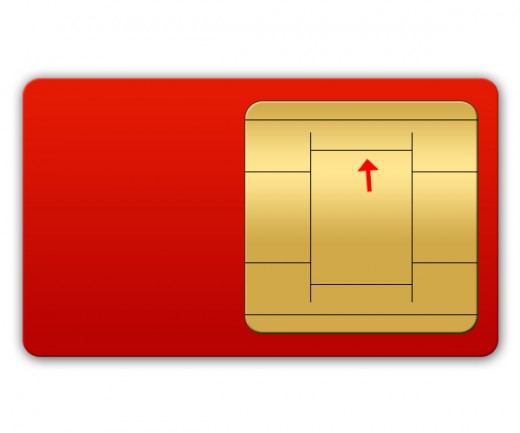
Create a small horizontal line of black color #000000 with Line Tool.

Duplicate this horizontal line and adjust it upper side as like in preview.
Step 8
Now one by one applying Bevel and Emboss each line.

When we applying bevel and emboss all the line layers we get new effect on these line layers.

Step 9
Create a new layer select the Pen Tool and draw a path as like in picture below.
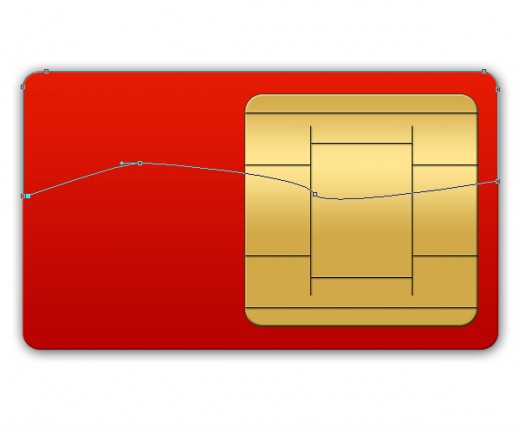
After creating a path right click on path and select (Make Selection) option.
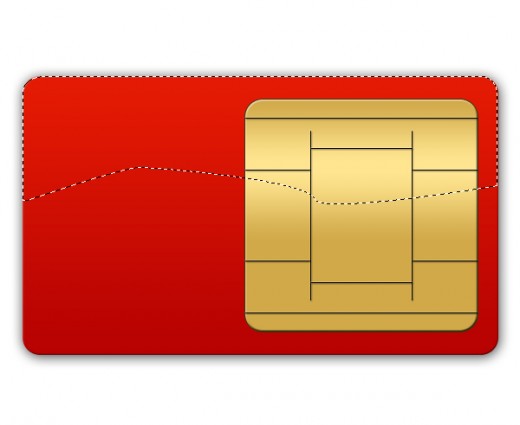
Fill the selection with white color #ffffff.
After filling the selection set this layer behind small rectangle layer.
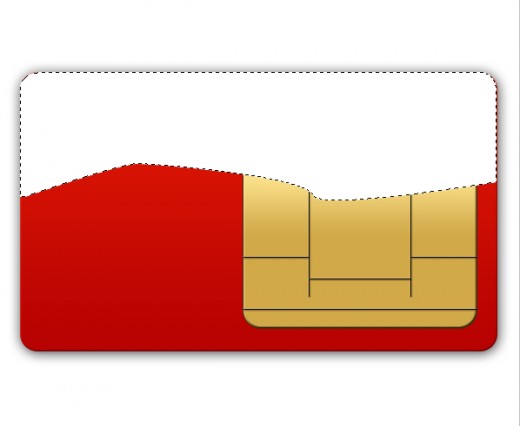
Step 10
Now minimize the opacity of this filling layer (10%).
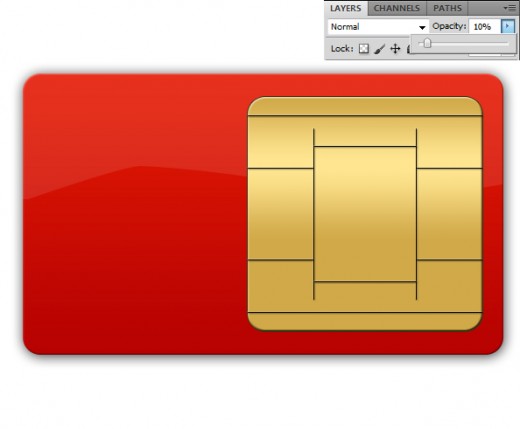
Step 11
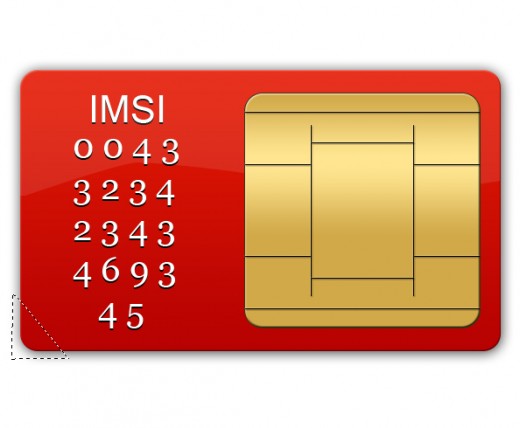
Now select the Text Tool from tool panel and write the text on red rectangle layer as line in picture below.

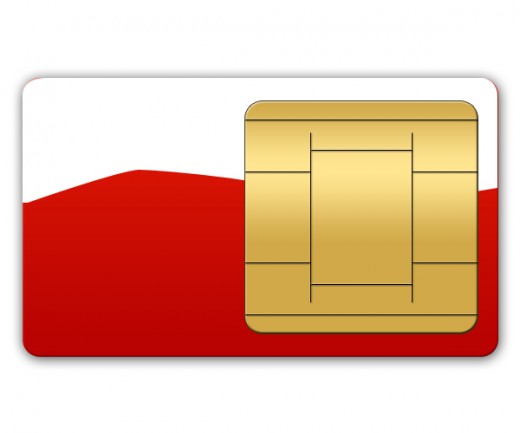
Step 12
Resterize the big red rectangle layer select Polygonal Lasso Tool and make a selection as like in preview.
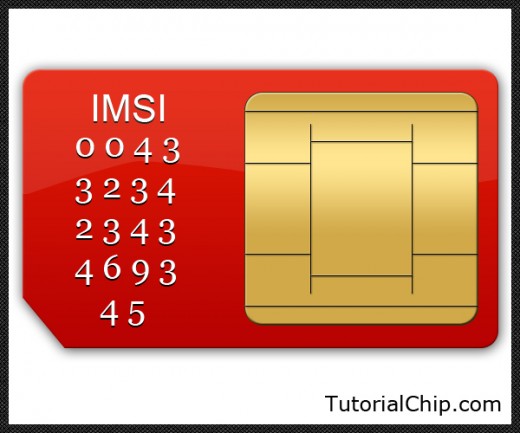
Hit the delete button to delete the area to complete our sim card here as like in final preview.
Final Preview
I hope you have definitely like this Sim Card tutorial. Remember to share your comments with us. Follow TutorialChip on Twitter or Subscribe to TutorialChip to Get the Latest Updates on Giveaways, Tutorials and More for Free.
Very Cool and understanding tutorial i just enjoy it hope u make more in near future, am big fan of photoshop anyway thanks 😀