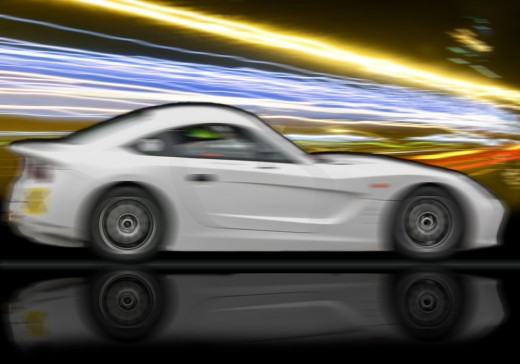
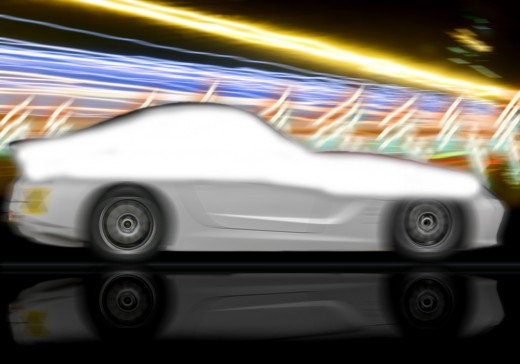
Step 9
Select the Line Tool and create a line with this color #1f393a, bottom of the car.

Go to the Blending Option and applying Outer Glow on this line layer.

When we applying outer glow we get nice effect on line layer.

Step 10
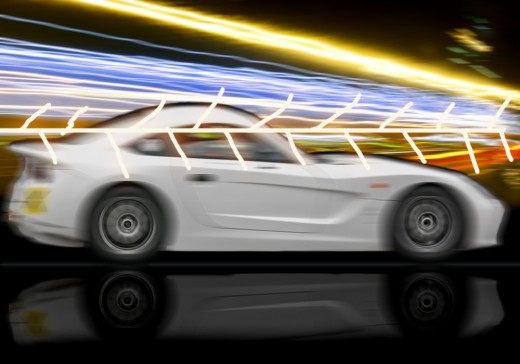
Select the both car image layers, duplicate these layers. In this time we have four car layers. Now select the new both duplicate car layers and transform it (Ctrl+T) right click on this layer, click on vertical option and set it down side.
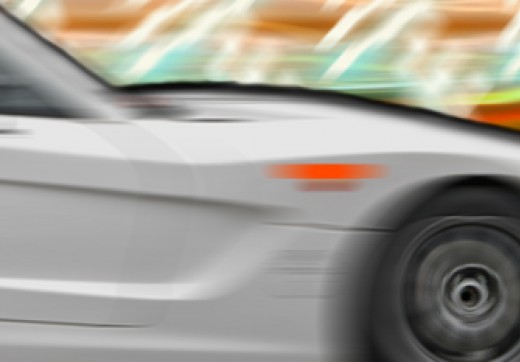
After transform the duplicate car image layer we get this result.
Select the Eraser Tool and erase the bottom of the duplicate car layer and down the Opacity (40%).
Step 11
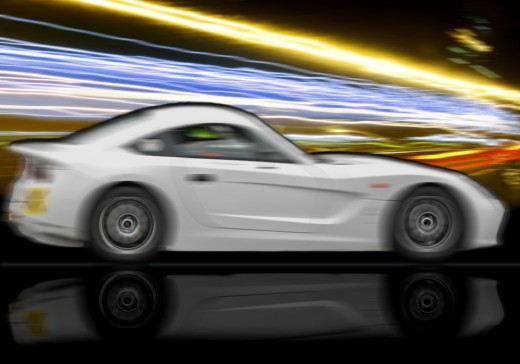
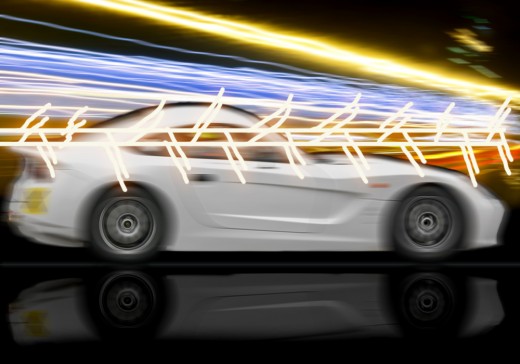
Select the line layer go to Layer > New Adjustment Layer > Curves and set the curves.
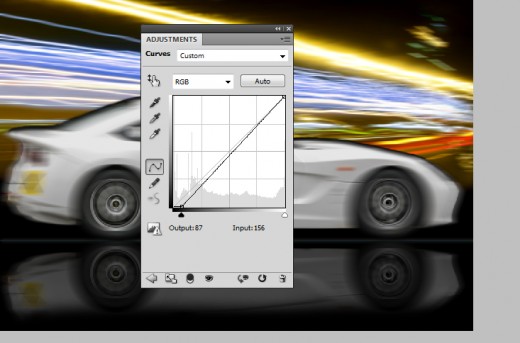
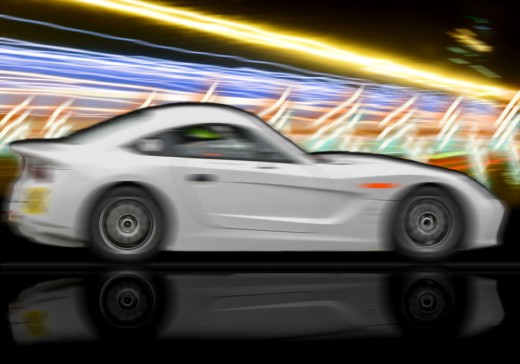
After set curves we get new result.
Step 12
Create new layer and name it Wire Layer select Hard Brush of (8px) and make a design with this color #faf8e9.
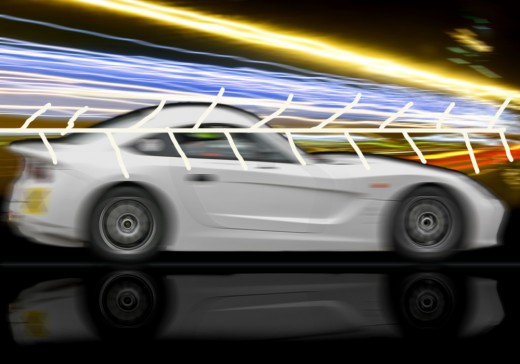
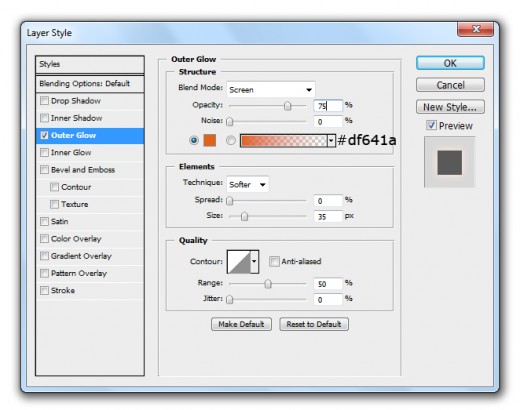
Go to Layer > Layer Style and applying Outer Glow on this layer.
Outer Glow

After applying outer glow we get new result.
Duplicate this Wire Layer and set it little bit downside as like in preview.
Now change the Outer Glow setting of this duplicate wire layer.
After changed the setting of outer glow we get nice preview.
 Now duplicate wire layer one more time and set it little bit downside of other layers.
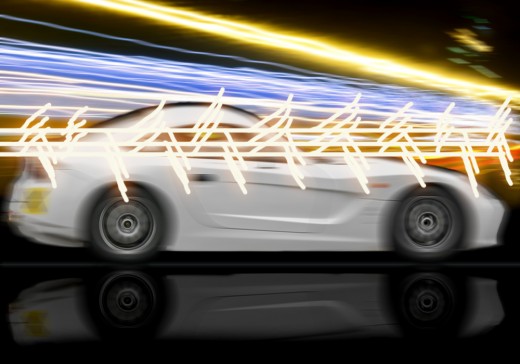
Change the Outer Glow setting of this second duplicate wire layer.

When we change the setting of this second duplicate layer we have cool result.
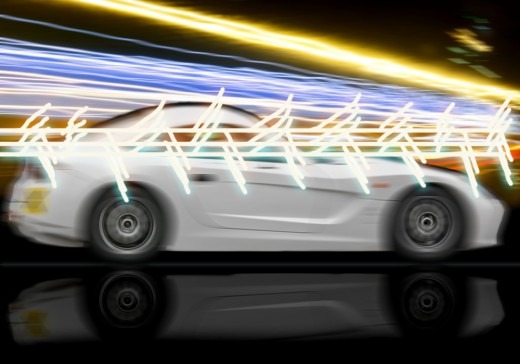
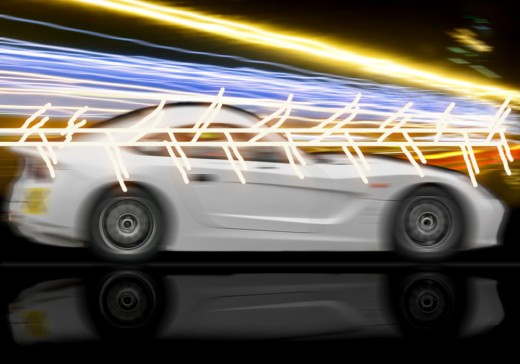
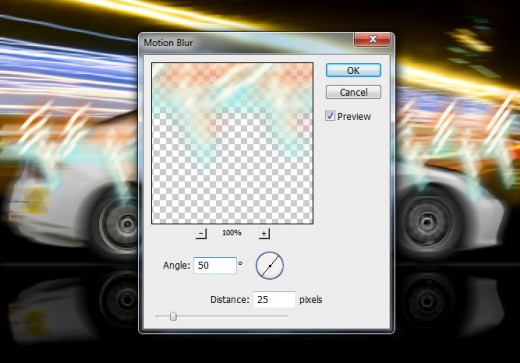
Now select three wire layers and merge them (Ctrl+E) then go to Filter > Blur > Motion Blur and set Angle (50) and Distance (25).
After this implement you can see awesome effect.
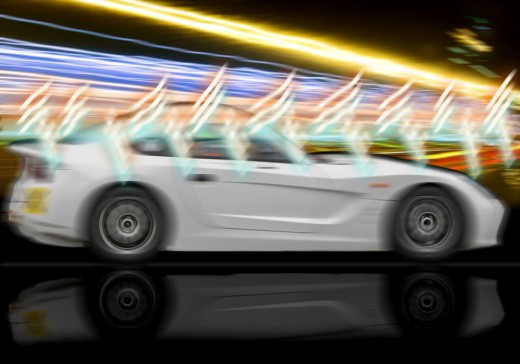
Set downside wire layer to the car image layer as like in preview.
Step 13
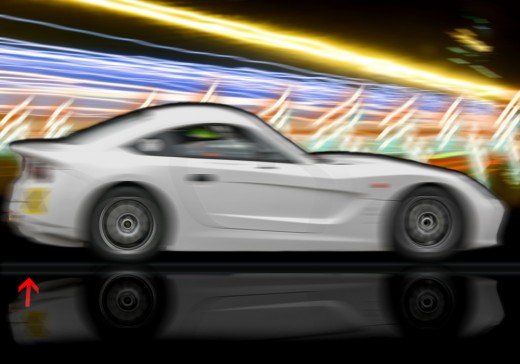
Now we go back to the line layer. Duplicate this line layer and set little bit down as like in picture below.
Step 14
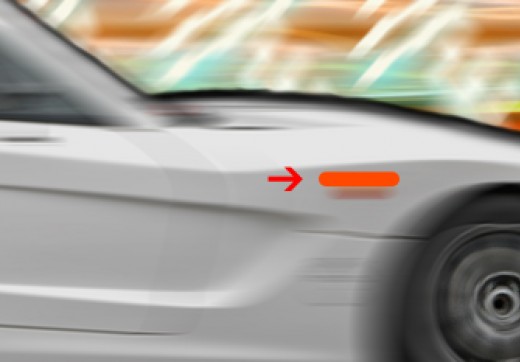
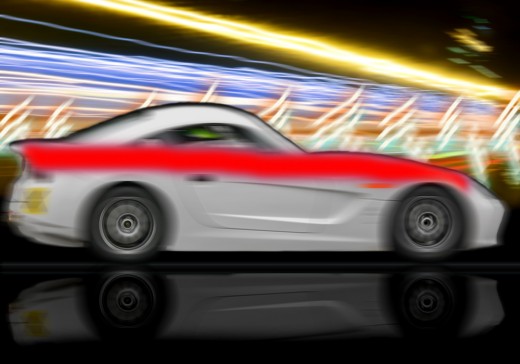
Select Rounded Rectangle Tool set radius (20px) and draw a small rectangle with this color #ff4800.
Go to Filter > Blur > Motion Blur and set Distance (34).
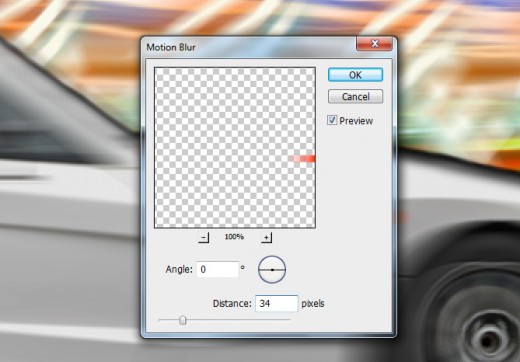
After applying motion blur we get new effect on this rectangle layer.
Down 3px this rounded rectangle layer as like in picture below.
Step 15
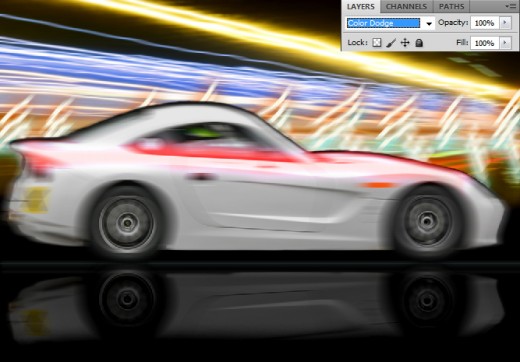
Create new layer top of all the layers, select any Soft Brush of (60px) and draw a shape with red color #ff0000.
Set the Blend Mode to (Color Dodge) of this shape layer.
Step 16
Again create new layer to the top of all the layers, select Soft Brush of (60px) and draw a shape with white color #ffffff.
This time set the Blend Mode to (Exclusion) of this second shape layer.
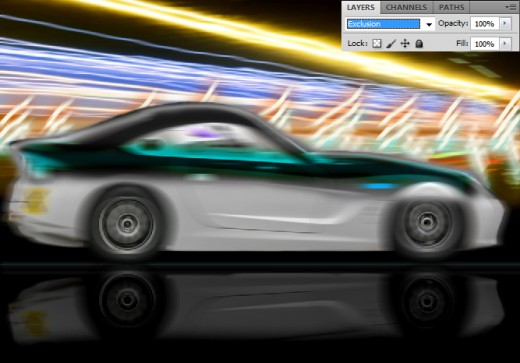
After set the blend mode we get awesome speed lightning car photo in final preview.
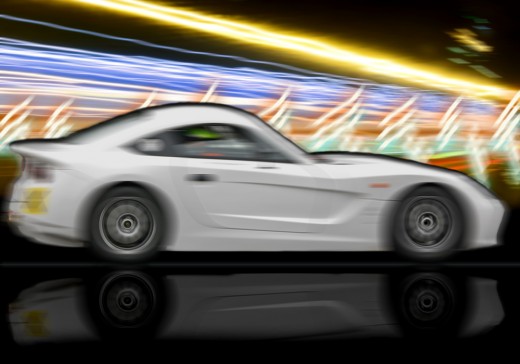
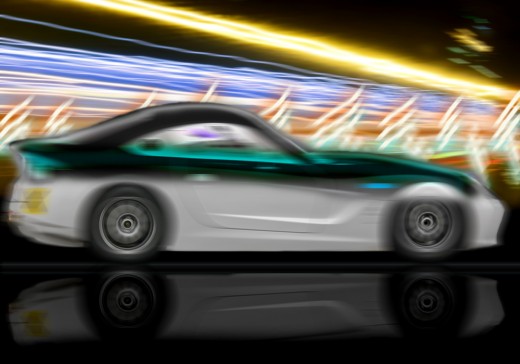
Final Preview
I hope you have enjoyed this wonderful speed lightning car photo tutorial. Always share your comments with us. Don’t Forget to Follow TutorialChip on Twitter or Subscribe to TutorialChip to Get the Latest Updates on Giveaways, Tutorials and More for Free.