Today I am creating an out of bounds surreal photo in Photoshop. In this tutorial I am playing with some images and brushes to create surreal photo effect. This creation is very complex but beautiful, so I decided to share this awesome creation with you and I hope you will like it. Always remember to share your suggestions with us. Enjoy!
Other unique photoshop tutorials:
- Create a Fantastic Special Lighting Effect in Photoshop
- Create a Medieval Fantasy Themed Photo in Photoshop
- How to Create a Floating Over Grown Tree in Photoshop
- How to Apply Texture on Human Face: Photoshop Tutorial
Tutorial details:
- Program: Adobe Photoshop CS5
- Difficulty: Intermediate
- Estimated Completion Time: 50 Mins
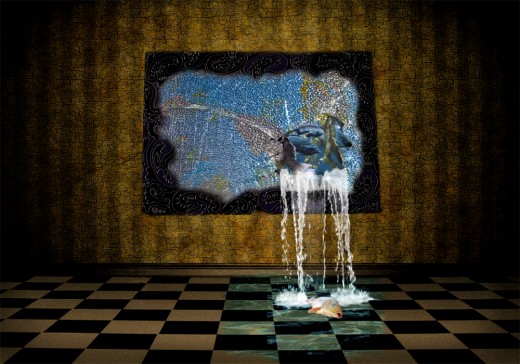
Create an Out of Bounds Surreal Photo in Photoshop CS5 – Final Preview
Tools and Resources

External Resources
Photoshop Tool
- Eraser Tool
Lets start to create our out of bounds surreal photo in photoshop.
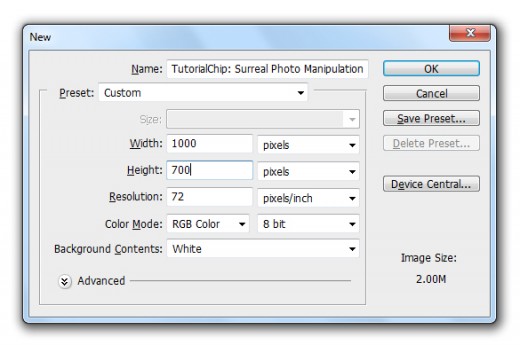
Step 1
Create a new document (Ctrl+N) with 1000×700 of size.
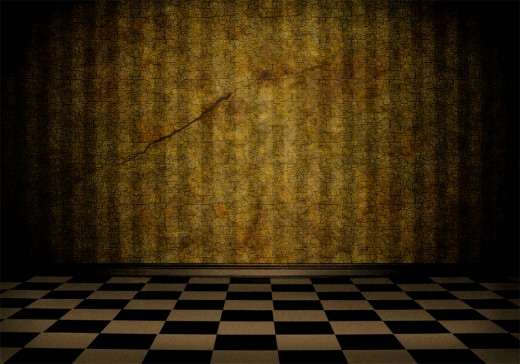
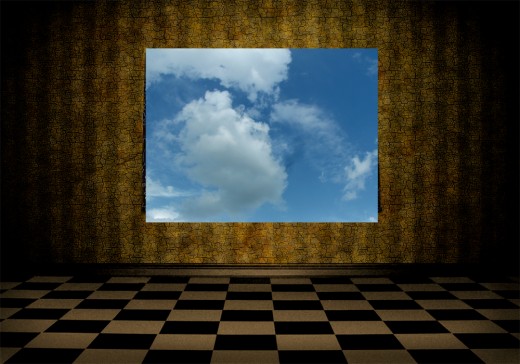
Step 2
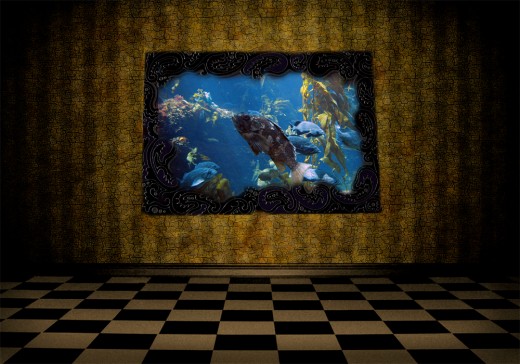
First of all add Empty Room Image in photoshop.
Step 3
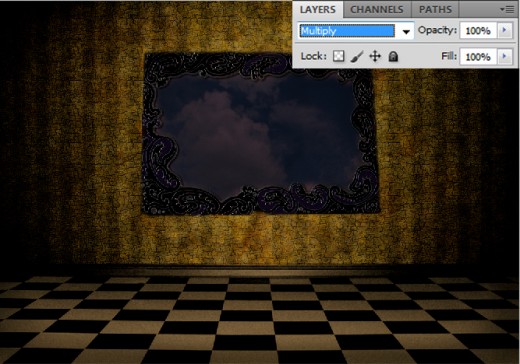
After add room image in photoshop now add the Gothic Frame Image.
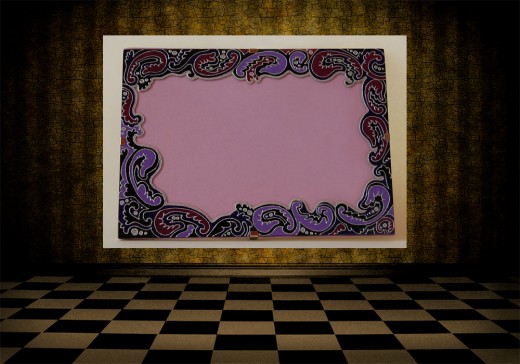
Rasterize frame image layer, select Eraser Tool from tool panel and erase the sides of this frame layer.
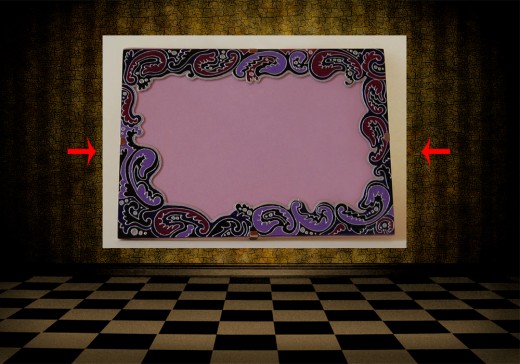
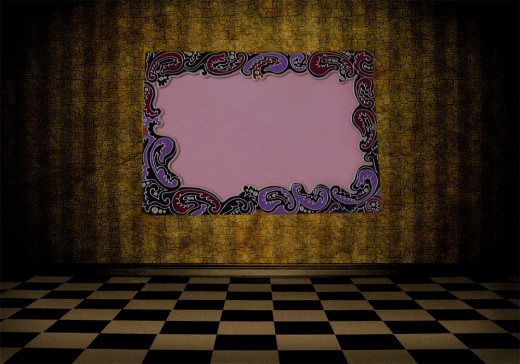
After Erasing sides we get this result.
Step 4
Now I am going to applying Curves effect on frame layer.
Go to Image > Adjustment > Curves.
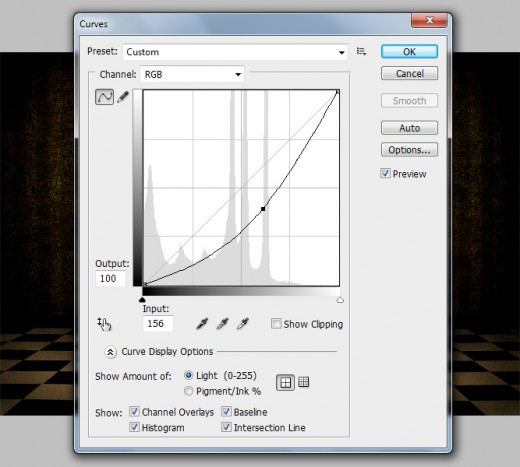
After set curves we get a new effect on frame layer.
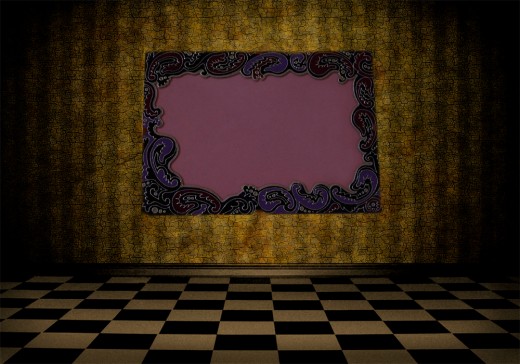
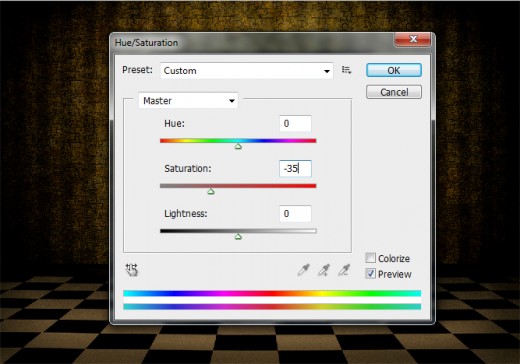
After set curves now applying Hue Saturation on this frame layer.
Go to Image > Adjustment > Hue saturation.
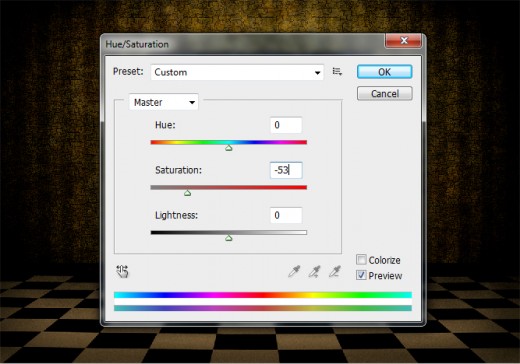
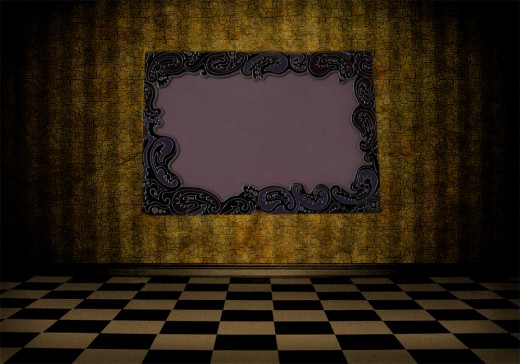
When we set hue saturation we get a cool effect as like in preview.
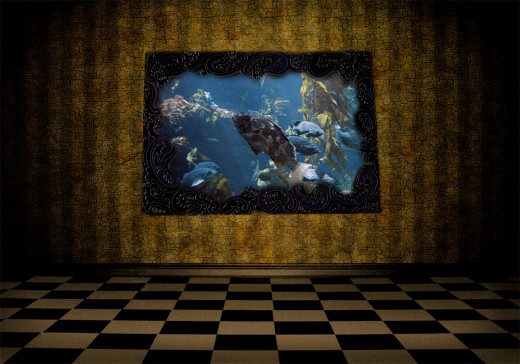
Finely I am going to set the Levels of of this frame layer.
Go to Image > Adjustment > Levels.
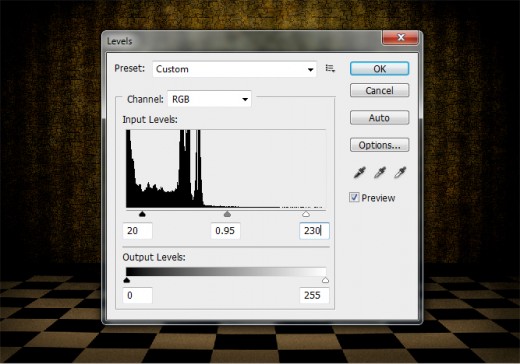
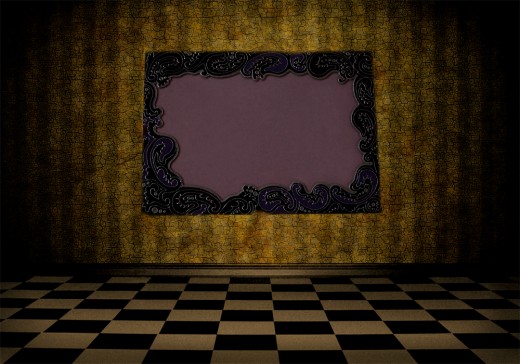
After set levels we get awesome result.
Step 5
Here I am going to add Cloud Image in photoshop to create our next effect.
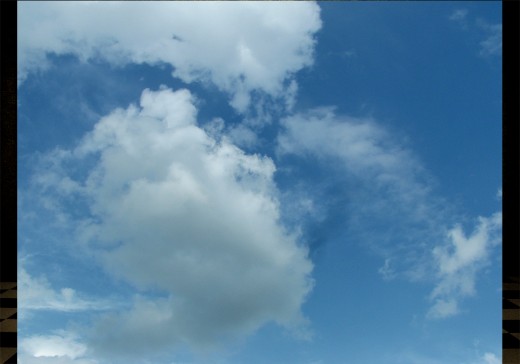
Go to Edit > Transform or press (Ctrl+T) and minimize the size of cloud image layer.
After minimize size we get this new result.
Now rasterize cloud image layer select Eraser Tool and erase the sides of cloud layer, set this picture in to the frame.

Set Blend Mode to (Multiple) of this cloud image layer.
Step 6
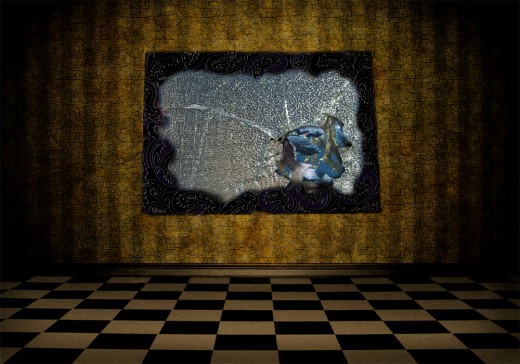
In this step add the Fishes Image in photoshop.

After add image now rasterize it select Eraser Tool and erase the sides of this layer, set in to the frame as like in preview.
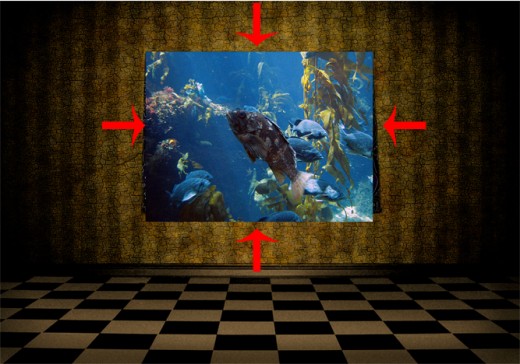
After erase sides we get new beautiful result.
After erasing the sides applying Hue Saturation on fishes image layer.
Go to Image > Adjustment > Hue Saturation.
After set hue saturation we get this result.
Step 7
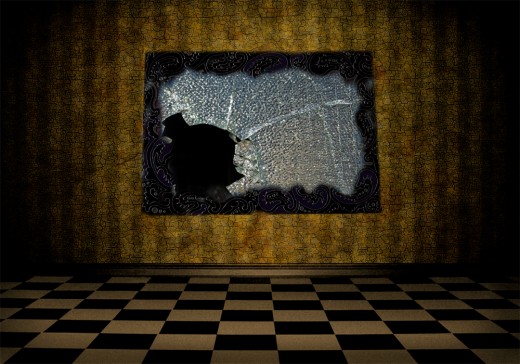
Add Broken Glass Image in photoshop to create next effect.

Now select Eraser Tool and erase the sides unneeded area as like in preview.
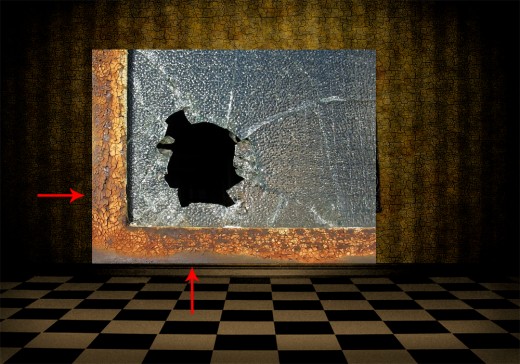
When we erase sides area we get this awesome result.
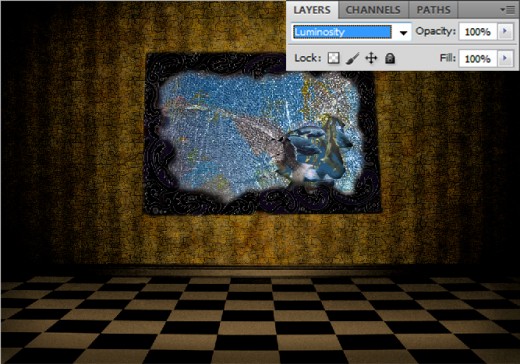
Go to Edit > Transform > Flip Horizontal.
After set the horizontal direction of this layer select Eraser Tool and erase the broken black area as like in preview.
Now set the Blend Mode to (Luminosity) of this broken glass image layer.
Step 8
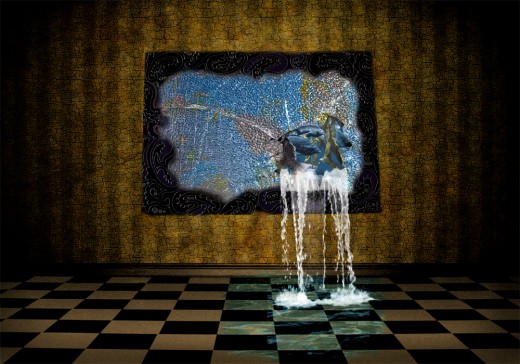
Create a new layer (Shift+Ctrl+N) select Water Brush with (250px) of size and paint it to the broken place with white color #ffffff, as like in preview.
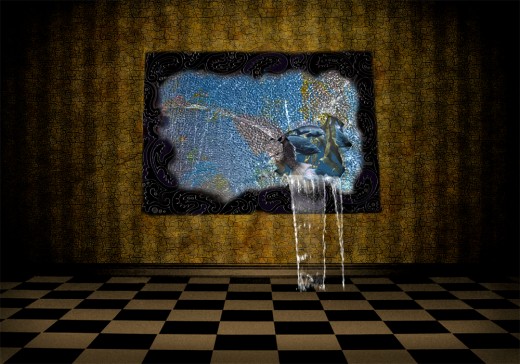
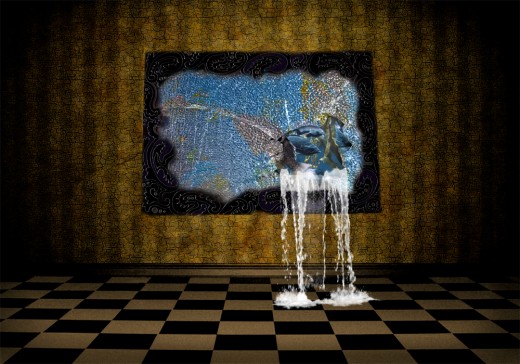
Ones again create a new layer (Shift+Ctrl+N) select water splashes brush with (250px) of size and paint it to the broken place with white color #ffffff.
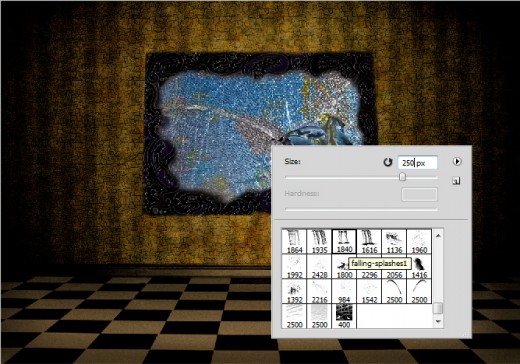
After paint brush we get this result.
Step 9
Now add Water Image in Photoshop.
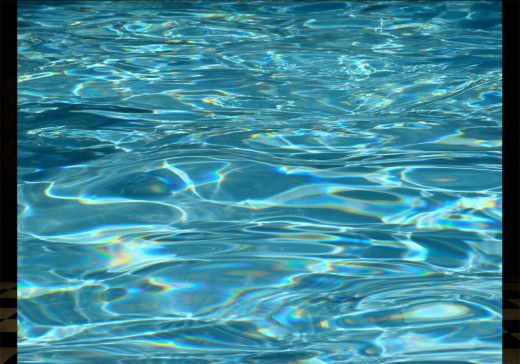
Go to Edit > Transform or press (Ctrl+T) and minimize the size of this water image layer.
After minimize size we get this result.
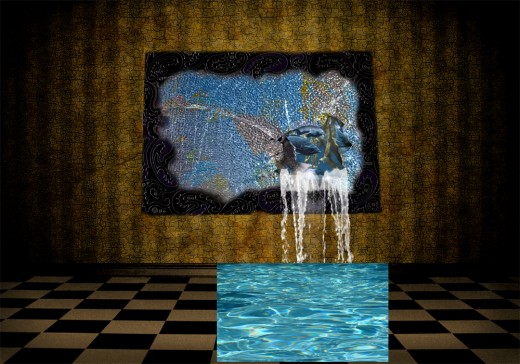
Set the Blend Mode to (Soft Light) of this water image layer.
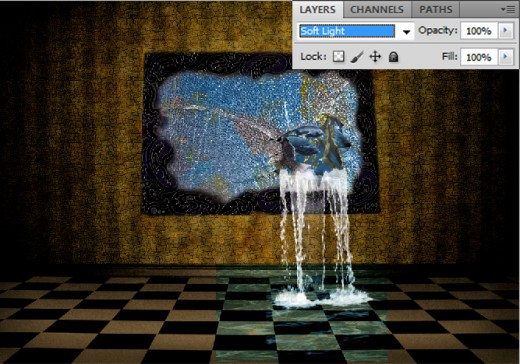
Now select Eraser Tool from tool panel and erase little bit sides of this water image layer as like in preview.
Step 10
In this step add the Die Fish Image in potoshop.
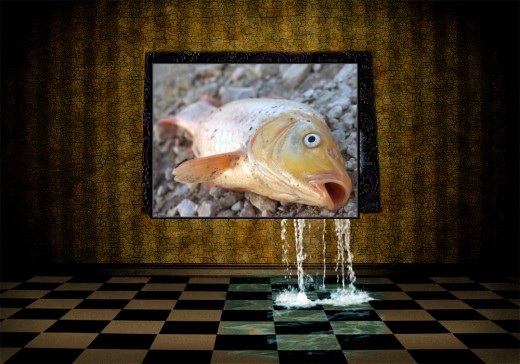
Rasterize it, select Eraser Tool from tool panel and erase unneeded area of this layer.
Go to Edit > Transform or press (Ctrl+T) and down the size of this layer and set this image on the floor as like in preview.
After set image get this result.

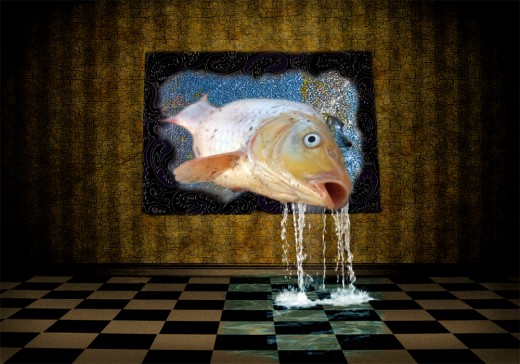
After all the struggle we get our out of bounds surreal photo in final preview.
Final Preview
I hope you will definitely like this out of bound surreal photo tutorial and always share your lovely comments with us. Follow TutorialChip on Twitter or Subscribe to TutorialChip to Get the Latest Updates on Giveaways, Tutorials and More for Free.