A laptop computer usually called a notebook computer by manufacturers. It is a personal computer and smaller than a briefcase that can easily be transported and used in temporary spaces such as on airplanes, in libraries, offices and at meetings.
We usually get laptops for photo editing but today we are turning tables and in this tutorial, I will try to deliver a technique that will help you to create laptop using a very simple and easy method in Photoshop.
Though I am using Photoshop CS5, any version will work. Here you will learn how to create a laptop using the many useful techniques. I hope you will like this tutorial. Feel free and share your comments with us.
More impressive Photoshop tutorials:c
- Create a Diagnostics Icon in Photoshop
- Creating a Slick Silver Watch in Photoshop
- Create a Beautiful LCD Television in Photoshop
- How to Create a Hard Drive: Photoshop Tutorial
Tutorial details:
- Program: Adobe Photoshop CS5
- Difficulty: Intermediate
- Estimated Completion Time: 50 Mins
Download source file:
Create a Laptop in Photoshop – Final Preview

Tools and Resources
Photoshop Tools
- Rounded Rectangle Tool
- Rectangle Marquee Tool
- Ellipse Tool
- Gradient Overlay
- Polygonal Lasso Tool
External Resource
Lets start to create a laptop in Photoshop.
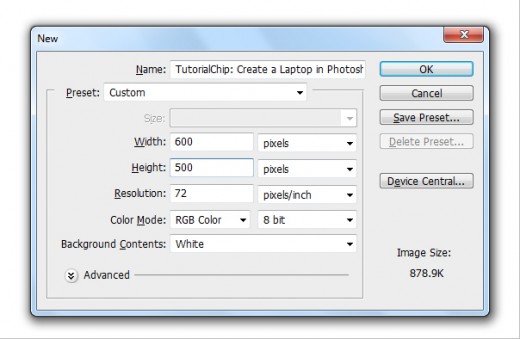
Step 1
Create a new document (Ctrl+N) 600×500 of size.
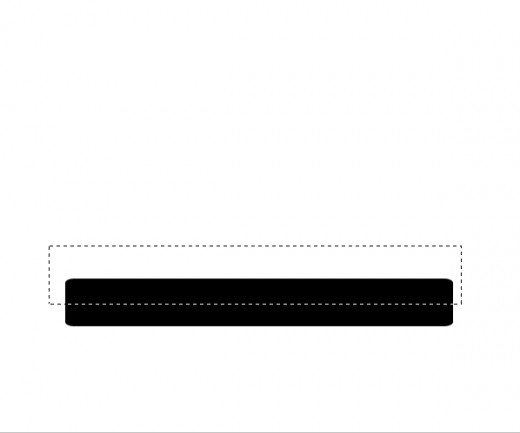
Step 2
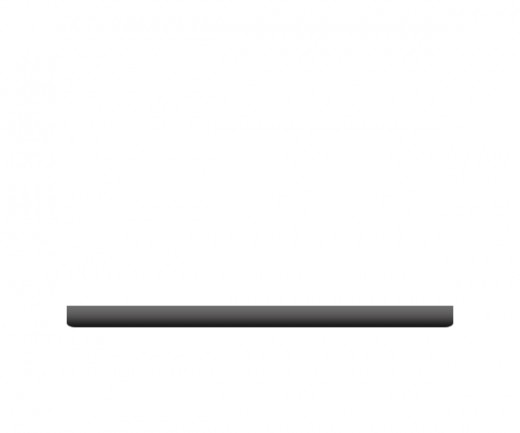
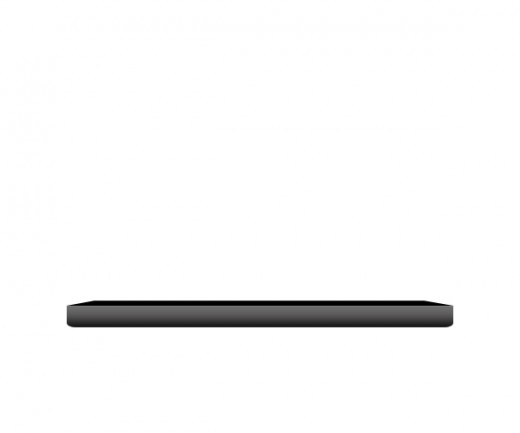
Select Rounded Rectangle Tool from tool panel set radius 10% and create a rectangle with black color #000000.

Rasterize the rectangle layer, right click on rectangle layer and click on Rasterize Layer option. Select Rectangle Marquee Tool and make a selection as like in preview.
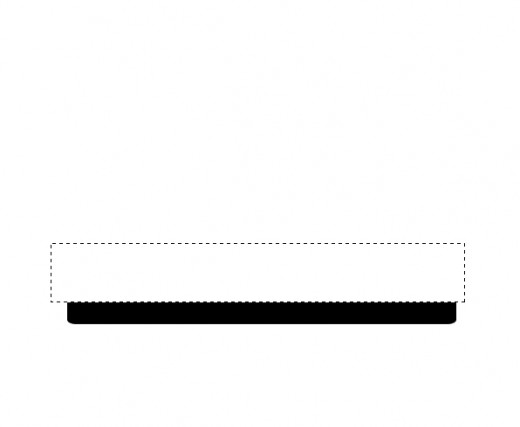
Hit delete button to delete the half selection rectangle then we get this result.
Step 3
Go to Layer > Layer Style and applying Gradient Overlay.
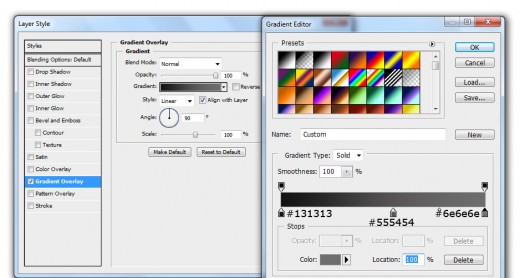
After applying gradient overlay we get nice effect on rectangle layer.
Step 4
Create new layer select Polygonal Lasso Tool and make a selection as like in picture below.
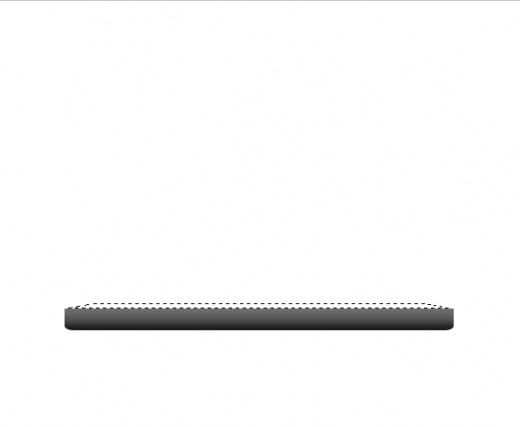
Fill the selection with black color #000000.
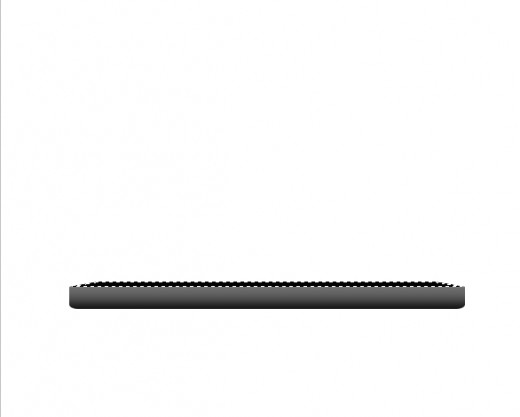
After fill selection we get nice result.
Step 5
Select Rounded Rectangle Tool set radius 8% and create a rectangle with black color #000000 name it layer Screen.
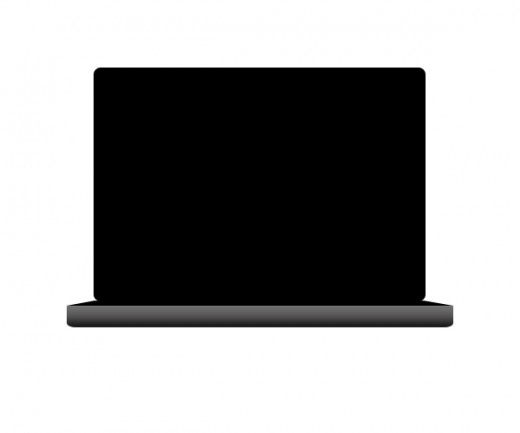
Go to the Blending Option and applying Stroke on screen layer.
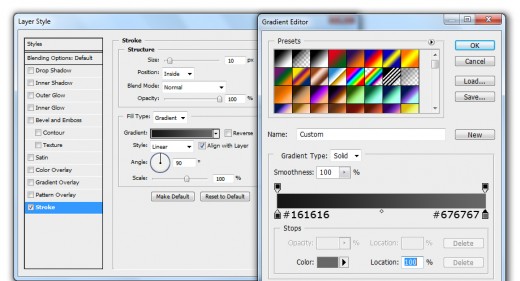
When we applying stroke we get cool effect on screen layer.
Step 6
Now we are going to set an image on screen layer which name is Laptop Desktop image. You can download it to click on this link.

Step 7
Now create a small rounded rectangle of black color #000000 with Rounded Rectangle Tool as like in preview.
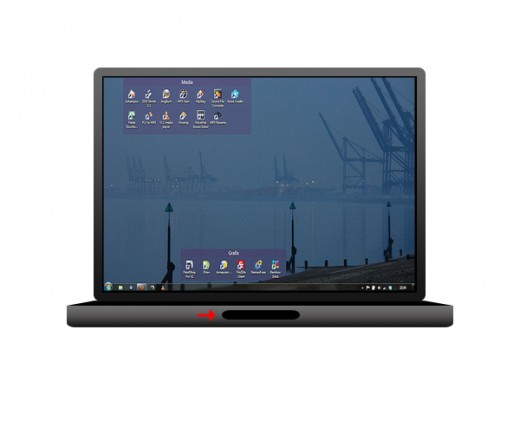
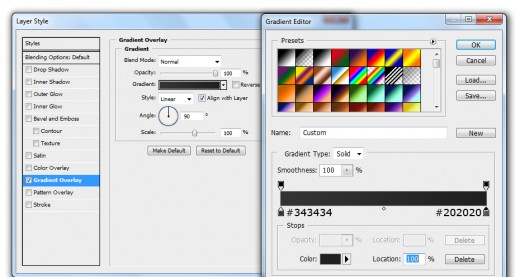
Go to Blending Option and applying Gradient Overlay on this small rounded rectangle layer.
After applying gradient overlay we get new effect on small rectangle layer.

Step 8
Create one more small rectangle upper side of screen layer with Rounded Rectangle Tool as like in picture below.
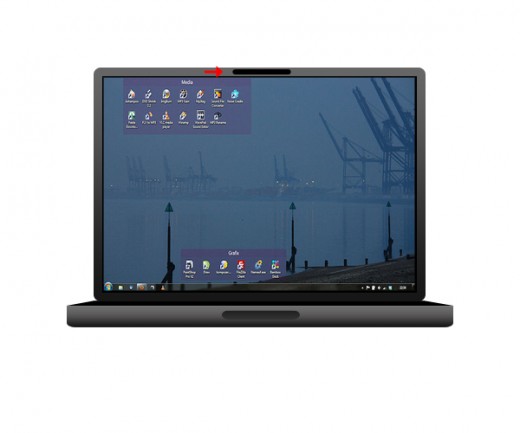
Now go to Layer > Layer Style and applying Gradient Overlay.

When we applying gradient overlay we get this result.

Step 9
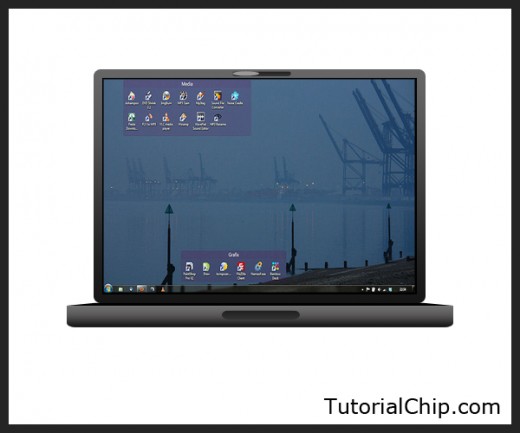
Select Ellipse Tool and create a shape with color #9a9a9a as like in preview.

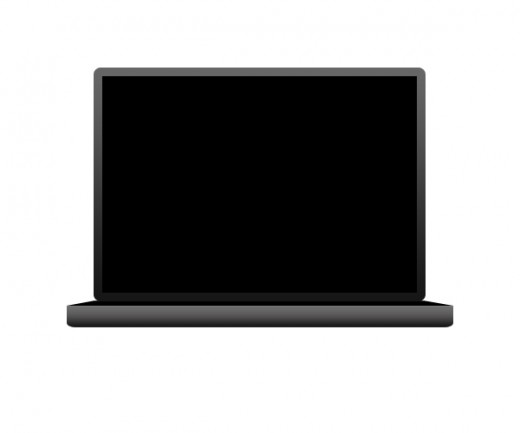
Step 10
After creating shape we get awesome laptop in final preview.
Final Preview
I hope you have definitely like this laptop tutorial. Never forget to share your comments with us. Follow TutorialChip on Twitter or Subscribe to TutorialChip to Get the Latest Updates on Giveaways, Tutorials and More for Free.