Bluetooth is actually a wireless protocol which specifications are developed by Bluetooth Special Interest Group. It facilitates short-distance data transmissions and synchronization of these devices.
So today, we are going to present a incredible Bluetooth device Photoshop tutorial. It is really very easy way to enhance your Photoshop skills. We hope you will like it and always remember to share your comments with us.
Other Photoshop tutorials:
- Create a Realistic iPhone in Photoshop
- How to Create a Bullet in Photoshop CS3
- Creating a MP3 Design: Photoshop Tutorial
- Learn to Create Abstract Explosion in Photoshop
Download source file:
Tutorial Details:
- Program: Adobe Photoshop CS5
- Difficulty: Intermediate
- Estimated Completion Time: 1 hour
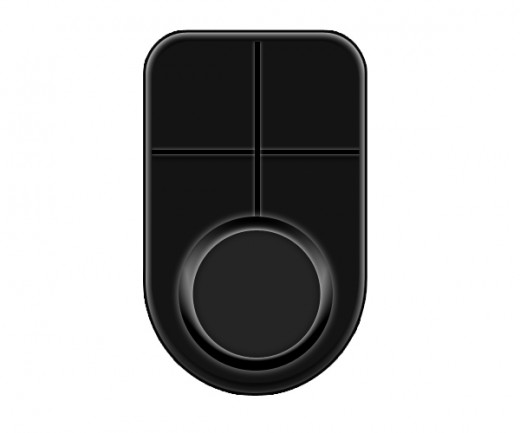
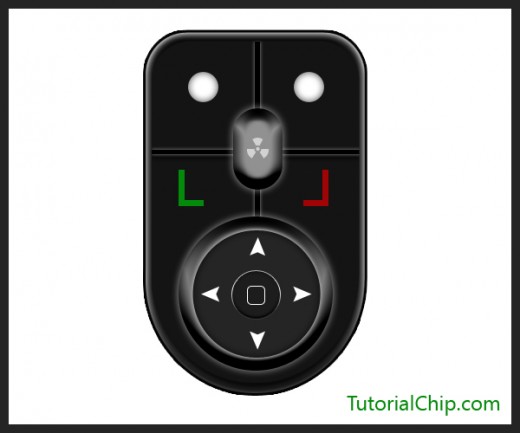
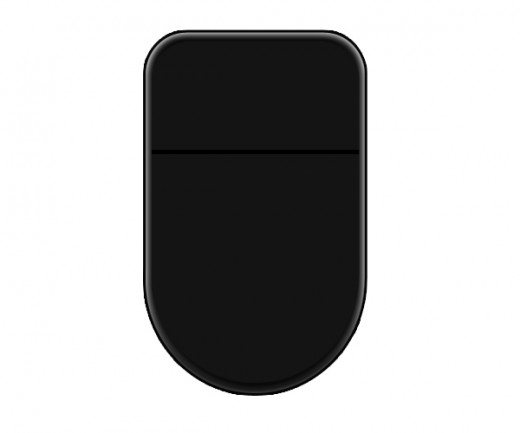
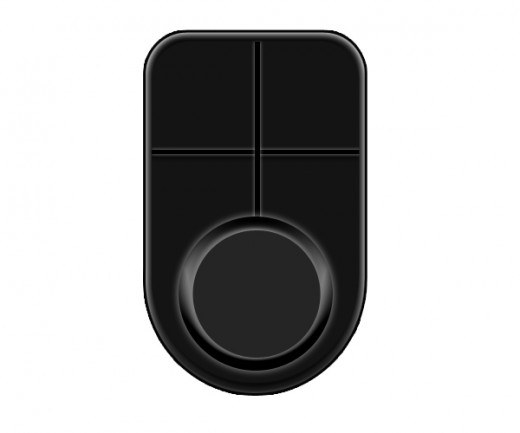
Create a Bluetooth Device in Photoshop – Final Preview
Tools and Resources
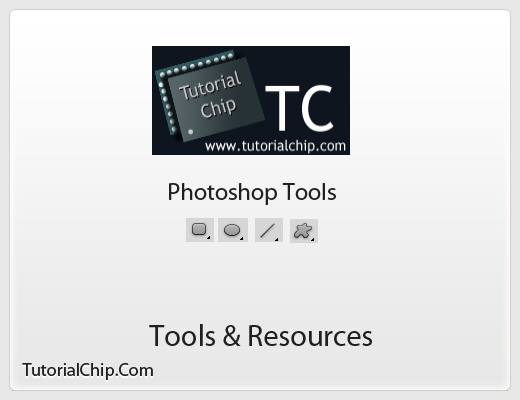
Tools
Following photoshop tool are used in this tutorial.
- Rounded Rectangle Tool
- Ellipse Tool
- Liner Tool
- Custom Shapes Tool
Lets start to create a incredible bluetooth device in Photoshop.
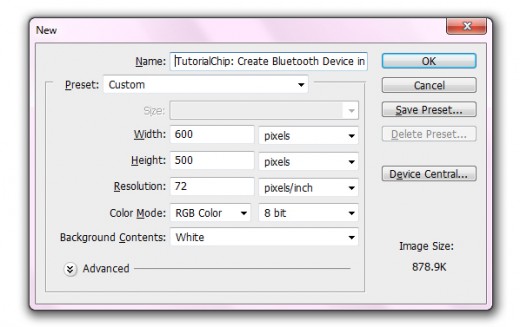
Step 1
Create a new file with (600×500) of size.
Step 2
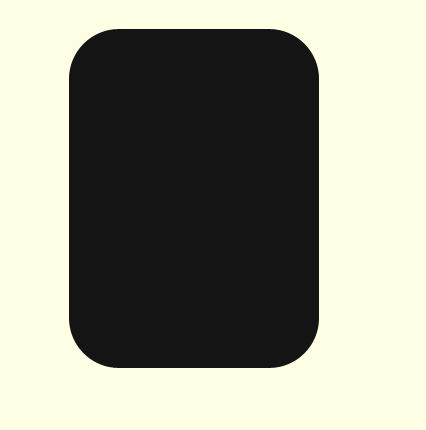
Select the Rounded rectangle tool from tool panel and draw a rectangle with this color #0a0a0a.
Step 3
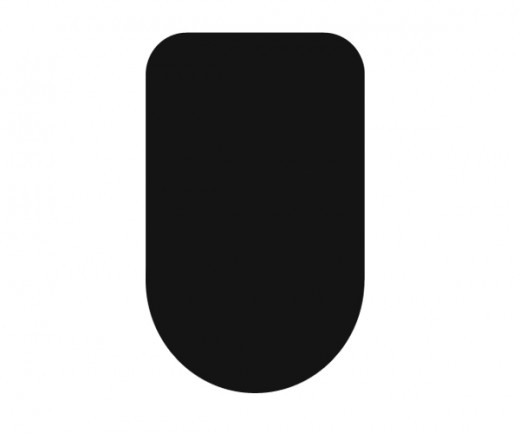
Now select the Ellipse Tool and draw a circle and adjust it as like in preview.
Step 4
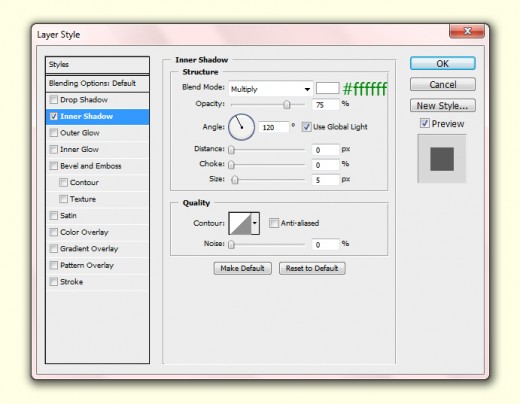
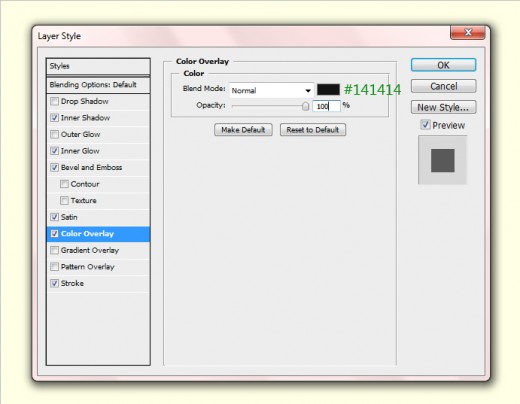
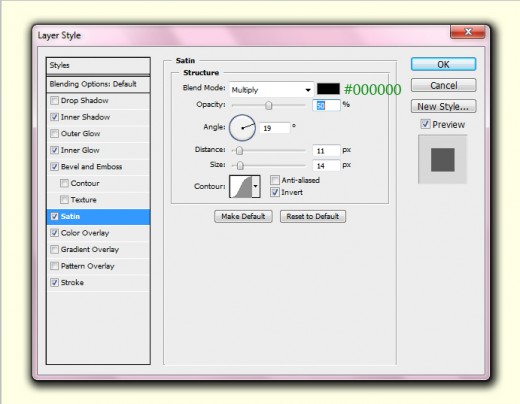
Select both layer and press (Ctrl+E) to merge them. Now Go to Layer > Layer Style and applying some effects.
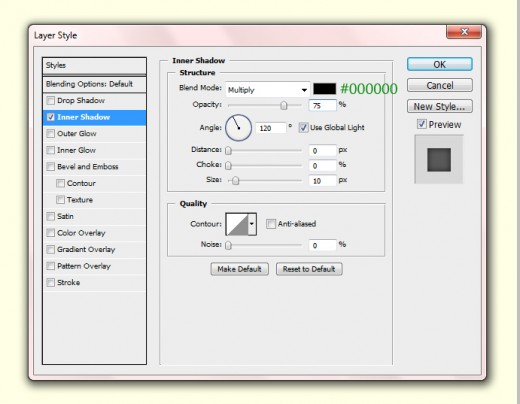
Inner Shadow
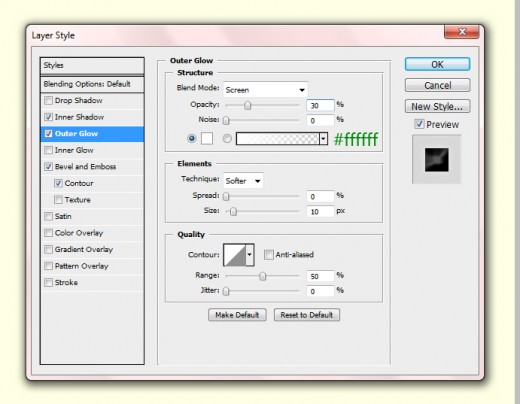
Inner Glow
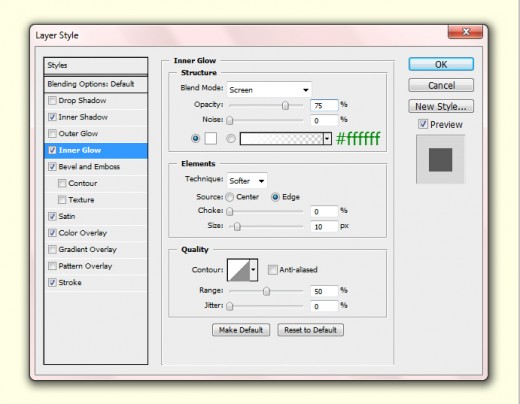
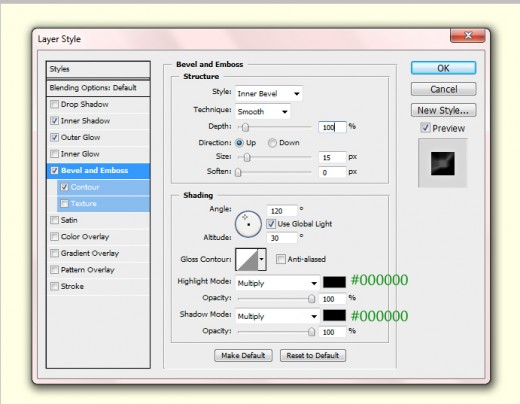
Bevel and Emboss
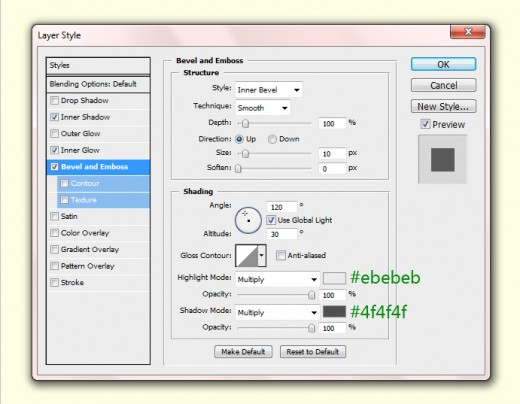
Color Overlay
Satin
Stroke
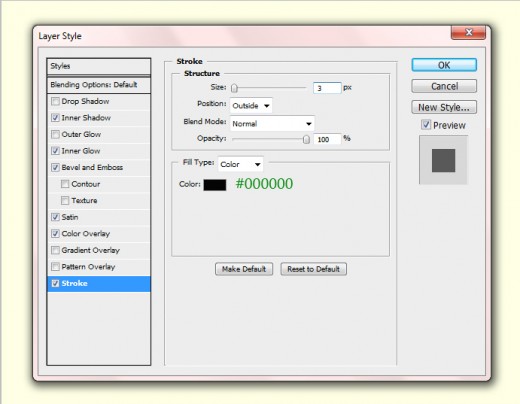
When we applying these layer styles, we get a awesome background.

Step 4
Duplicate the background layer delete all effects, go to Edit > Transform and down the size of duplicate layer and applying this color #1e1e1e.

Step 5
Select the Line Tool and draw a line with black colour #000000, as like in picture.
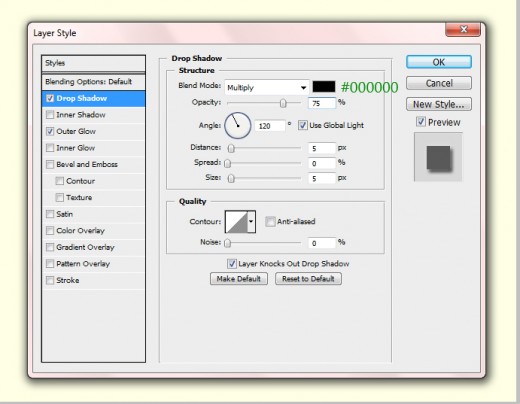
Applying some Blending Options at line layer.
Drop Shadow
Outer Glow
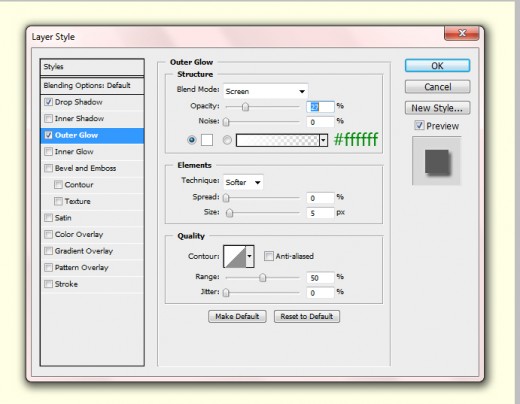
After applying these layer styles, we get a cool effect.
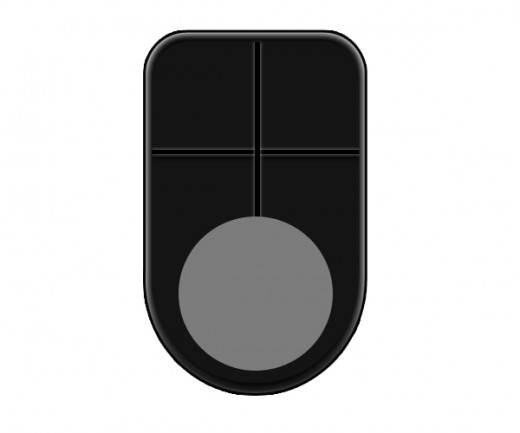
Now duplicate the line layer, go to Edit > Transform (Ctrl+T) rotate it as like in preview.

Step 6
Select the Ellipse tool again and draw a circle with color #7c7c7c.
Now applying some blending effects on this circle layer.
Inner Shadow

Outer Glow

Bevel and Emboss
When we applying these effects we get cool circle as like in picture.

Step 7
Select the ellipse tool once again, draw a second circle in the first circle with colour #252525, as like in preview.
Now we applying some blending options on second circle.
Inner Shadow
Outer Glow
After applying these effects we get awesome preview.