If you want to add some pizazz to your marketing ad or company logo, you can use the Warp Text feature in Photoshop to twist your text into any shape and then add it to your graphic. The Text Warp tool can also do arcs, bulges, shell shapes, flags, waves, fish, squeezing, twisting, and more. Basically, the Text Warp tool can twist and turn your letters in almost any way imaginable.
So today, in this article, we’ll look at Photoshop’s built-in Warp Text options and how they make it easy to twist, stretch and distort type into all kinds of interesting shapes, all while keeping our type, as well as the warping effect itself, completely editable!
You may be interested in following articles as well:
- How to Use Type Tool in Photoshop – Part 1
- How to Use Custom Shape Tool in Photoshop
- How to Change the Hair Color in Photoshop CS5
- Learn How to Create Your Own Brush in Photoshop
Using of the Warped Text Option
Step 1
First of all we type any text with help of Type Tool or Text Tool as you like.

Step 2
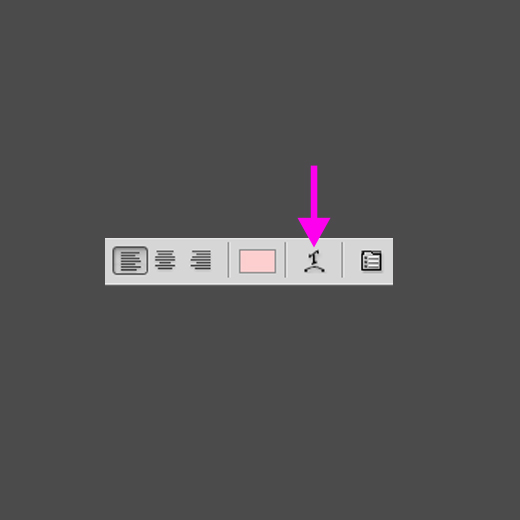
After type any text and click on the Warp Text option in the Options Bar. It’s the icon that looks like a letter T with a curved line below it:
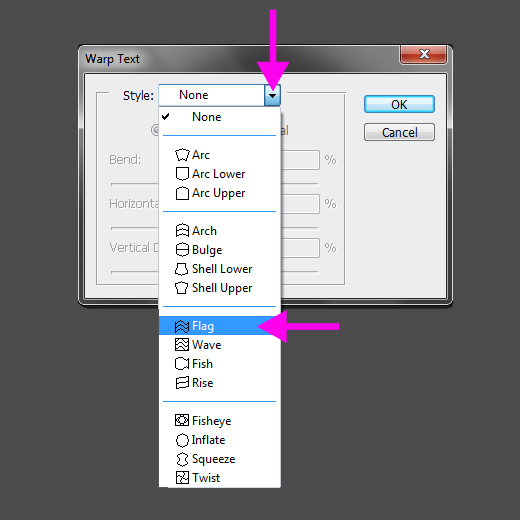
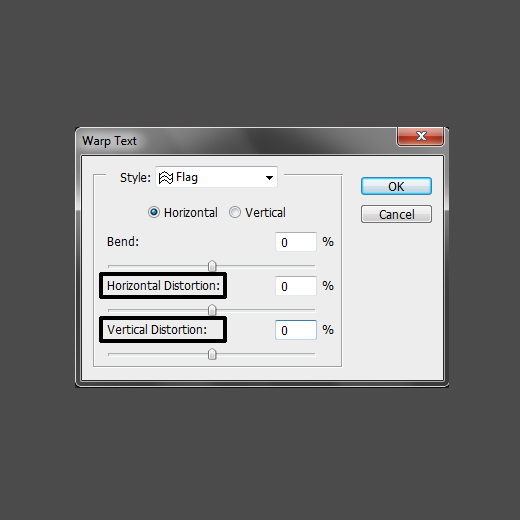
When we click on the warp text option then a new box will open. This is Photoshop’s Warp Text dialog box where we can choose which warping option we want to apply.
Step 3
As soon as we select a Flag Style but you can select any style you want, Photoshop applies it to our text in the document, giving us an instant preview of what the effect looks like. By default, the Bend value is set to 50%.

Step 4
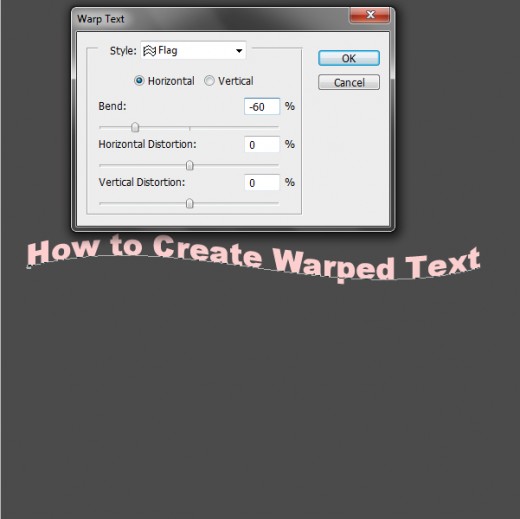
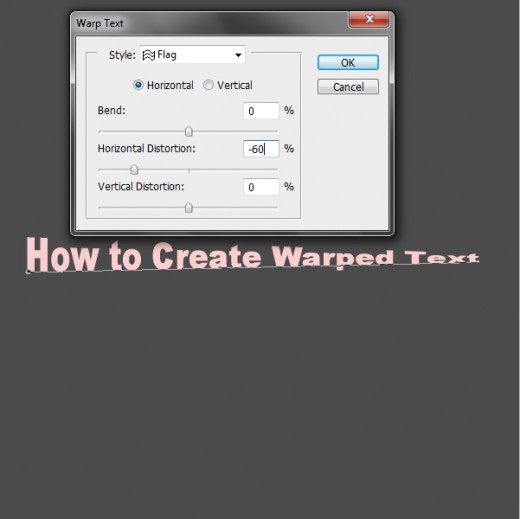
We can easily adjust it by dragging the slider left or right. I’ll drag the slider towards the left to lower Bend amount down to -60%:
Step 5
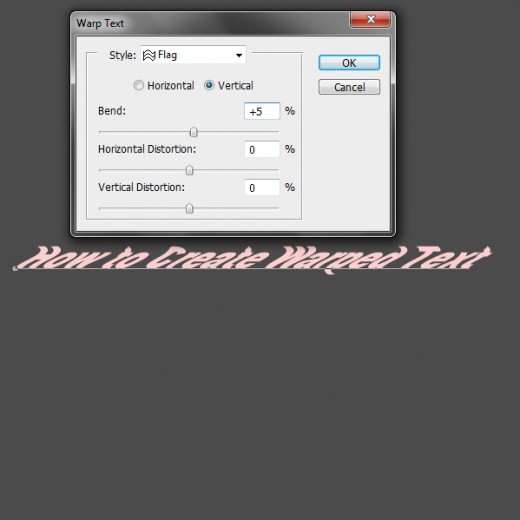
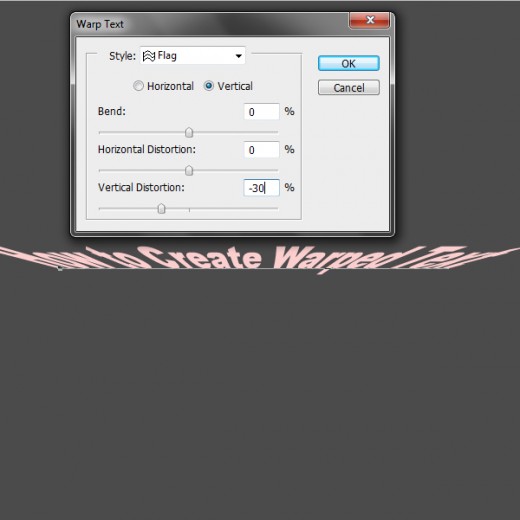
Bend option in the Warp Text dialog box, you’ll find two more options that control the direction of the warp, Horizontal and Vertical. The Horizontal option is selected for us by default and it’s usually the one you’ll want to use, but we can also have our text warp vertically. Now we’ll choose the Vertical option:
Step 6
In this warp text dialog box you will see more two options bottom of the box.
- Horizontal Distortion
- Vertical Distortion
Now we’ll drag the Horizontal Distortion slider to the left to set the value around -60%:
Step 7
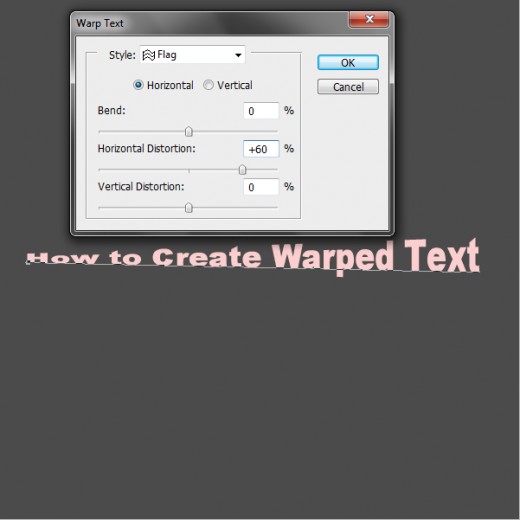
Like the Bend option, we can set the Horizontal or Vertical Distortion options to positive values as well by dragging the slider to the left. We’ll drag the Horizontal Distortion slider to +60%:
Step 8
We’ll set the Horizontal Distortion option back to 0%, then we’ll decrease Vertical Distortion to -30% by dragging the slider to the left:
Now we’ll increase Vertical Distortion to +30% by dragging the slider to the right:
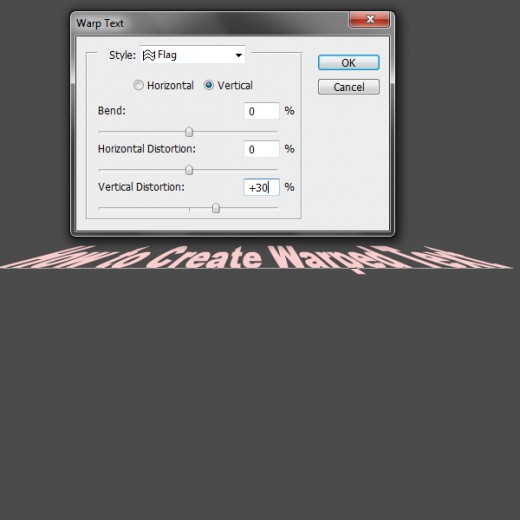
After all changing now you click on OK button in the top right corner of the Warp Text dialog box.

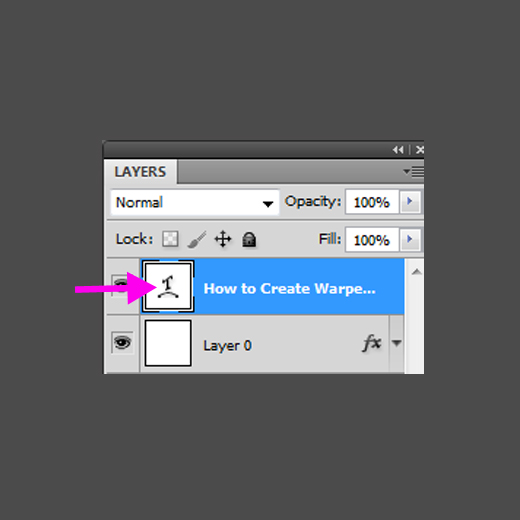
If you look in the Layers panel, you’ll see that the icon in the Type layer’s thumbnail has changed to indicate that warping effects are being applied to the text on that layer:
I hope you will like this very useful tutorial. Now you can go back and make changes as many times as you like, so be sure to try out all 15 warp styles to see what effect each one will give you. Feel free to share your comments with us.