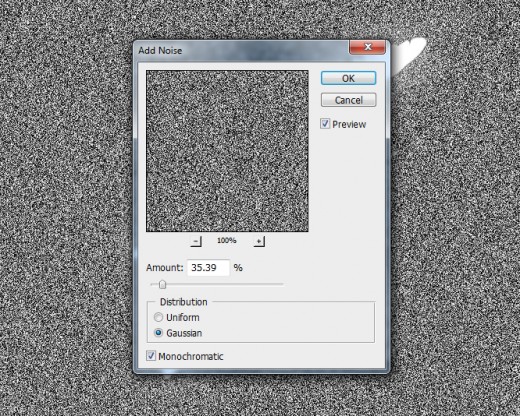
Step 8
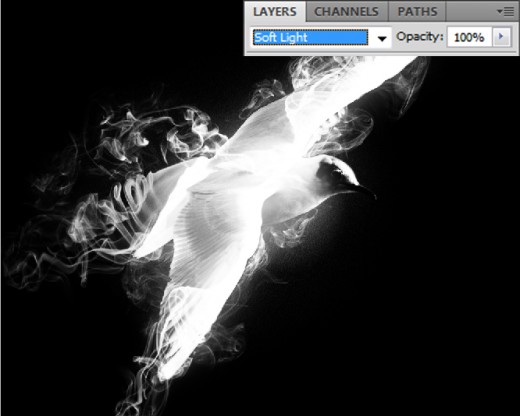
In this step create a new layer (Shift+Ctrl+N) top of gradient layer name it Noise and applying this color #767676.
Now we are going to applying Filter on this noise layer.
Go to Filter > Noise > Add Noise.
After add noise we get this amazing result.
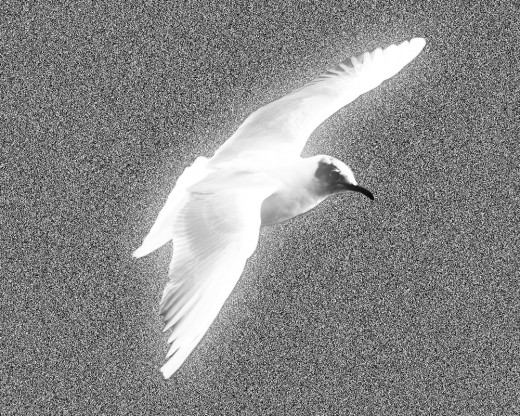
Set Blend Mode to (Soft Light) and Opacity (40%) of this noise layer.

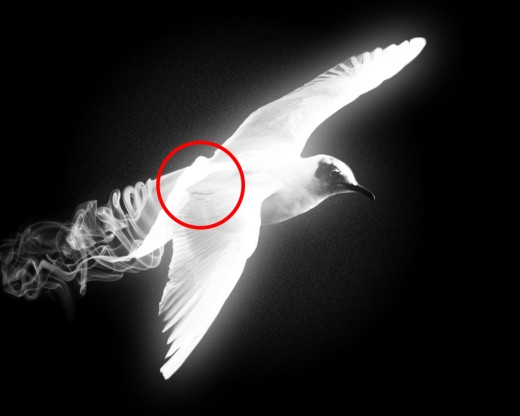
Step 9
Now in this step again create a new layer (Shift+Ctrl+N) select Smoke Brush with (660px).
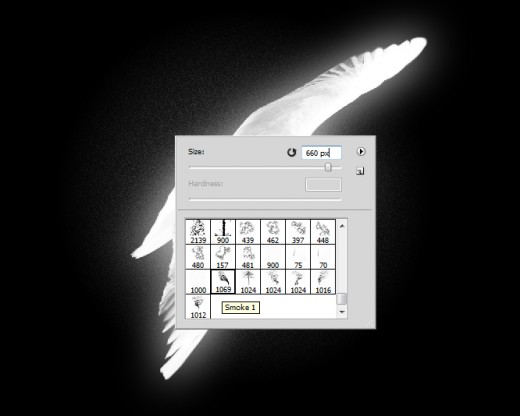
Paint it with white color #ffffff and after paint transform it (Ctrl+T) and rotate it horizontal set this brush layer backside of bird layer as like in preview.
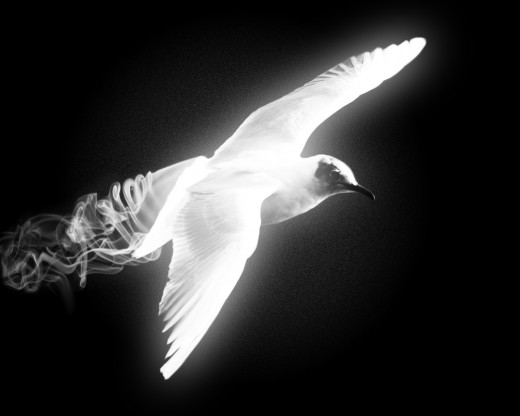
After transform we get awesome result.
Now select Eraser Tool and erase smoke area from bird layer.
After erase smoke area we get this result.
Step 10
Now create a new layer (Shift+Ctrl+N) select another smoke brush with (500px) of size and paint it with white color #ffffff.
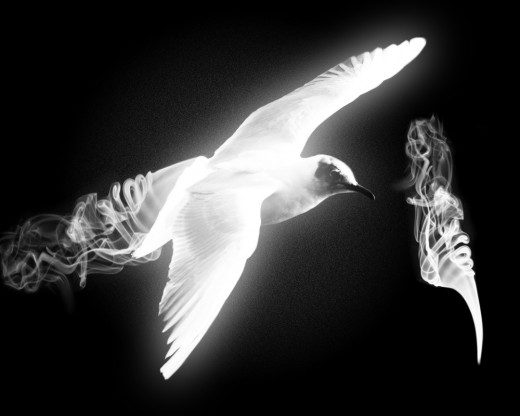
Now Transform this smoke layer (Ctrl+T) rotate it horizontal and set it to the left wing side of bird layer.
After set smoke layer left side now duplicate this smoke layer and set it right wing side of bird layer as like in preview.
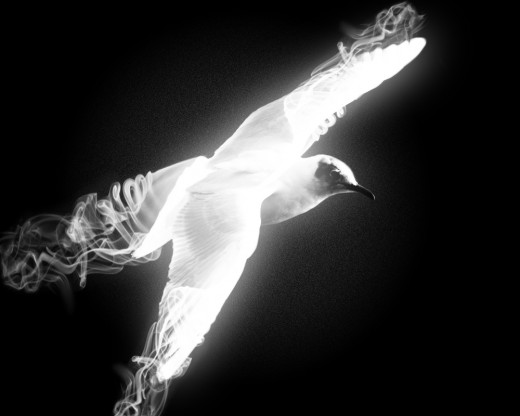
Step 11
Here we are going to create one more smoke brush layer. Create a new layer (Shift+Ctrl+N) select another shape of smoke brush and paint it with white color #ffffff as like in picture below.
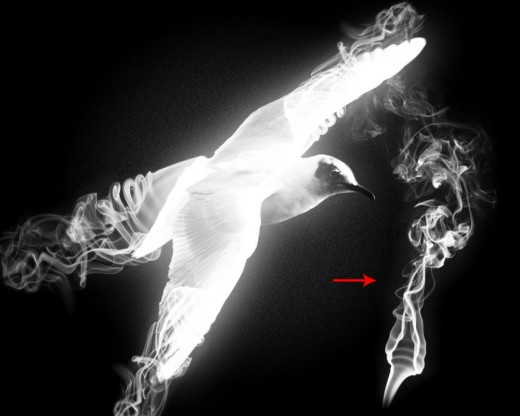
Transform it (Ctrl+T) and rotate it horizontal as like in preview.
After rotating set this layer bird mouth side as like in preview.
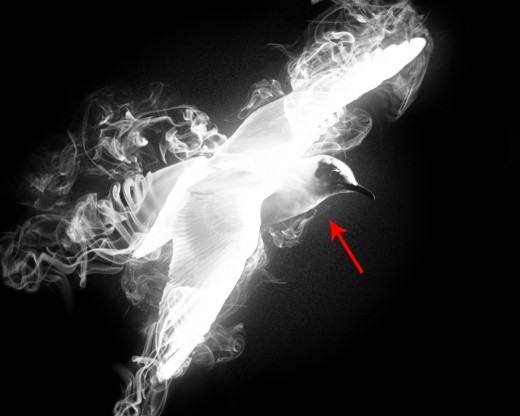
Select Eraser Tool from tool panel and erase the smoke layer from bird mouth place.
After erasing we get this result.
Step 12
Now again create a new layer and paint it with a smoke brush as like in preview.
After paint smoke brush Transform it (Ctrl+T) rotate it horizontal and set bottom side of bird layer.
After set this smoke layer we get this new result.
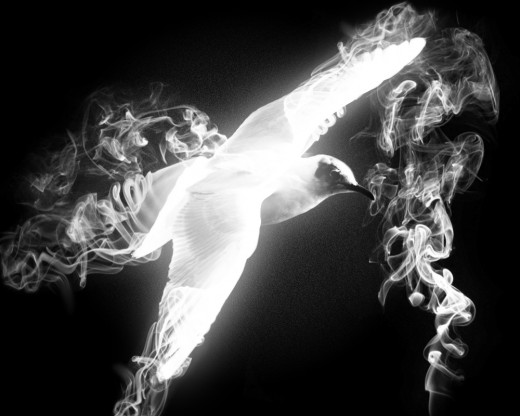
Duplicate this smoke layer and go to Edit > Transform > Flip Vertical then again go to Edit > Transform > Flip Horizontal after transform we get this result.
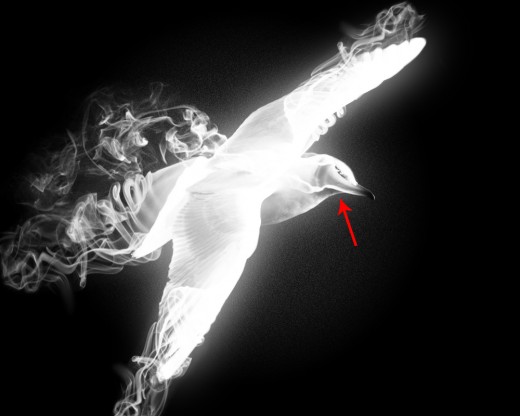
Step 13
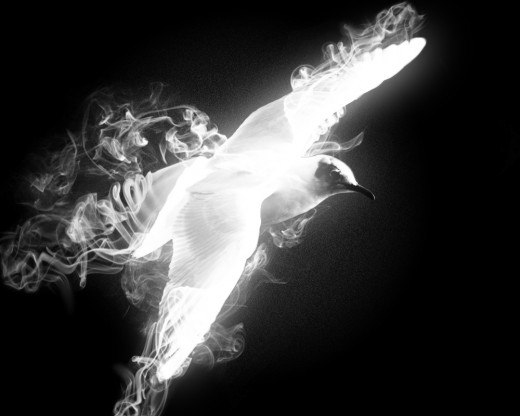
Now we are going to applying Radial Gradient on bird chest area to make some light.
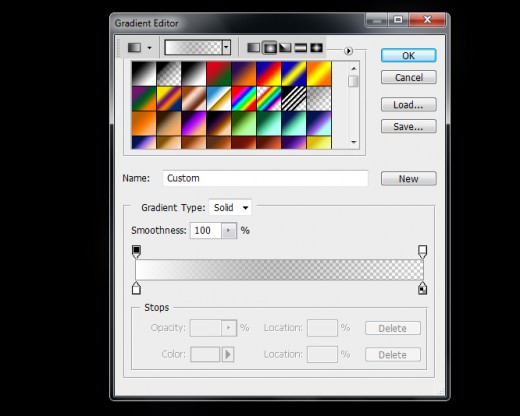
Create a new layer (Shift+Ctrl+N) select Gradient Tool select white to transparent radial gradient and paint it.
After applying gradient we get this result.
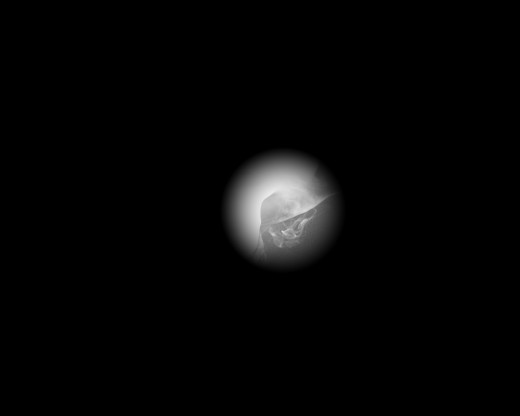
Set Blend Mode to (Soft Light) of this gradient layer.
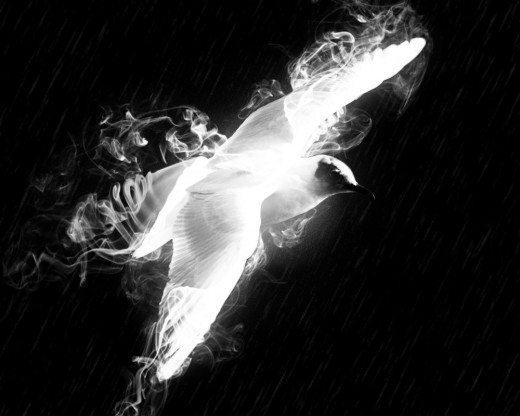
Step 14
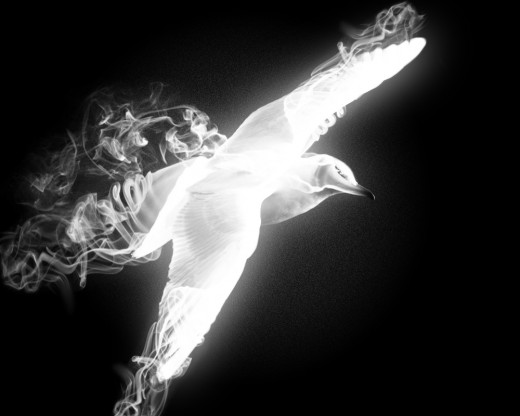
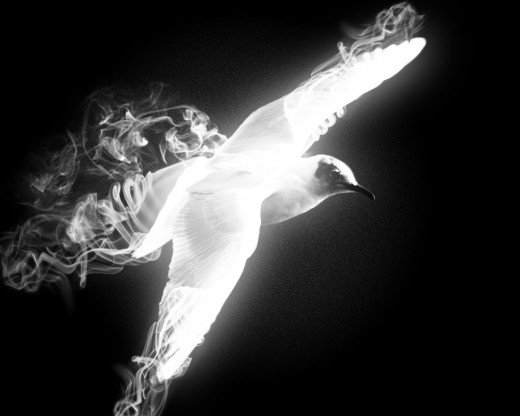
Finely create a new layer select Rain Brush and paint it whole the background with white color #ffffff as like in final preview.
Final Preview
I hope you will definitely like this surreal smoking bird composition tutorial and always share your suggestions with us. Follow TutorialChip on Twitter or Subscribe to TutorialChip to Get the Latest Updates on Giveaways, Tutorials and More for Free.