A lot of people don’t realize how easy it is to create your own Photoshop brushes. So today, in this post I am going to share with you that how to create your own brushes in Photoshop. If you learn these simple and easy techniques to create a brush then I bet with you that you can create your own a lot of brushes. I hope you will like this tutorial. Feel free to share your comments with us.
Related useful photoshop tutorials:
- Create a Beautiful Sign Board in Photoshop
- How to Create a Webcam Icon: Photoshop Tutorial
- Create a Wonderful Crystal Ball in Photoshop CS5
- How to Create an iTunes Icon for iPhone in Photoshop
Tutorial details:
- Program: Adobe Photoshop CS5
- Difficulty: Beginner
- Estimated Completion Time: 10 Mins
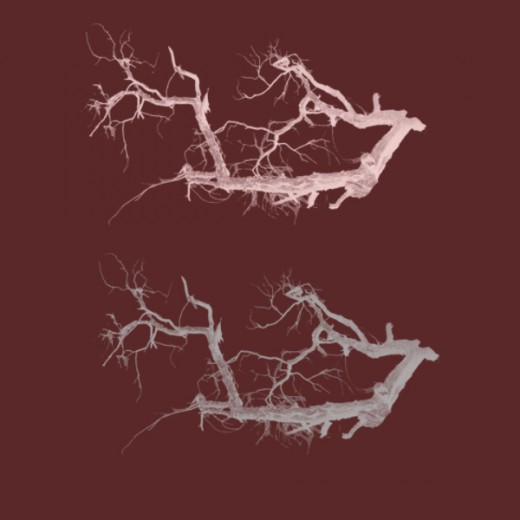
Learn How to Create Your Own Brush in Photoshop: Final Preview
External Resource
Lets start our tutorial that how to create your own brush in Photoshop.
Step 1
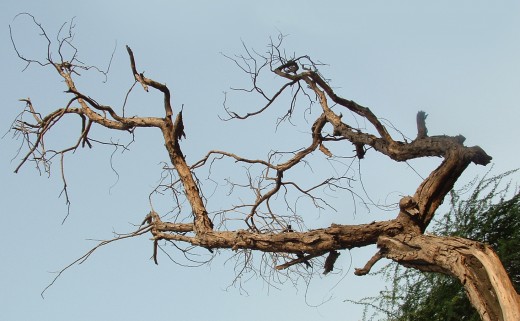
First of all, open this picture in Photoshop.
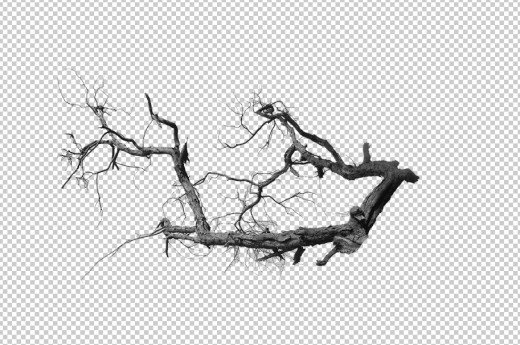
Now erase the background and unneeded area of this picture and go to Image > Adjustments > Desaturate to make it black and white.
Step 2
Then create a new brush with Edit > Define Brush Preset, enter the brush name, for example, Trunk and Branches brush and press Ok to save it.
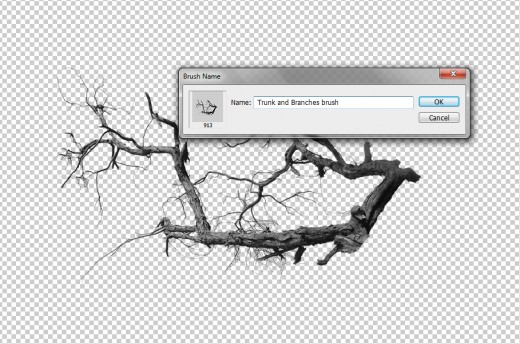
Now you will show up in your brushes.
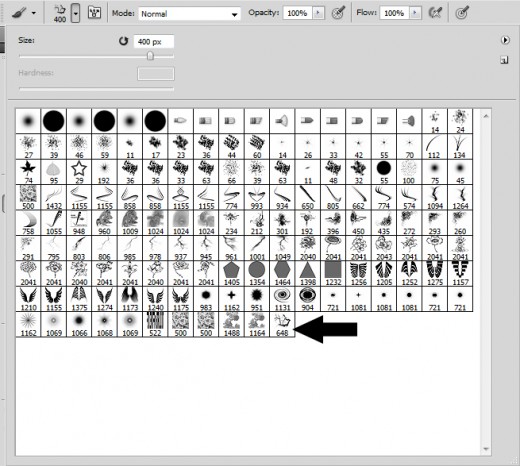
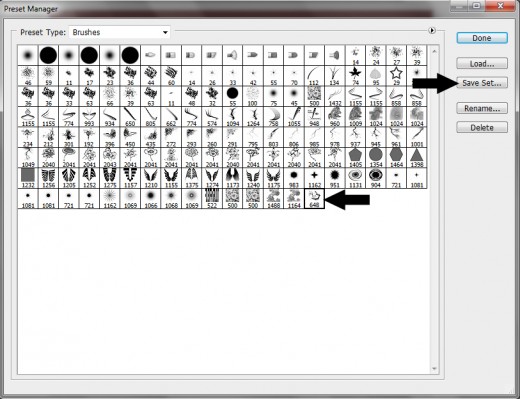
Step 3
After you’ve create your brush, to turn it into a .abr format go to Edit > Preset Manager. Select the your current brush then click Save Set and save the brush in .abr format file.
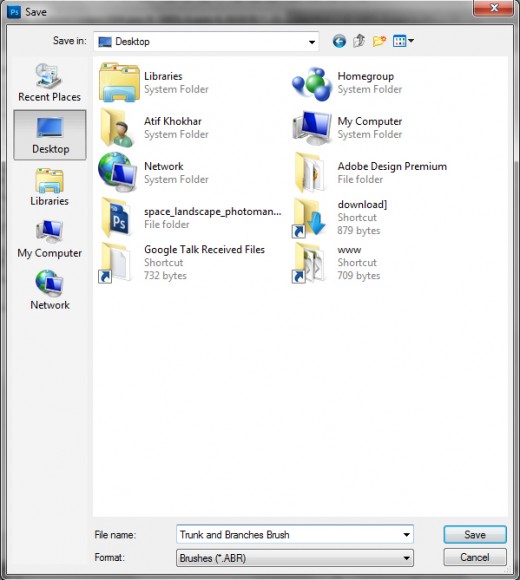
After doing all these steps we have successfully create our own brush in .abr format.
I hope you have enjoyed this tutorial. Never forget to share your comments with us. Follow TutorialChip on Twitter or Subscribe to TutorialChip to Get the Latest Updates on Giveaways, Tutorials and More for Free.
Thank You you have no idea how useful this bit of knowledge was. Looking forward to more(Y)…
Upcoming Designer