Photoshop is a standard name in graphic design for web use, print layout, button’s and more. Photoshop gives you authority to learn tips, tricks, cool effects, and how to use the Photoshop tools more effectively.
Today we are going to share with you that how to create a glossy button in Photoshop. This is a beginner level tutorial and steps are quite easy to follow. You will definitely like this awesome creation. Have a try!
Other related photoshop tutorials:
- Photoshop Button Tutorial: iPhone Inspiration
- Photoshop Tutorial: Glossy Orbit Style Button
- Photoshop Basics: Button User Interface Design Tutorial
- Photoshop Navigation Bar Tutorial: Simply The Beautiful
Tutorial details:
- Program: Adobe Photoshop CS5
- Difficulty: Beginner
- Estimated Completion Time: 30 Mins
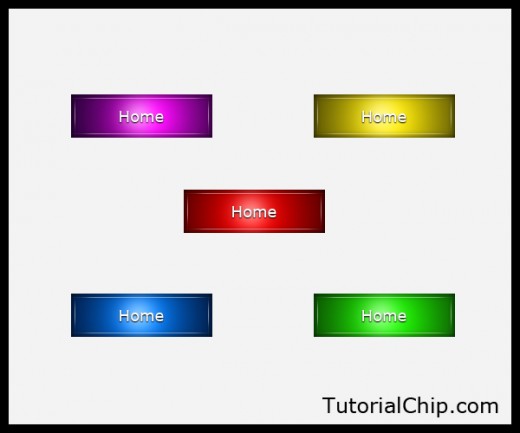
Create a Glossy Button in Photoshop – Final Preview
Tools and Resources
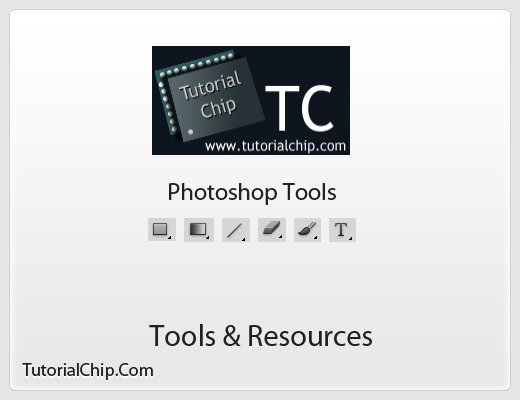
Photoshop Tools
- Text Tool
- Line Tool
- Eraser Tool
- Brush Tool
- Gradient Overlay
- Rectangle Tool
Lets start to create our glossy button in photoshop.
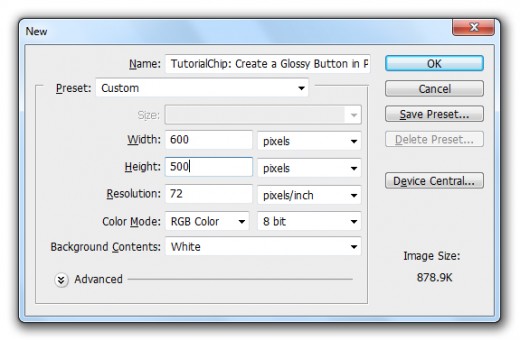
Step 1
Create a new document (Ctrl+N) with 600×500 of size.
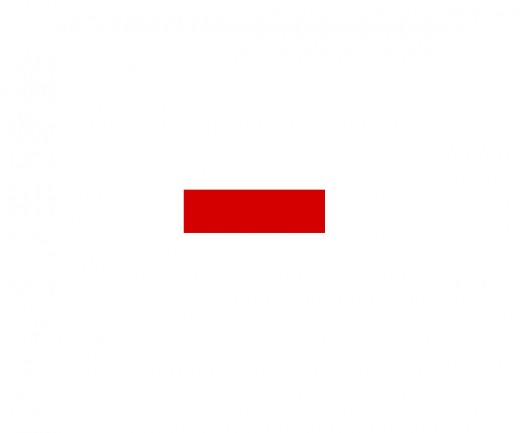
Step 2
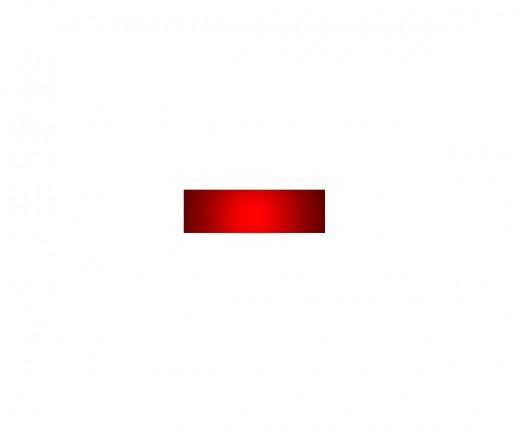
First of all select Rectangle Tool from tool panel and create a rectangle with red color #d30000.
Step 3
Now I am going to applying Lighting Effect on this rectangle layer.
Go to Filter > Render > Lighting Effect.
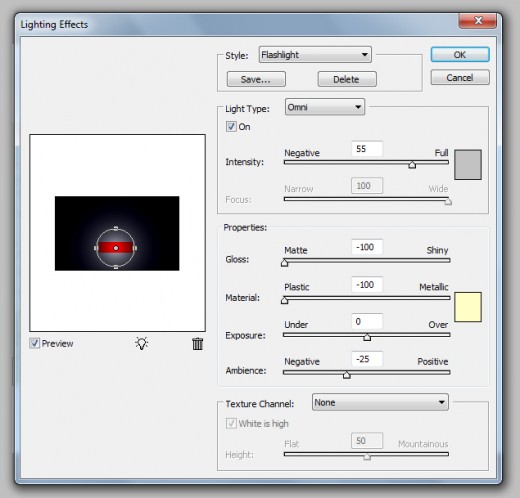
After applying lighting effect we get a nice effect on rectangle layer.
Step 4
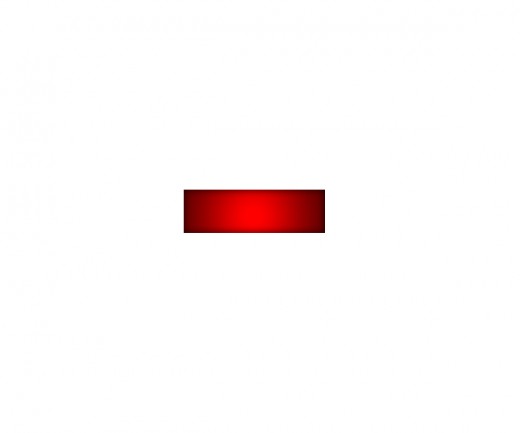
In this step go to Layer Styles and applying Inner Shadow on rectangle layer.
Go to Layer > Layer Styles > Inner Shadow.

After applying inner shadow we get a new effect on rectangle layer.
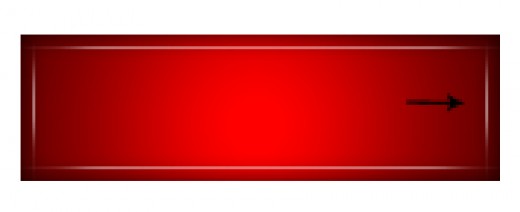
Step 5
Select Line Tool from tool panel and create a horizontal line with white color #ffffff as like in preview.
After create line rasterize it, now select Eraser Tool and erase sides of line layer as like in picture below.
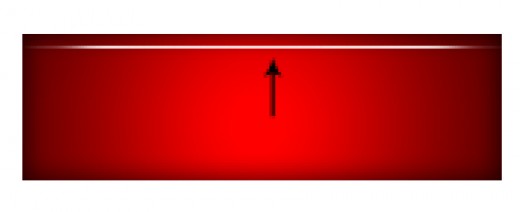
Down Opacity (50%) of line layer.
Now duplicate line layer and set down side as like in preview.

Step 6
Select Line Tool again and create a vertical line with white color #ffffff as like in preview.
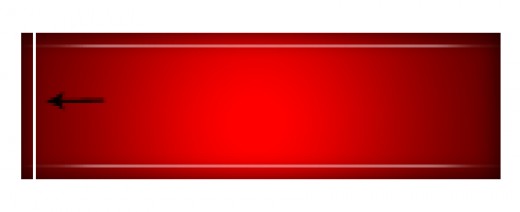
Rasterize line layer select Eraser Tool and erase upper and lower side of line layer.
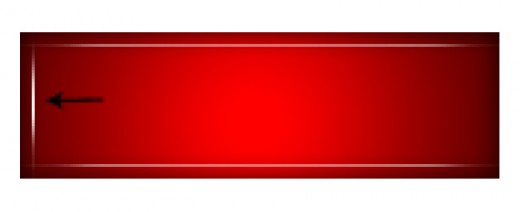
Down Opacity (50%) of line layer.
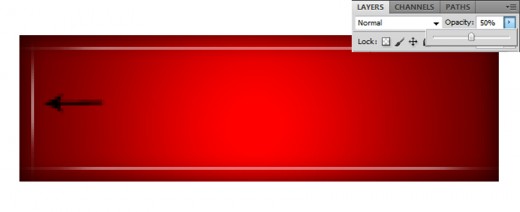
Duplicate line layer and set right side of duplicate line layer.
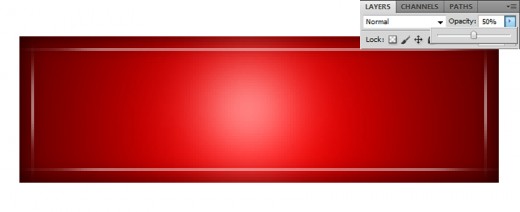
Step 7
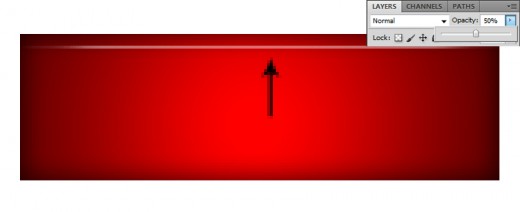
Create a new layer (Shift+Ctrl+N) select Brush Tool (50px) of size, paint center area of rectangle with white color #ffffff as like in picture below.
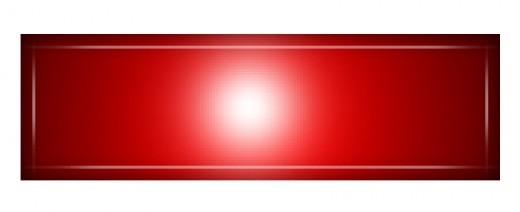
Down Opacity (50%) of brush layer.
Step 8
Select Text Tool and write some text with white color #ffffff you can use any of font here I am using photoshop default Verdana Font.
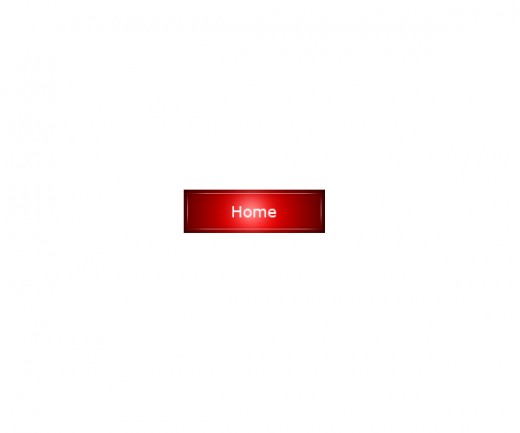
Now go to the Blending Options and applying Drop Shadow on this text layer.
Go to Layer > Layer Styles > Drop Shadow.
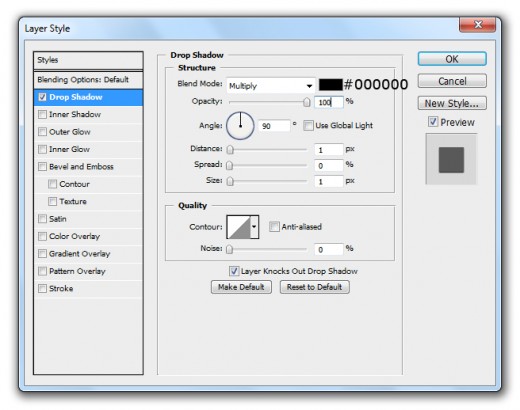
After applying drop shadow we get a beautiful effect on text layer.

Same as you can make more buttons with different colors as like below in final preview.
Final Preview
We hope you have enjoyed this glossy button tutorial. Never forget to share your comments with us. Follow TutorialChip on Twitter or Subscribe to TutorialChip to Get the Latest Updates on Giveaways, Tutorials and More for Free.
You have done really awesome job, great tutorial it is. Thanks a lot for sharing !!
Great job thanks alot really help me out