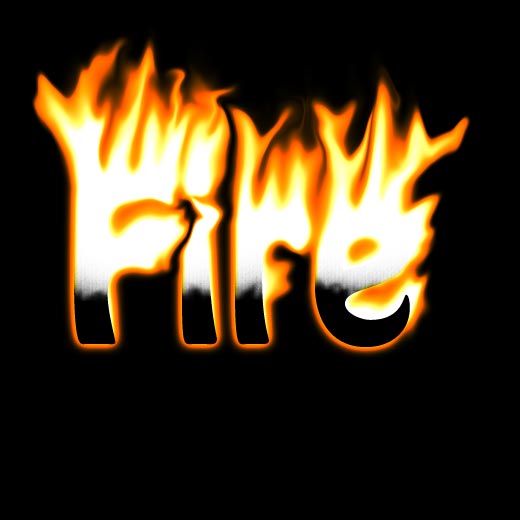
In this tutorial, we’re going to learn how to create a fire text effect, engulfing our letters in burning hot flames. Here, I’ll show you how to make realistic looking fire that you can apply to texts or any other shapes or objects. I hope you will learn new Photoshop tricks and techniques in this tutorial. Feel free to share your suggestions with us.
You may also like:
- Photoshop Pen Tool Basics – Part 1
- Photoshop Pen Tool Basics – Part 2
- Create a Rainbow Effect in Photoshop
- Lighting Effect Tutorial in Photoshop
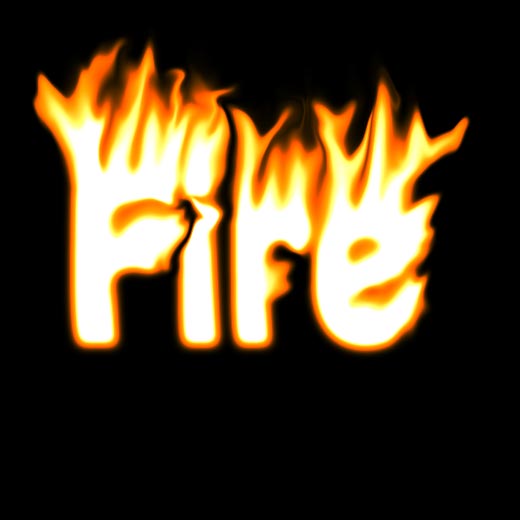
Fire Text Effect: Final Preview
Tools and Resources
Tools
These following photoshop tools are used in this tutorial.
- Text Tool
- Brush Tool
- Eraser Tool
Let’s start to create our fire text effect,
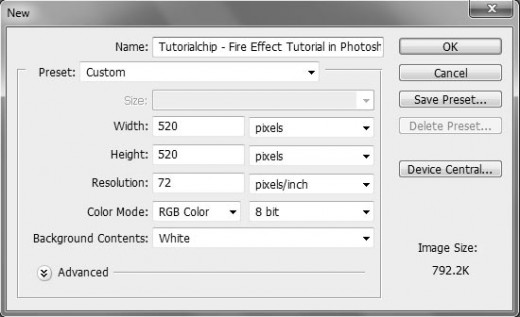
Step 1
Open Adobe Photoshop, and create a new Photoshop document. I am going to create a new document of 520 x 520 px with black color #000000 background.
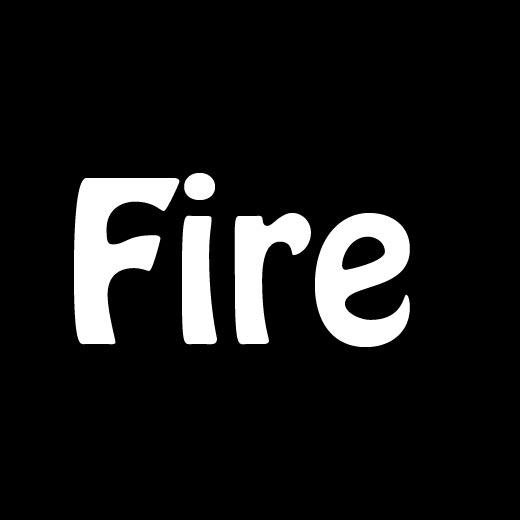
Step 2
We select the Type tool or Text tool (T) and type any text as you like, but I have written Fire text with Hobo Std font and font size is 200 as shown in preview below.
Step 3
Take a new layer. Now Press CTRL+ALT+SHIFT+E, this will combine all layers to the new layer. Now rotate the new layer 90CCW.
Edit > Transform > Rotate 90CCW
Step 4
In this step we are applying the Wind Filter to this new layer.
Filter > Stylize > Wind and Wind, Direction: From the Right
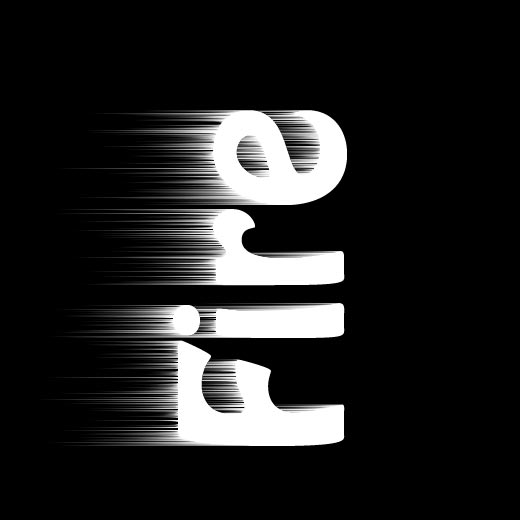
Now Press Ctrl+F 2 times to reapply the filter 2 more times. After this procedure we get a amazing effect as shown in this preview.
Step 5
Now rotate the image back to normal
Edit > Transform > Rotate 90CW
Now applying the Gaussian Blur Filter:
Filter > Blur > Gaussian Blur and enter Radius 5.0 px.

Step 6
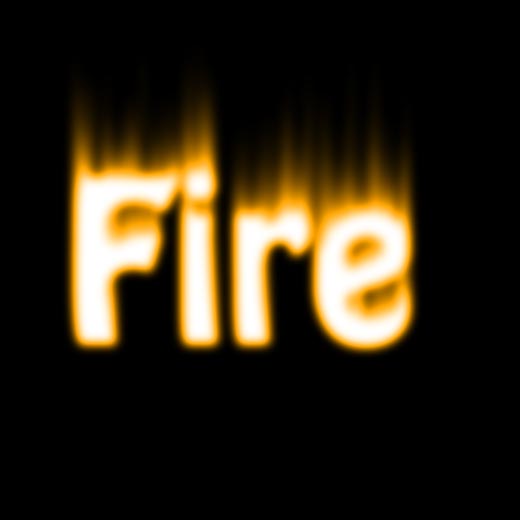
In step we set the Hue/Saturation on this Fire text.
Image > Adjustment > Hue/Saturation and Check the Colorize Box. Set Hue to 35 and Saturation to 90.
Step 7
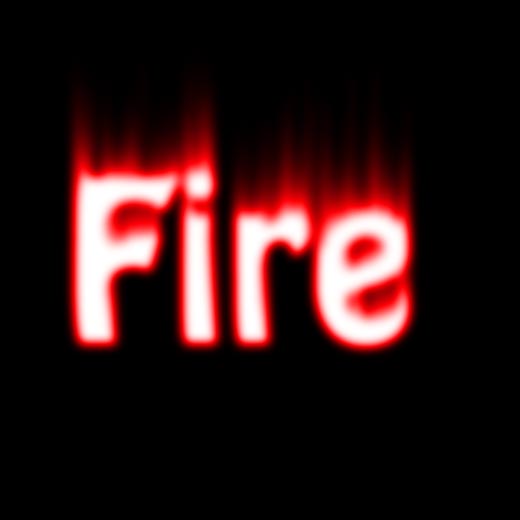
Duplicate this layer, apply some Hue/Saturation to the new duplicated layer.
Image > Adjustments > Hue Saturation and set the Hue -35. Set the Blending Mode this layer to Color Dodge.
Step 8
Now go to Layer » Merge Down To merge the 2 layers together. Ok we create the flames on fire text. We go to Filter > Liquify and select the Warp tool, set the set brush size to between 35 and 50, and brush pressure to around 40 to 50. Now just click and drag from the white edge of the text to wiggle your way into the orange to create the flame as shown in preview.

Step 9
Now we applying again Liquify Filter and change our brush size to about 30 to 35, and pressure to about 30 to 35, and go for 2nd round of creating your flame.
Step 10
Now move the original text layer to the top on the layers, and change it’s color to black.

Step 11
Now we go to Layer > Rasterize > Type to rasterize the text layer. Use the Eraser tool and select the 180 px soft brush, and erase out the top half of the text. You can see this final preview below.
Fire Text Effect: Final Preview
I hope you have enjoyed this fire text effect tutorial and look forward to your comments. Don’t Forget to Follow TutorialChip on Twitter or Subscribe to TutorialChip to Get the Latest Updates on Giveaways, Tutorials and More for Free.