Today, in this article I am going to share with you that how to customize the general options in Chip Life WP theme. I hope you will like this helpful tutorial and you can openly share your questions with us about Chip Life theme.
Follow these step by step instructions to understand the General Options in Chip Life theme.
Step 1
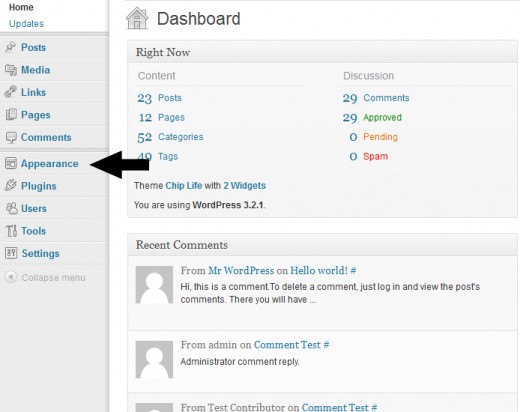
First of all login in your WordPress admin panel and go to Appearance tab in sidebar options.
Step 2
After clicking on Appearance tab you will found the other many options in appearance menu. Certainly, you will seen the Chip Life Options in this tab. Now open this option.

Step 3
When you opened the Chip Life options you will found the Chip Life Theme Settings page. Now click on the General Options.
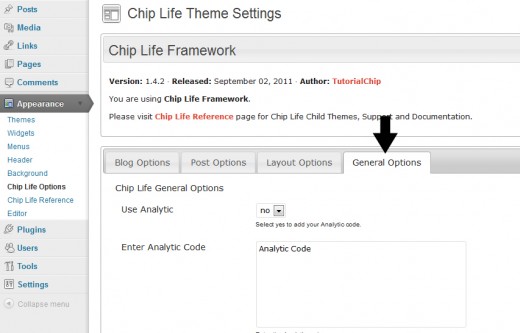
Ok, after open this option you will found the other four options.
- Use Analytic
- Enter Analytic Code
- Enter Copyright Text
- Reset Theme Options
Use Analytic: If you want put the Google analytic for your blog then you can change this option into Yes. This option is by default No. After change the option click on Save Changes button.
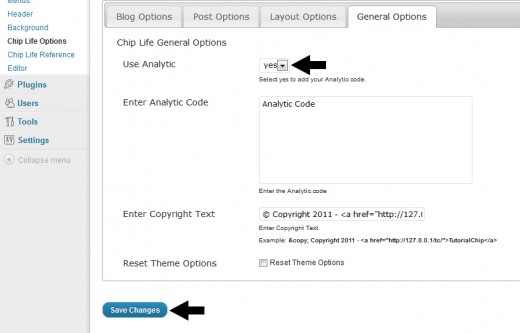
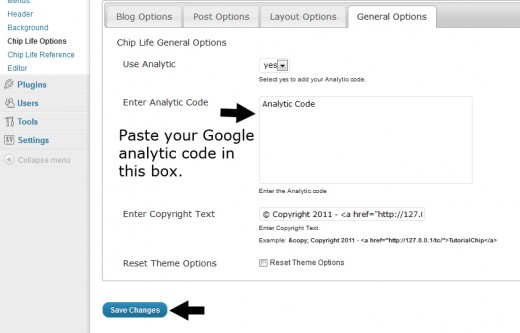
Enter Analytic Code: In this option you will paste the your Google analytic code and press Save Changes button.
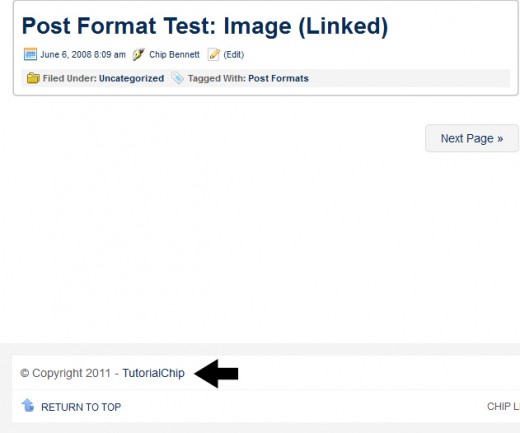
Enter Copyright Text: In this box you can write your copyright text after write the copyright text click on the save changes button.
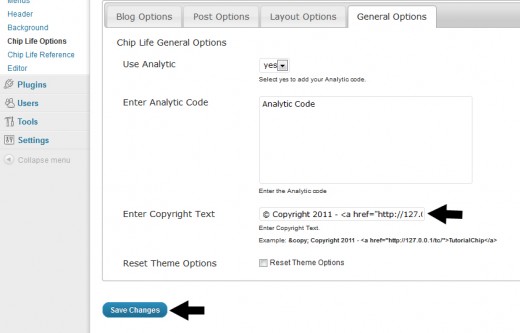
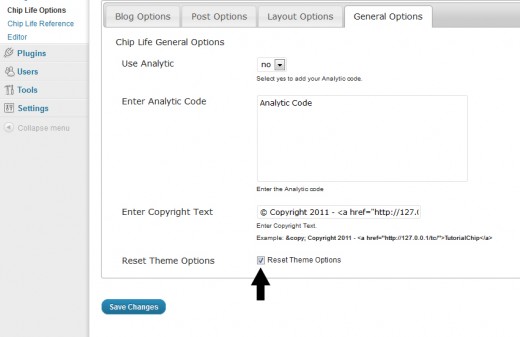
Reset Theme Options: If you want reset the totally options of Chip Life theme then you check this box and press the Save Changes button.
I hope you have enjoyed the tutorial about How to Customize the General Options. Don’t Forget to follow TutorialChip on Twitter or Subscribe to TutorialChip to Get the Latest Updates on Giveaways, Tutorials and More for Free.