There are many approaches to the website design process. But for most people it goes like this:
- Understand the creative briefing (or guide the client to provide you one).
- Plan the project
- Design – Wireframes/Prototypes/Final PSD
- Slice the Graphics/Write the Code
- Test & Validate the Code
- Launch
- Maintain the website
Of course we all know that in reality each of these generic steps is quite complicated, and at several points we’ll also require meetings with our client to get their approval and feedback.
Wouldn’t it be awesome if we could mainstream the process and let’s say combine steps 3-7, while at the same time being able to show the website’s progress to our client in real time and get their feedback and approval with a simple email?
Actually we can, and all we need is Webydo!
Webydo is a sophisticated DMS (Design Management System), an online software that liberates us from our dependency on handwritten code or limiting DIY template. With Webydo we can see our design in action, immediately and it’s WYSIWYG (What-You-See-Is-What-You-Get) interface allows us to bring any web design to life.
In this tutorial we’ll learn how to build layouts fast with this website creator and populate them with our content. We’ll also learn how we can show our progress to our clients to get their feedback. Finally we’ll see how to easily launch the website in one click, without worrying about coding.
I hope you are eager to get started!
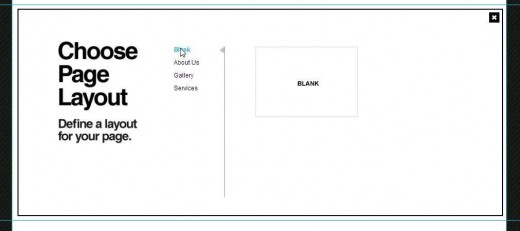
After you create your free account on Webydo, you will be greeted by this screen:

For the purposes of our demonstration we’ll select “Blank” to have the most creative freedom.
Setting up a grid
Webydo have many tools that allows us pixel-by-pixel precision, like smart guides, snapping and grids that help us compose our site.
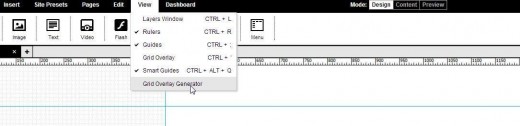
To set up a grid simply go to “View” menu and select “Grid Overlay Generator”.
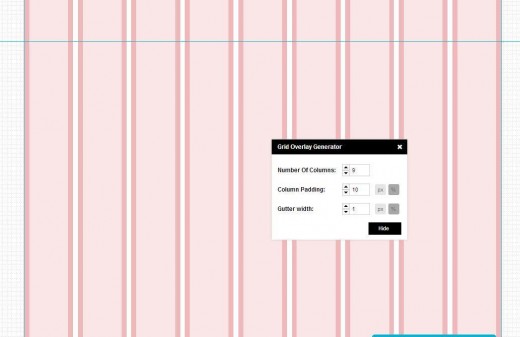
Click “Show” to make the grid visible. You can then fine tune the grid settings while seeing your grid changing in real time.
After you set your grid you can begin building the layout by adding the placeholder elements.
Building the layout:

Simply click on any element to add it on the canvas. You can Click+Drag to position it at the desired spot and then use the handles of the bounding box around it to give it the right size.
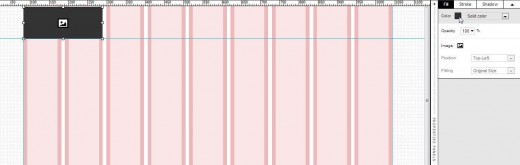
TIP: Since we won’t be adding any graphics at this point, in order to see your placeholder boxes for the images more clearly, you might want to give them a temporary color. To do so, simply click on the “Fill” tab at the right panel, and then choose any solid color. But don’t forget to remove this color when it’s time to add your actual content!

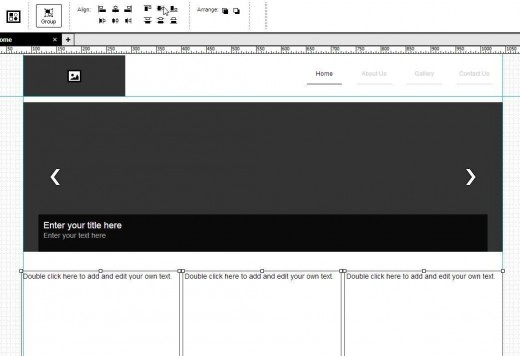
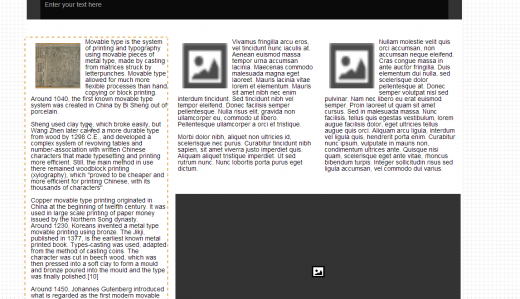
I added the placeholder images for the logo, a slider gallery, a menu and 3 text boxes.
Now while building your layout you might need to align several elements, to do so you can Shift+Click on them and from the top panel choose the desired alignment.
To add text in the placeholder boxes we can simply double click on them. That also changes the top bar to give us the various typography options.
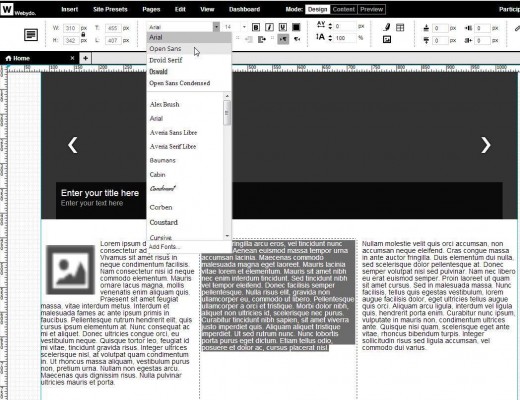
To add an image in a text box we can simply click on the image icon.


We can then set its width and height, align it and set the space (padding) vertically and horizontally. We can also set padding the same way to the text frame by selecting the text.
Next let’s add some life to the remaining layout and the footer.

I added a menu placeholder, and now we’ll use the widget tool to add a Google map.
First we’ll need to visit Google maps and get the desired embed code as in the screenshot below.
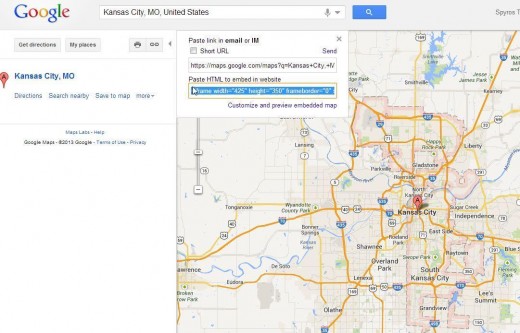
Then add a Widget, select “HTML” and paste the Google maps code in the box. Through the “Widget” tool we can enhance our website greatly and add extra functionality by simply pasting the desired embed code.
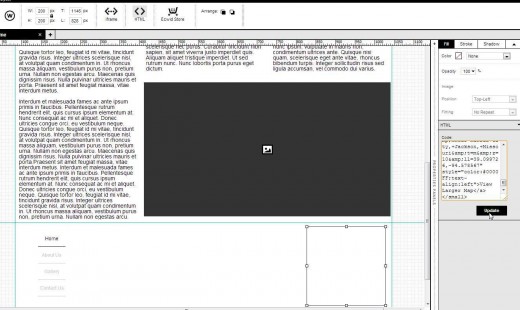
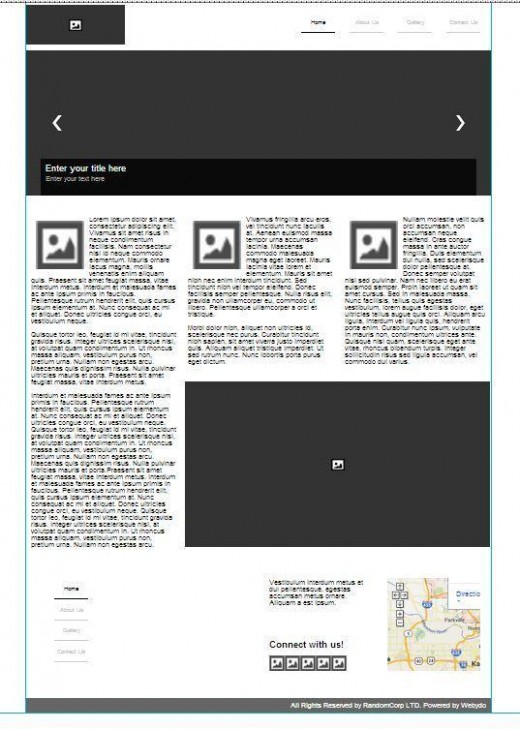
Let’s now add next to it a text placeholder to add our social icons and another text placeholder below, to add our copyright notice.
Time required building this layout? Less than two minutes!
Building more Pages
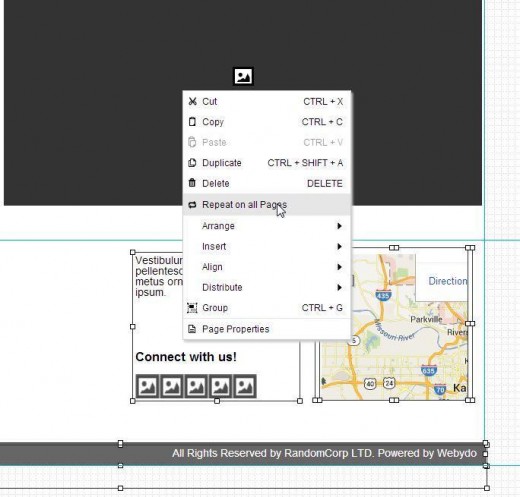
Before we start adding new pages, we might want to have some elements to be repeated in the whole website. Like the logo, the menu, footer elements etc. To have an element repeated simply right click on it and select “Repeat on all pages”. You can also “Shift+Click” to select more than one elements.
After that, the repeated elements will get a blue border and appear in every page you create.
To create a new page click pages, then choose “New Page” and select Blank.
From the “Pages” menu you can then select “Page Settings” to name your page. And fill in its SEO details.
Showing the wireframe to our client
Hit “Save” to save your progress. Then click “Dashboard” to go on your dashboard. To add new CMS users to a specific website select “New CMS User”. Then type your client’s details.

That will enable them to see the site without it being published. Your client won’t be able to change the layout, but could add the texts or the images if they wanted to. This would also be handy if you were collaborating with someone. They could add the content while you are working on the layout design!
Adding Content
To add the content without messing your layout by mistake, you can click on the “Content” tab.
Then click any element to change it with the actual content.
Visit all the pages and finish adding your content in the placeholders. Your clients can at any point use their CMS account to preview their website and give you feedback if necessary.
Publishing our Website
After we finish the website, and the client is happy with it we can simply hit publish and that’s it! The code is generated for us and the website is now live on the internet, immediately enjoying advanced cloud hosting and built-in management tools (CMS+SEO).
What you might want to do afterwards though is go and set up the analytics tracking code, and Google webmasters tools.
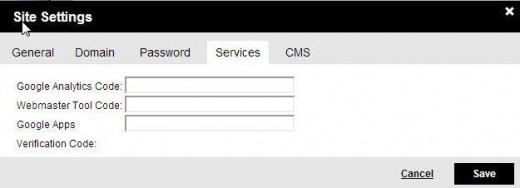
From your dashboard click the gear icon and then go to services. There you can simply add the respective codes. After you save make sure you re-publish your site for the changes to take effect.
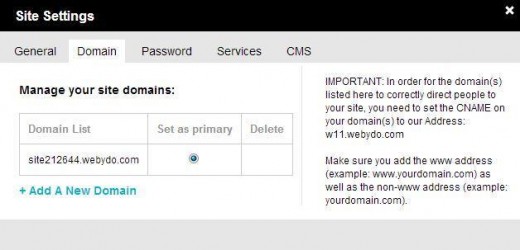
In order to add your own domain name, go to the domain tab and click “Add new domain”. You will have to update to a Premium plan in order to do so. Webydo offers the Premium plan for just $7.90 a month with a yearly plan!
Final Words
Webydo simply lets us focus on the creative side, while its innovative code generator automatically generates a code updated to the latest industry standards for us. It can also help us mainstream and accelerate the traditional design process.
Give it a try today and let me know what you think!