In this Photoshop tutorial we will learn that how to create 3d volcano text effect. The techniques I used in this tutorial, some various image adjustment tools, filters and a pretty good harry porter font. This tutorial is very easy and short. You can easily make your design more perfect to follow this tutorial. Enjoy!
More useful photoshop tutorials:
- Create a Splendid Water Text Effect Using Photoshop
- Create a Beautiful Concrete Text Effect: Photoshop Tutorial
- Create an Incredible Alien Entity Text Effect: Photoshop CS5 Tutorial
- Learn How to Create a Spectacular 3D Flowery Text Effect: Photoshop Tutorial
Tutorial details:
- Program: Adobe Photoshop CS5
- Difficulty: Intermediate
- Estimated Completion Time: 30 Mins
Create a 3D Volcano Text Effect in Photoshop – Final Preview

Tools and Resource
External Resource
Photoshop Tools
- Text Tool
Lets start to create our 3d volcano text effect in photoshop.
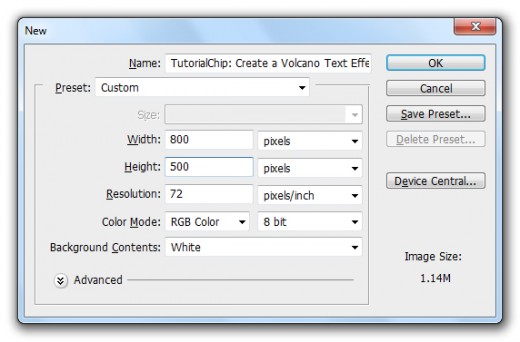
Step 1
Create a new document (Ctrl+N) with 800×500 of size.
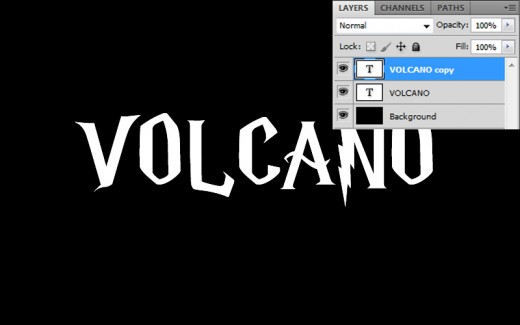
Step 2
Set background color black #000000, now select Text Tool and type some text with (150px) of size applying white color #ffffff on text. Here I am using Harry P Font you can use your own choice of font.

Step 3
Now press (Ctrl+J) to duplicate text layer.
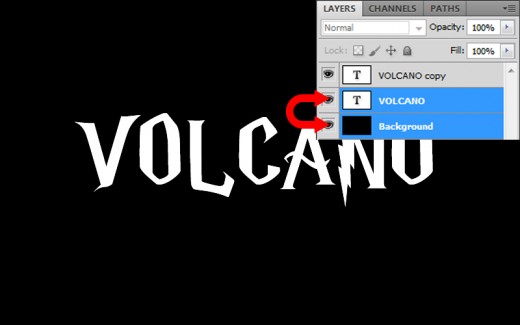
Select original text layer and background layer, press (Ctrl+E) to merge both layers in one layer.
Step 4
Now hide duplicate text layer, select merge layer and applying Wind Filter on it.
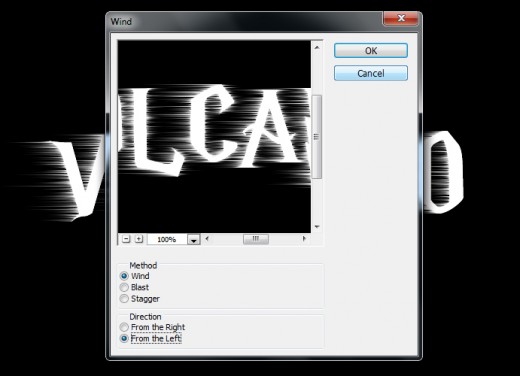
Go to Filter > Stylize > Wind.
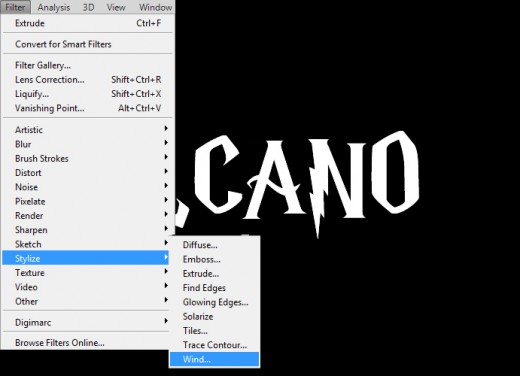
Wind penal opened, now set Method (Wind) and Direction (From The Right).
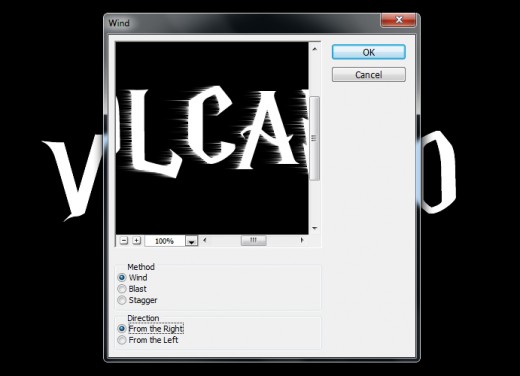
After set wind we get a cool effect on merge layer.
Press (Ctrl+F5) to repeat this step then we get more wind on text.
Step 5
Now again applying Wind Filter on this layer.
Go to Filter > Stylize > Wind.

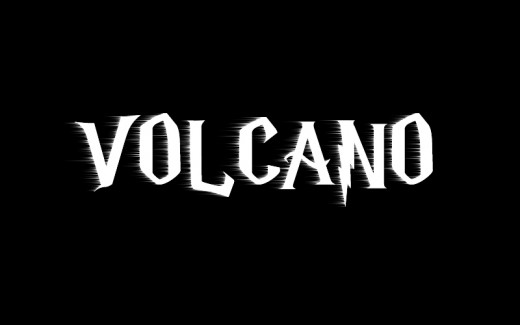
Wind penal opened, now set Method (Wind) and Direction (From the Left).
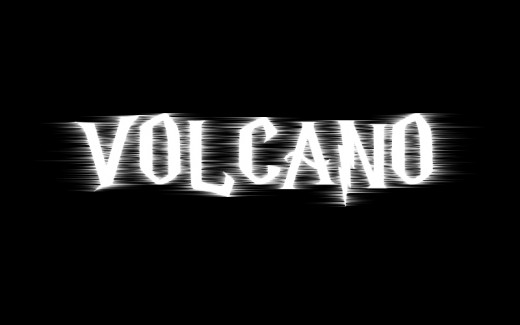
After wind settings we get a new result as like in preview.

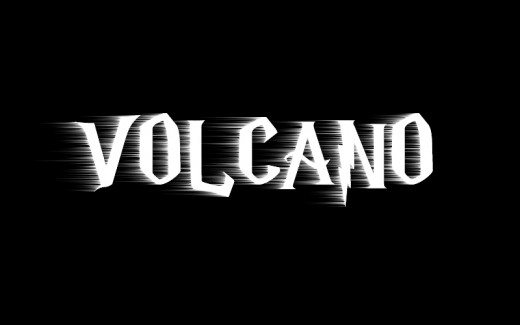
Press (Ctrl+F5) to repeat wind step ones again, then we get more wind on text as like in picture below.
Step 6
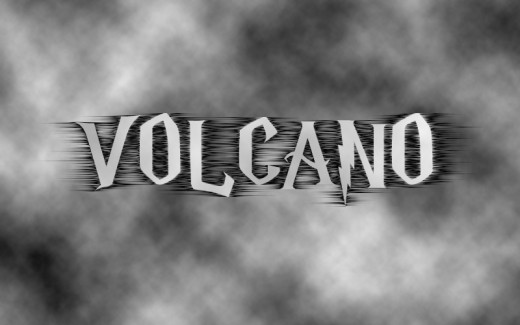
Now I am going to applying Cloud Filter on this layer.
Go to Filter > Render > Deference Clouds.
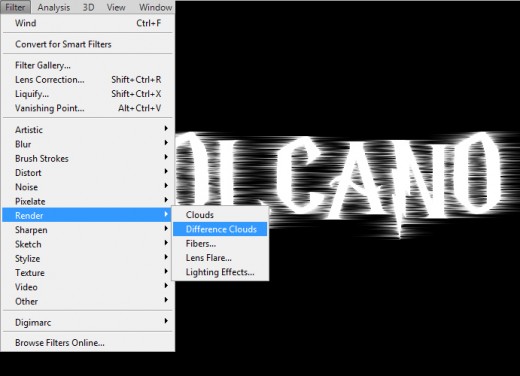
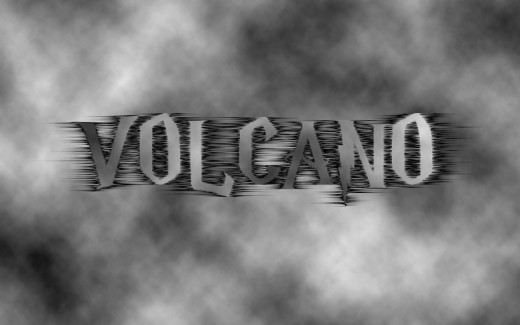
After applying clouds we get awesome effect as like in preview.
Step 7
Now unhidden the duplicate text layer.

Down Opacity (60%) of this duplicate text layer.
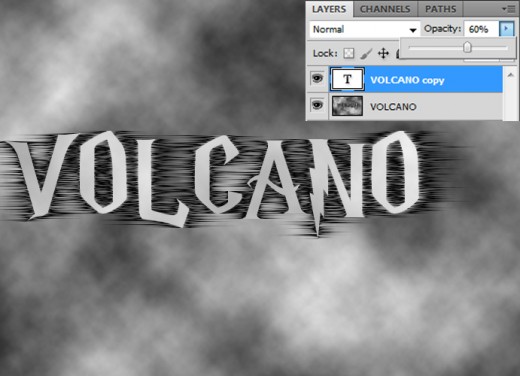
After set opacity we get preview something like shown below.
Step 8
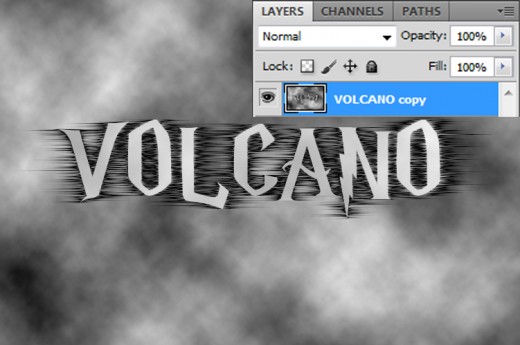
Now in this step select both layers, right click and select (Merge Visible) option or press (Ctrl+E) to merge both layers together in one layer. as like in preview.
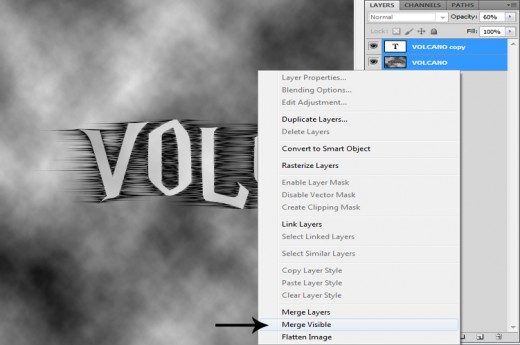
When we select merge visible option we get all layers in one layer.
Step 9
select merge layer and applying Extrude Filter on it.
Go to Filter > Stylize > Extrude.
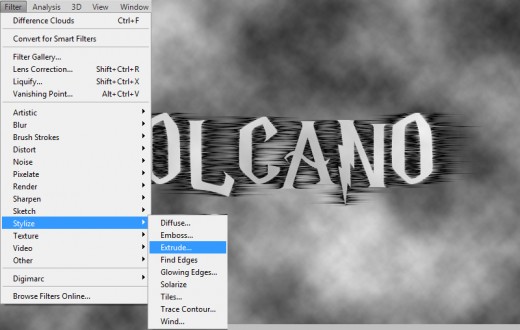
Extrude panel opened select Type (Blocks) Size (2px) Depth (20 Level Base) and Solid Font Faces.
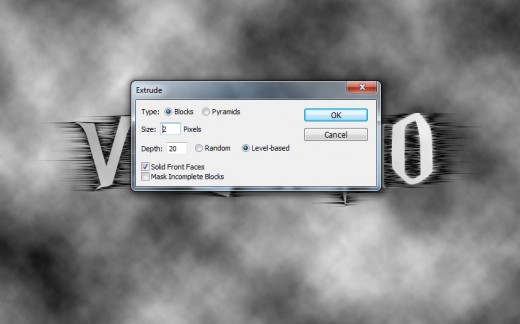
After set extrude settings we get a new result.
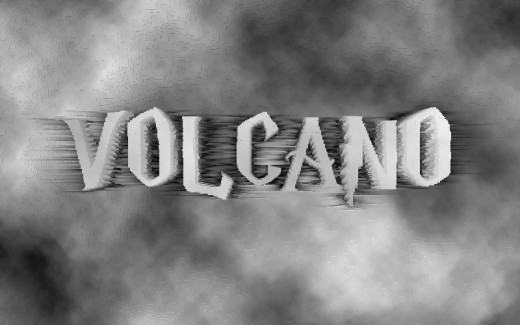
Step 10
Go to Image > Adjustment > Invert then we can see the effect changed.
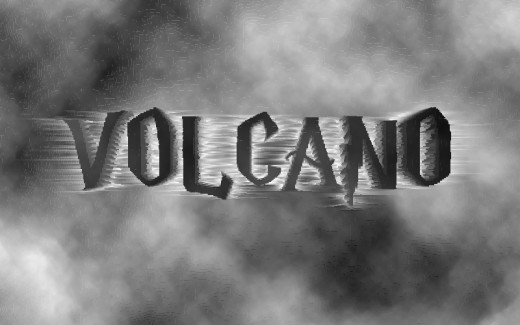
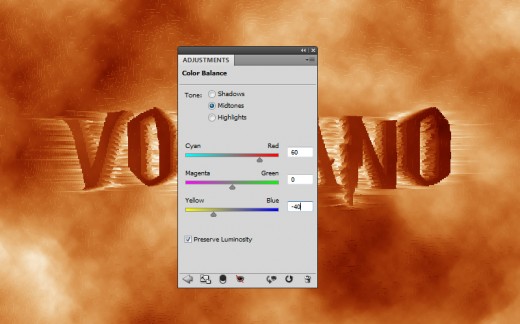
Step 11
Go to Layer > New Adjustment Layer > Color Balance.
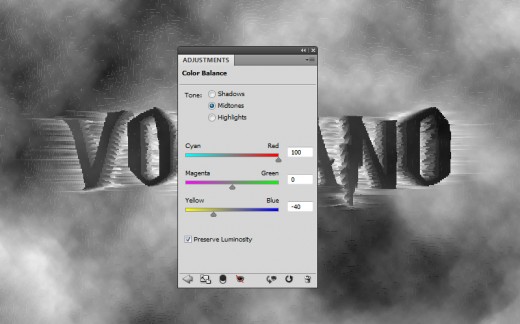
After set color balance settings we get a nice effect.
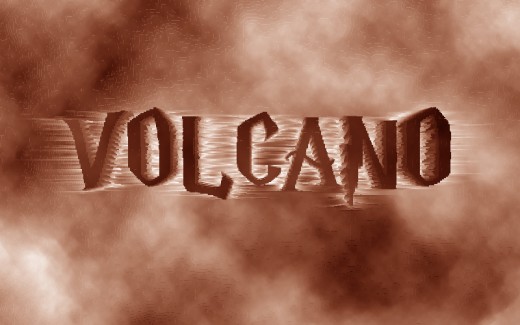
Step 12
In this step ones again set Color Balance.
Go to Layer > New Fill Layer > Color Balance.
After set these settings we get change result.
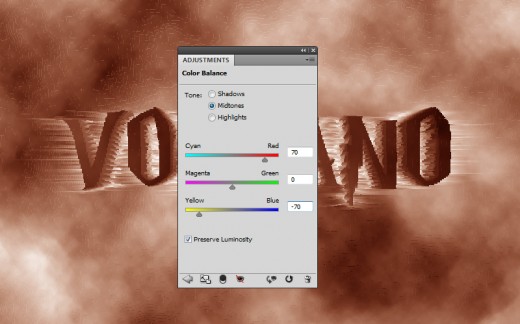
Step 13
Last time set Color Balance of this layer.
Go to Layer > New Fill Layer > Color Balance.
When we set color balance we get fantastic result.
Step 14
In this step set Curves of text layer.
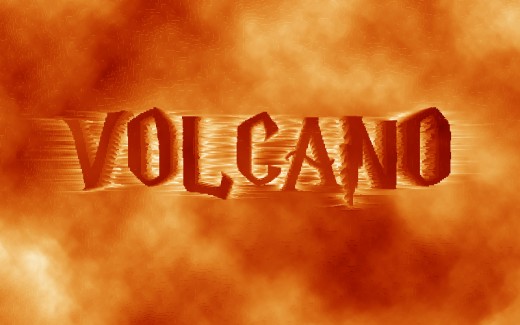
Go to Layer > New Adjustment Layer Curves.

After set curves we get a new result.
Step 15
In this last step set image Hue Saturation.
Go to Layer > New Adjustment Layer > Hue Saturation.
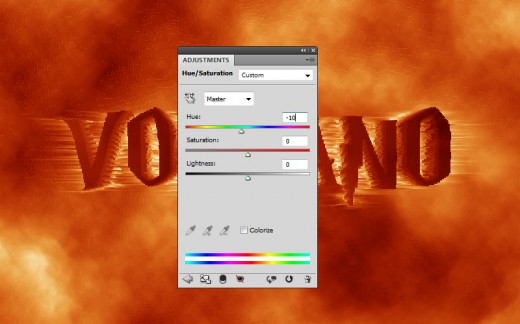
After set hue saturation get result.
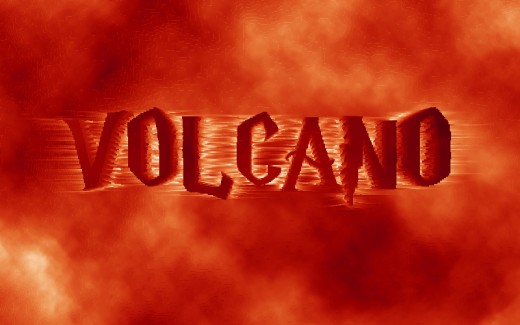
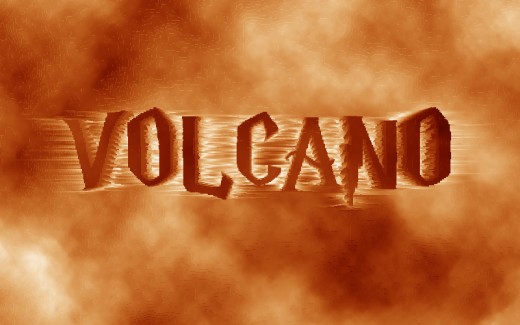
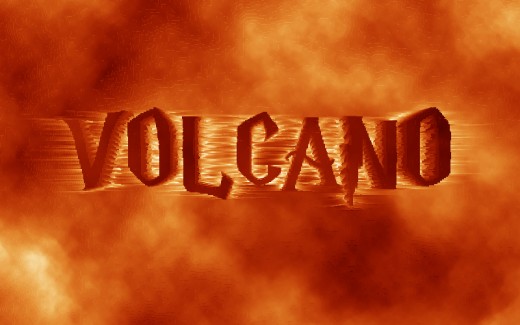
When we complete all steps we get our 3d volcano text effect in final preview.
Final Preview
I hope you will like this volcano text effect tutorial. Never forget to share your comments with us. Follow TutorialChip on Twitter or Subscribe to TutorialChip to Get the Latest Updates on Giveaways, Tutorials and More for Free.