In this tutorial I will show you the easy techniques to make an awesome Sign Board design wallpaper in Photoshop CS5. I hope that you will enjoy this tutorial because its so interesting and very easy to learn. If you want to enhance your Photoshop skill then you can also explore these following tutorials as well.
Related photoshop tutorials:
- Create a Realistic iPhone in Photoshop
- Create a Beautiful Lady Bag Using Photoshop
- Awesome Photo Retouching Tutorial in Photoshop
- How to Create a Grunge Text Effect: Photoshop Tutorial
Tutorial details:
- Program: Adobe Photoshop CS5
- Difficulty: Intermediate
- Estimated Completion Time: 50 Mins
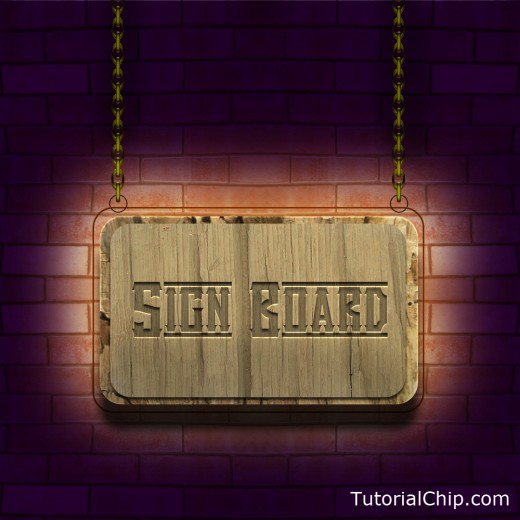
Create a Sign Board in Photoshop – Final Preview
Tools and Resources
External Resources
Photoshop Tools
- Rectangle Tool
- Rounded Rectangle Tool
- Gradient Overlay
- Brush Tool
- Text Tool
- Custom Shape Tool
Lets start to create our sign board in Adobe Photoshop CS5.
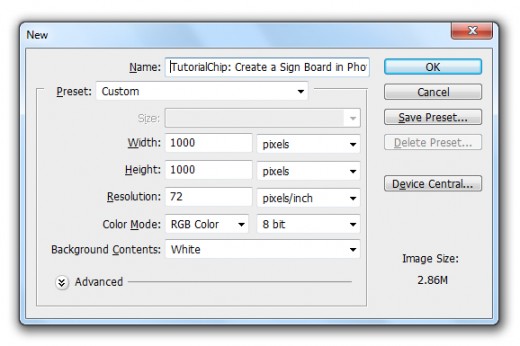
Step 1
Create a new document (Ctrl+N) 1000×1000 of size.
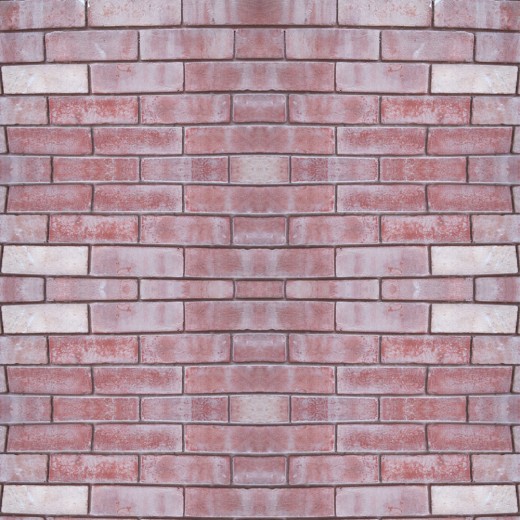
Step 2
First of all I am going to add the Wall Texture Image in Photoshop to start creating our sign board.
Step 3
After adding the wall texture select Rectangle Tool from tool panel and create a rectangle to the whole canvas with this color #2a0035 and name it layer Shape Rectangle.

Set the Blend Mode to (Multiple) of this shape rectangle layer.

Step 4
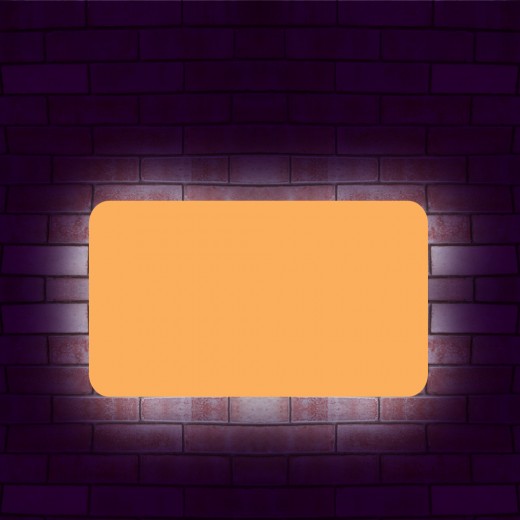
Now select the Rounded Rectangle Tool set radius (40%) and create a rectangle with this color #fbaf5d name it layer 1st Rounded Rectangle.

Step 5
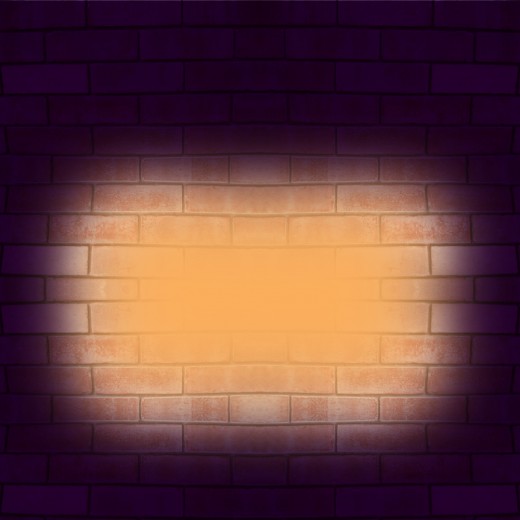
Select the shape rectangle layer rasterize it, select Soft Round Brush (100px) set foreground white color #ffffff and paint the outer side of 1st rounded rectangle layer as like in preview.
Now select the 1st rounded rectangle layer and go to Filter > Blur > Gaussian Blur and set Radius (70px).
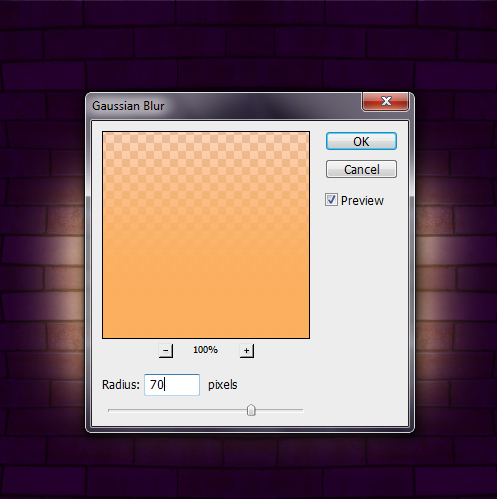
After applying Gaussian blur we get nice effect on this 1st rectangle layer.
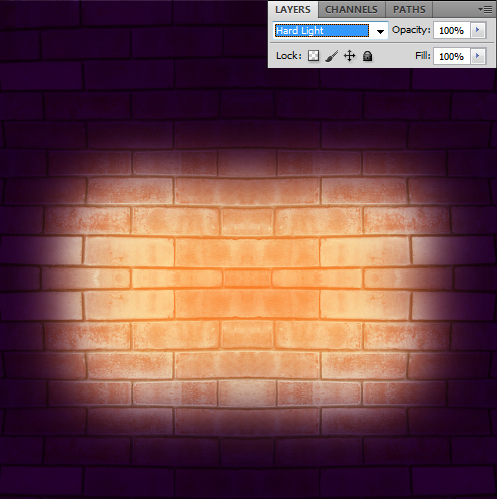
Set Blend Mode to (Hard Light) of this rectangle layer.
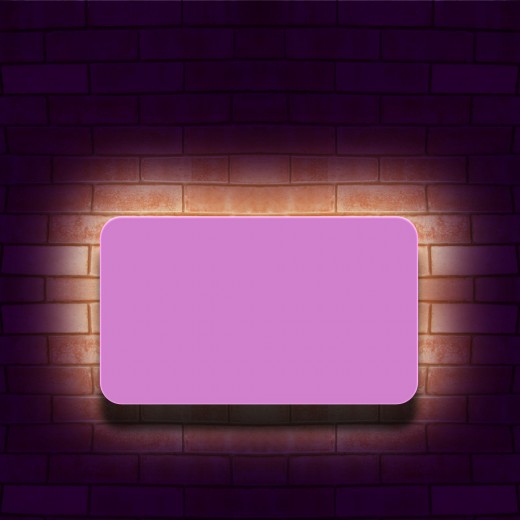
Step 6
Select Rounded Rectangle Tool again set Radius (40px) and create a rectangle with this color #d080cb name it layer 2nd Rounded Rectangle.

Go to Layer > Layer Style and applying some Blending Options on this 2nd rounded rectangle layer.
Drop Shadow
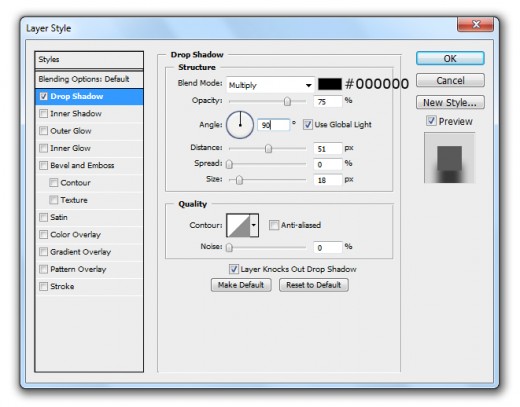
Inner Shadow
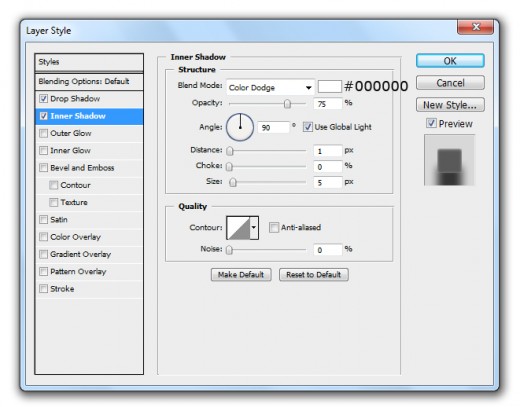
After applying these blending options we get new effect on 2nd rectangle layer.
Step 7
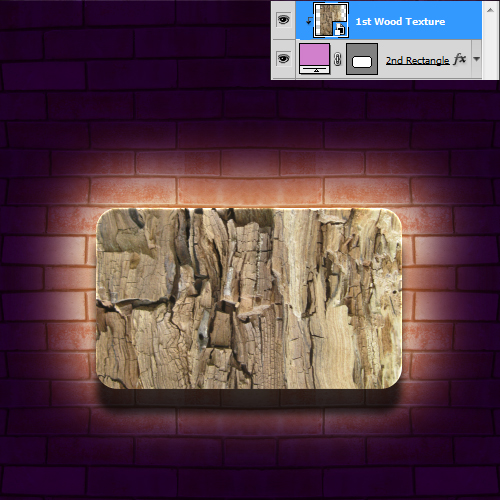
Now its time to add the 1st Wood Texture in Photoshop.
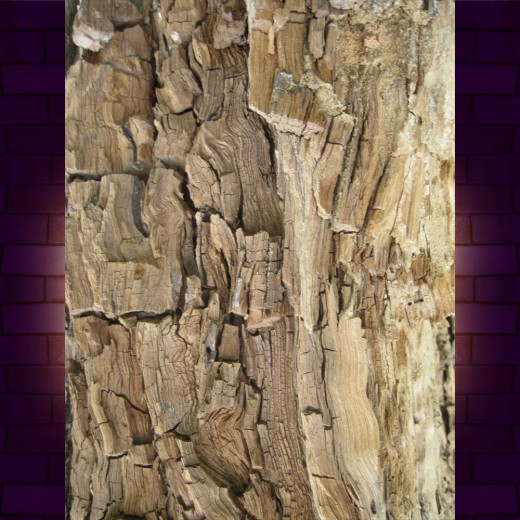
Now hold the Alt key and left mouse click to the center of 1st wood texture layer and 2nd rounded rectangle layer, the wood texture is merge in to the rectangle layer.
Step 8
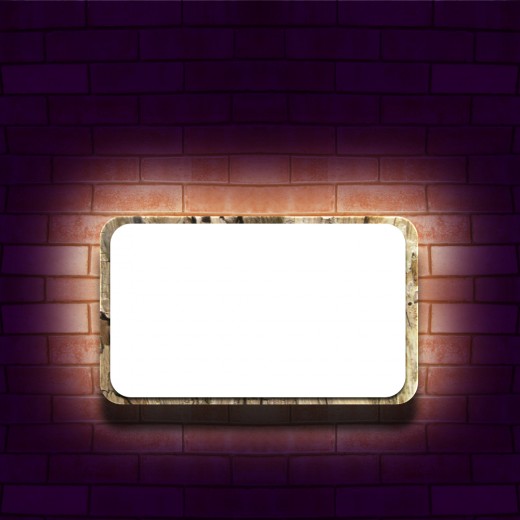
Select the Rounded Rectangle Tool ones again set Radius (40px) and create a rectangle with white color #ffffff, little bit smaller then the 2nd rectangle layer, name it layer 3rd Rounded Rectangle.

Go to the Blending Option and applying Drop Shadow on this rectangle layer.
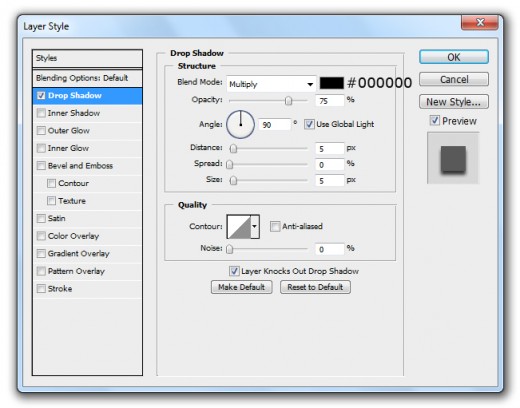
After applying drop shadow we get nice effect on 3rd rectangle layer.
Awesome Mind blowing tutorial 🙂
keep it up!