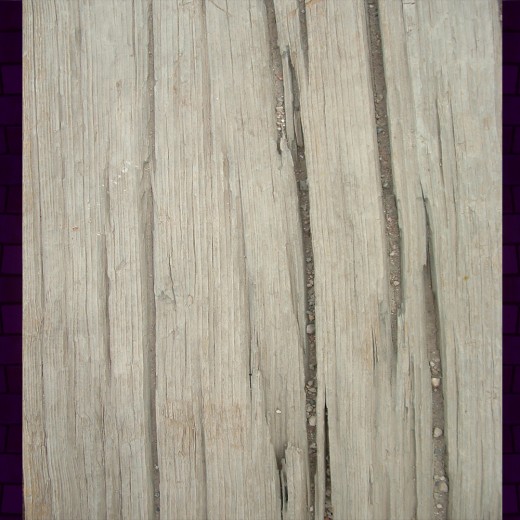
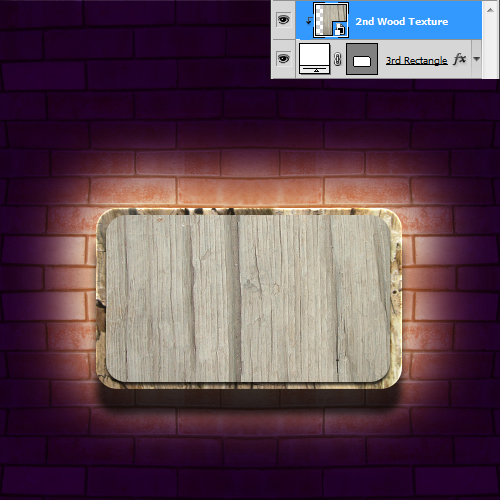
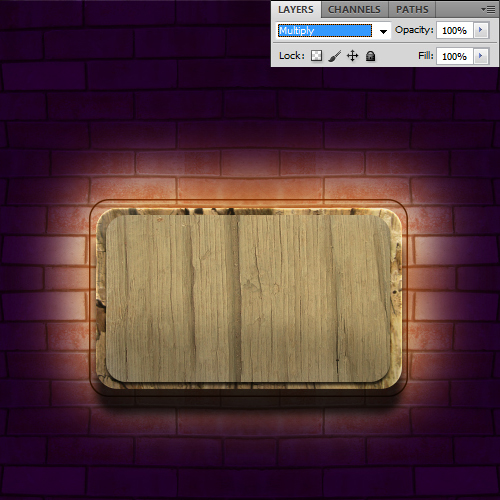
Step 9
Now we add the 2nd Wood Texture Image in adobe photoshop.
Repeat (step 8), hold Alt key and left mouse click to the center of 2nd wood texture layer and 3rd rounded rectangle layer, then the texture merge in to the 3rd rounded rectangle layer.
Step 10
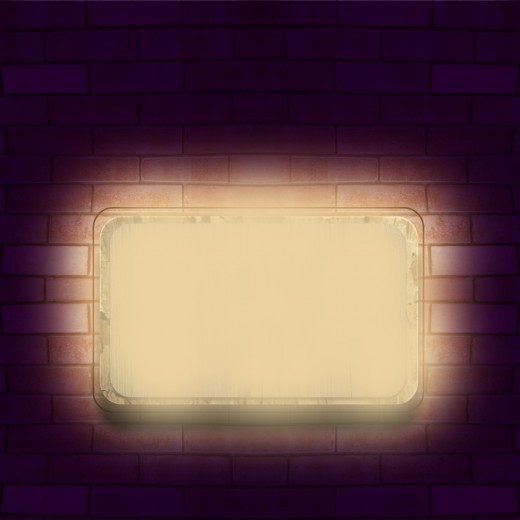
Create new layer top of the all layers, select Soft Round Brush with (200px) and set foreground color black #000000, painting on the down area of rectangle as like in preview.
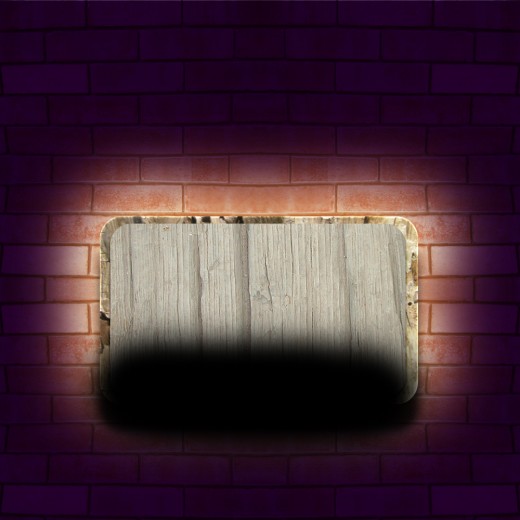
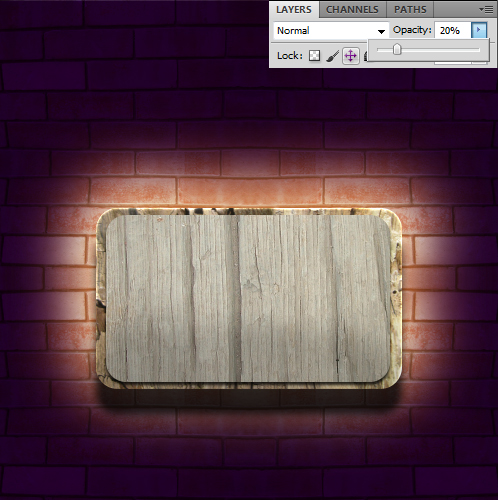
Down the Opacity (20%) of this brush shape layer.
Step 11
Select Rounded Rectangle Tool one more time set Radius (40%) and draw a rectangle with white color #ffffff downside of all the rounded rectangle layers.

Go to the Blending Option and applying Stroke on this rectangle layer.
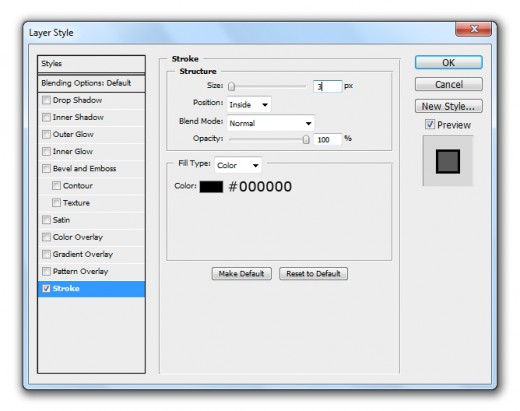
After applying stroke we get new result.
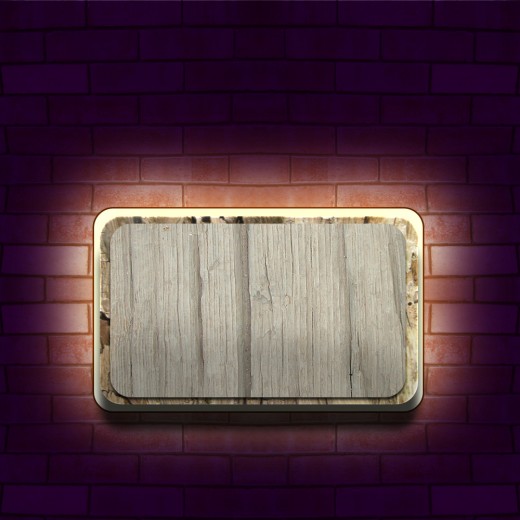
Set Blend Mode to (Darken) of this rectangle layer.
Step 12
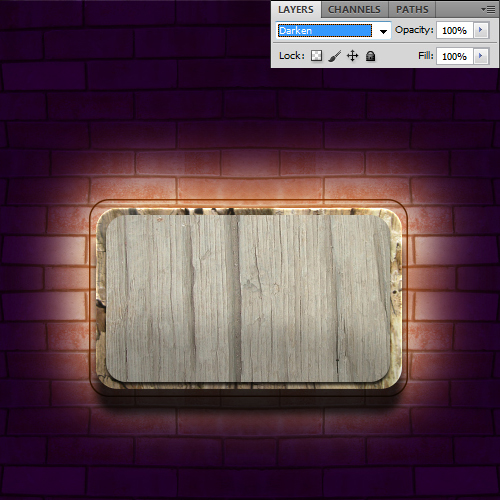
Create new layer select any Soft Brush and make some spots with this color #ebd29f.
Set Blend Mode to (Multiple) of this layer.
Step 13
Now I am going to type some text, here I am using Vanilla Whale Font, you can use any of font you like.
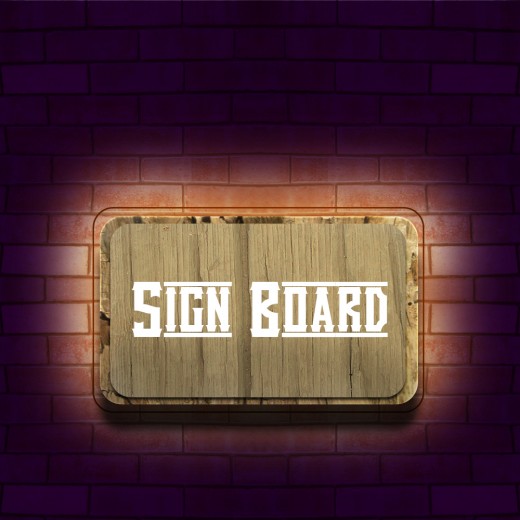
Set the Fill (0%) of this text layer.

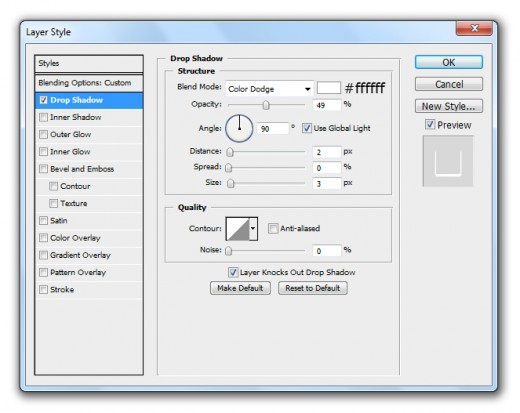
Go to Layer > Layer Style and applying some Blending Options on this text layer.
Drop Shadow
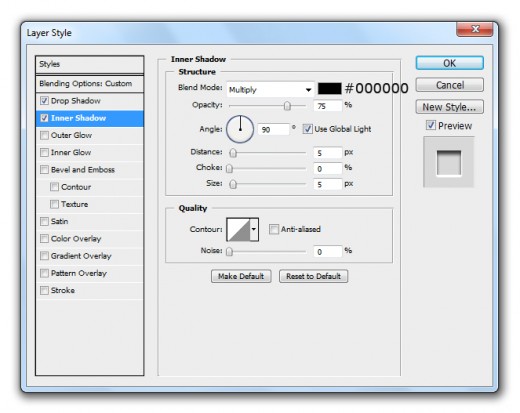
Inner Shadow
Color Overlay
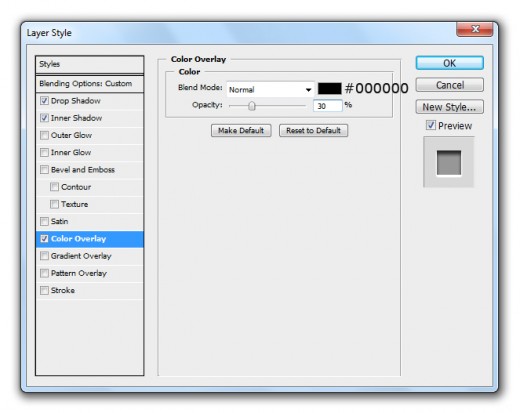
When we applying these layer style we get awesome preview.
Step 14
Select the Custom Shape Tool and draw a circle shape with black color #000000.

Select Eraser Tool and erase the one side stroke area of this circle as like shown in picture below.
Duplicate this circle shape layer and place it left corner as like in preview.
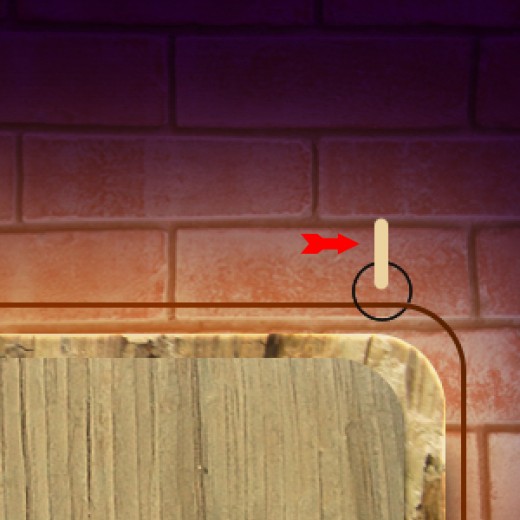
Step 15
Select Rounded Rectangle Tool set Radius (40%) and create a small rounded rectangle with this color #ebd29f.
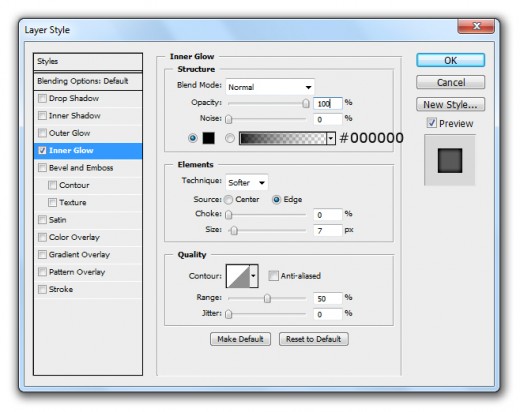
Go to Layer > Layer Style and applying some Blending Options.
Inner Shadow
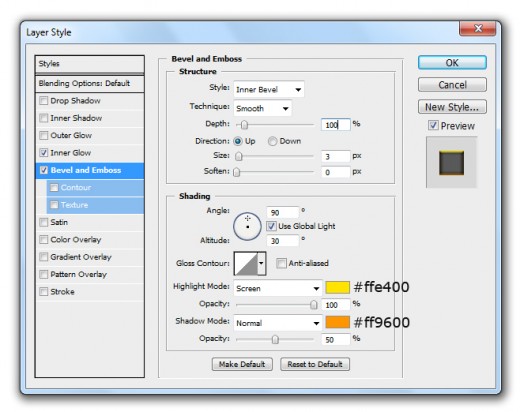
Bevel and Emboss
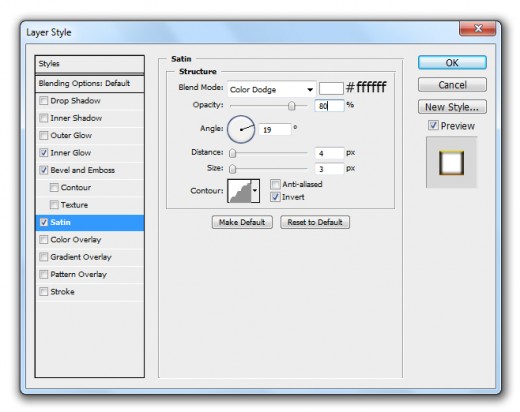
Satin
Gradient Overlay
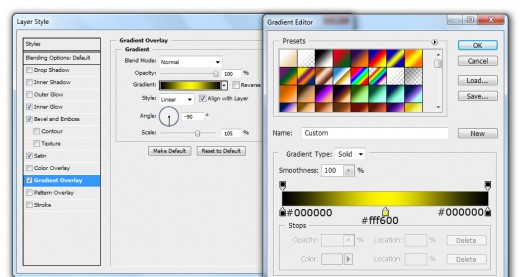
After applying these blending options we get awesome effect on small rounded rectangle layer.
Step 16
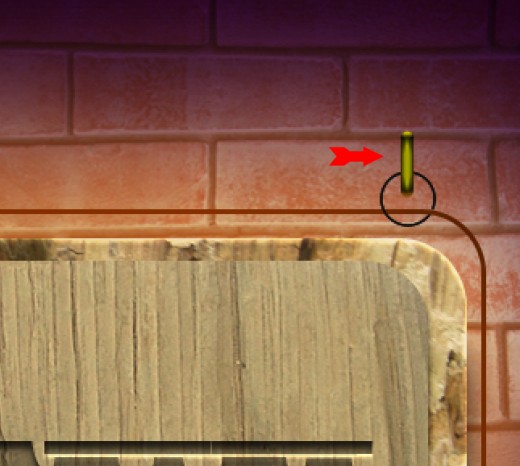
Select Custom Shape Tool and draw a circle shape with this color #ebd29f.
Right click on small rounded rectangle layer select (Copy Layer Style) option then right click on circle shape layer and select (Paste Layer Style) we get the same effects on circle layer that we applied on small rounded rectangle layer.

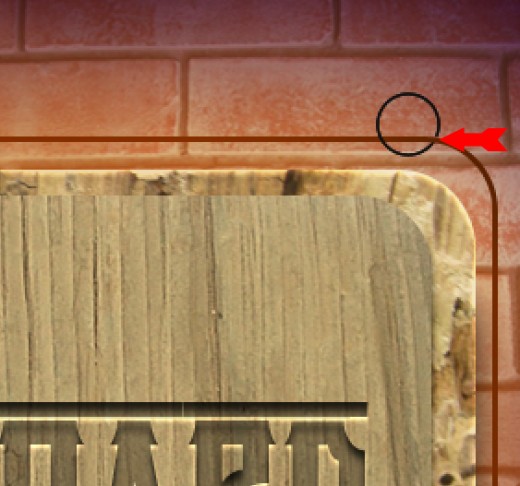
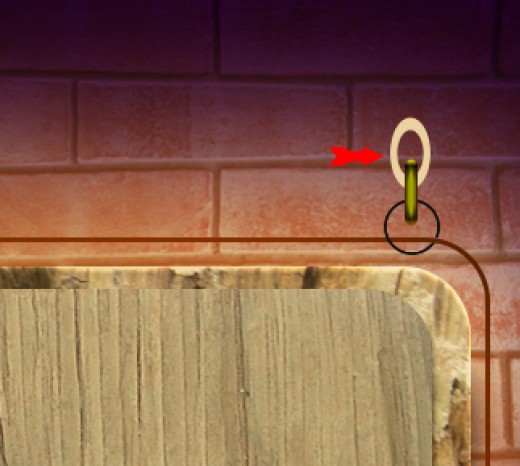
Now select small rounded rectangle layer and press (Ctrl+J) to duplicate it and set it to upper side of circle shape layer as like in preview.
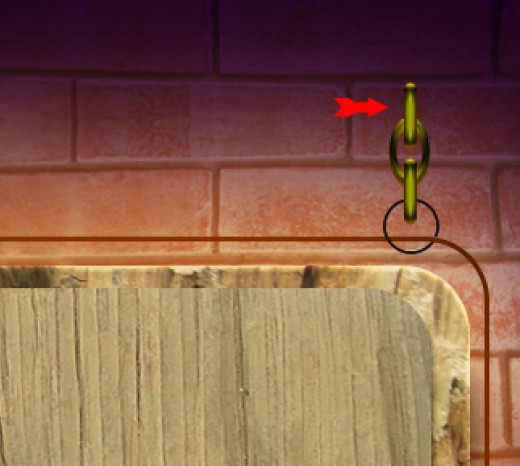
Now select the rounded rectangle layer and circle shape layer, press (Ctrl+J) duplicate these layers many time and make the chain as like in preview.
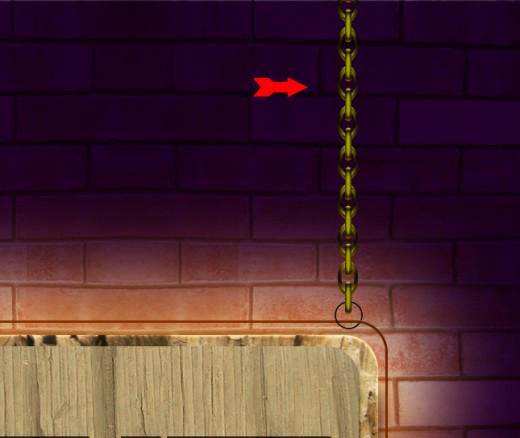
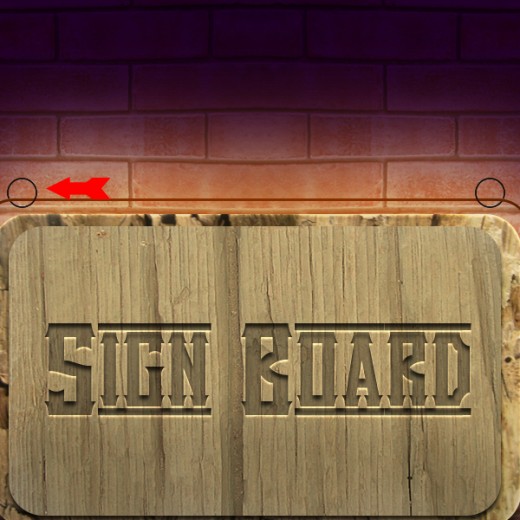
Now right side chain is complete, select all the duplicate chain layers and merge (Ctrl+E) them now we have one chain layer. Duplicate this layer, set this chain duplicate layer left side.

Step 17
In this step create new layer select any Soft Brush (100px) and painting with black color #000000.

Down the Opacity (30%) of this brush shape layer.

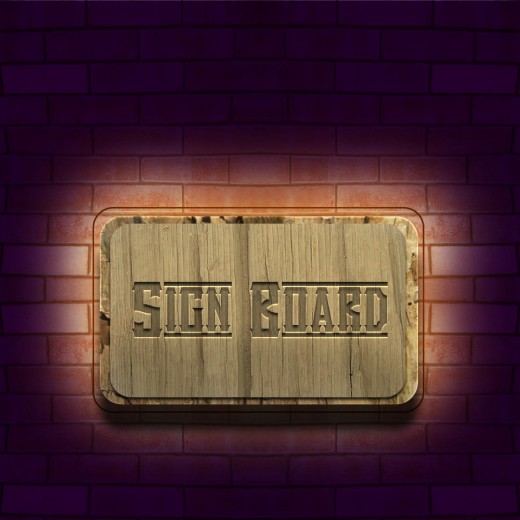
After complete this procedure, we get a cool sign board in final preview.
Final Preview
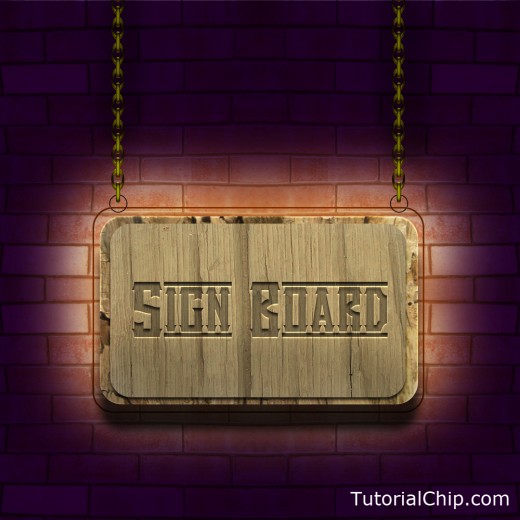
I hope you have definitely enjoyed this awesome sign board tutorial. Never forget to share your comments with us. Follow TutorialChip on Twitter or Subscribe to TutorialChip to Get the Latest Updates on Giveaways, Tutorials and More for Free.
Awesome Mind blowing tutorial 🙂
keep it up!