The separator is a horizontal or vertical dividing line or empty space. It’s most commonly used in when creating a layout, menus and tool bars. They can be of different kinds but all of them have same function to separate one part of information from another.
So today, I have done write a tutorial on separator line. In this tutorial you will learn that how to create a separator line in Photoshop. I have used very simple and easy techniques to design this separator. I hope you will like this cool tutorial. Feel free to share your comments with us.
Other related photoshop tutorials:
- Create a Beautiful Sign Board in Photoshop
- Create a Thermometer Icon in Photoshop CS5
- How to Create a Glass Table Icon in Photoshop
- How to Create a Digital Camera: Photoshop Tutorial
Tutorial details:
- Program: Adobe Photoshop CS5
- Difficulty: Intermediate
- Estimated Completion Time: 15 Mins
Create a Clean and Sleek Separator Line in Photoshop: Final Preview

Tools and Resources


Photoshop Tools
Following Photoshop tool are used in this tutorial.
- Rectangle Marquee Tool
- Rectangle Tool
Lets start to create our a Separator Line in Photoshop.
Step 1
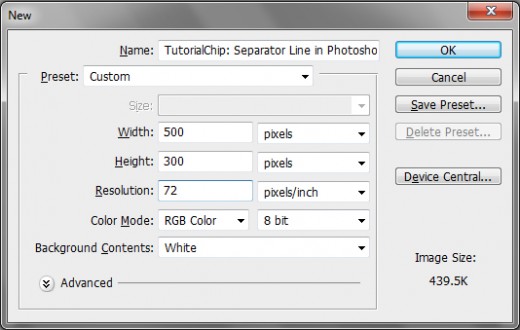
Open Adobe Photoshop, and create a new Photoshop document. I am going to create a new document of 500 x 300 px with #6e6c6c color.

Step 2
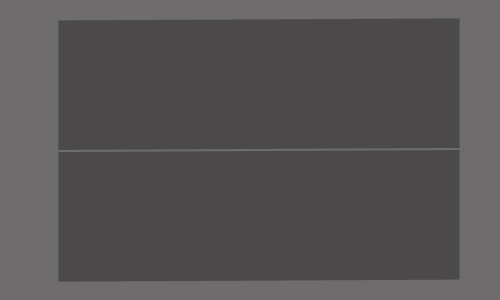
First of all select the Rectangle Tool (U) of and draw a rectangle with #4b4a4a color as like in preview.


Now duplicate this 1st rectangle layer and adjust the 2nd rectangle layer as like in preview below.

Step 3
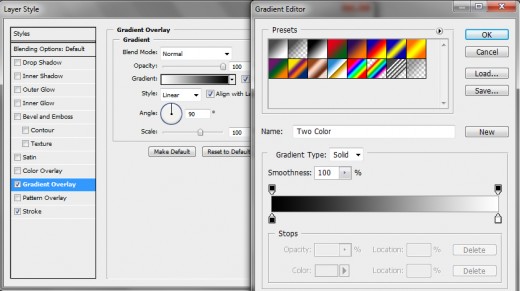
Now we will applying the some layer styles on 1st rectangle layer.
Gradient Overlay:

Stroke:
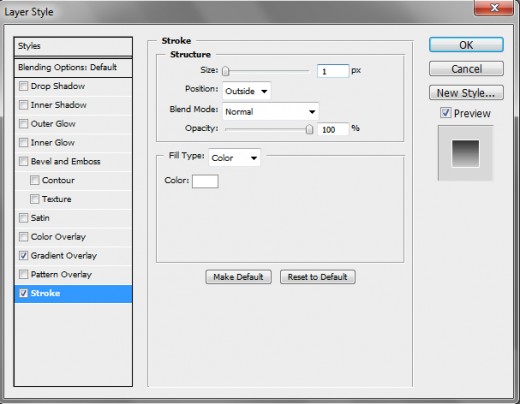

When we applying the these layer styles we have get a cool effect on 1st rectangle layer as like in preview.
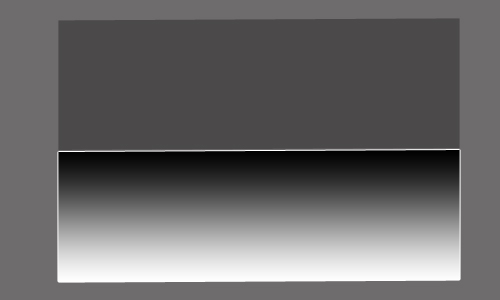

Step 4
Now we will applying the layer styles on 2nd duplicate rectangle layer.
Gradient Overlay:
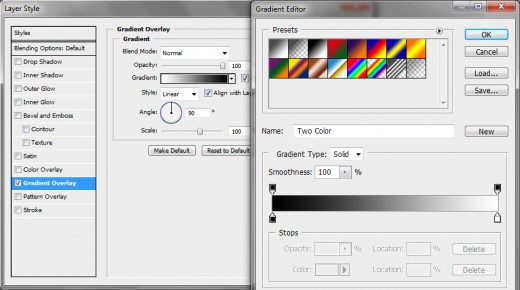

Stroke:
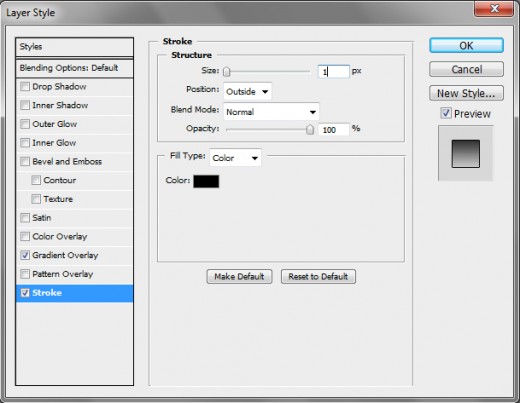

After applying the layer styles on 2nd rectangle layer then we have get a cool effect on it.


Step 5
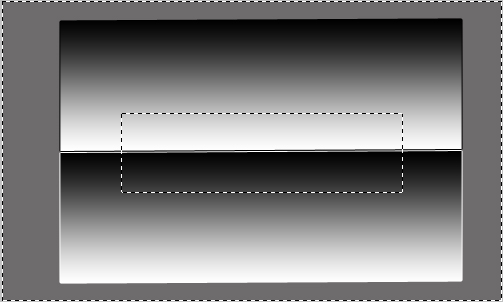
Now we will merge the these two rectangle layers. Select the Rectangle Marquee Tool (M) and draw a rectangle as like in preview.
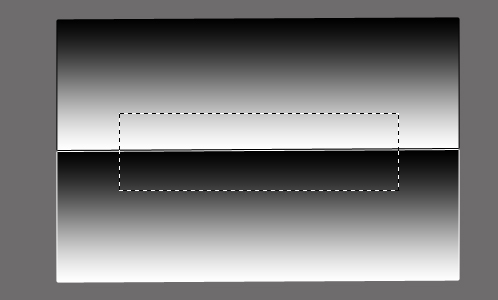

Now applying the inverse selection as like in preview.
Press the Ctrl+Shift+I for inverse selection.

Step 6
Now applying the Feature (Shift+F6).
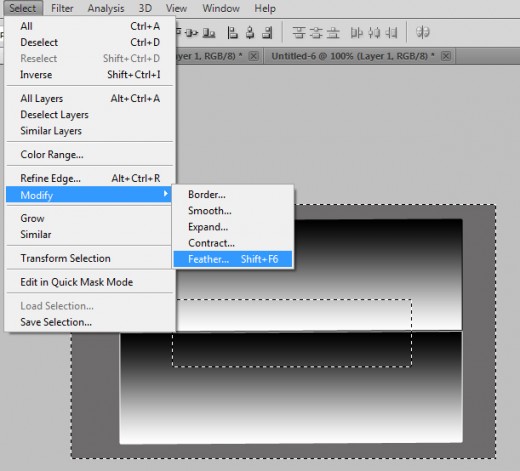

When you click on Feature option then a new window will be opened and set the feature radius 20px.
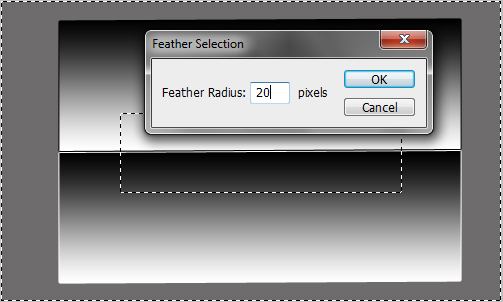

After set the feature radius then click on OK button.
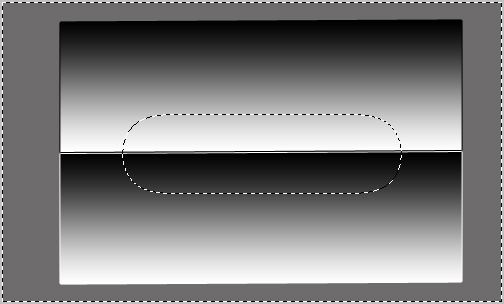

Step 7
In this final step hit the Delete button two time from your keyboard in which result we have successfully create the beautiful separator line as like in final preview below.
Final Preview


Conclusion
So here it is your finished separator line tutorial. You can try to make it in your web layout projects. I hope you will have liked this tutorial. If you have any questions about this tutorial then feel free to you can discuss with us.
Tanks a lot. so nice tutorial.