Step 8
Select Rectangle Tool or Line Tool and draw a vertical line with this color #008687.
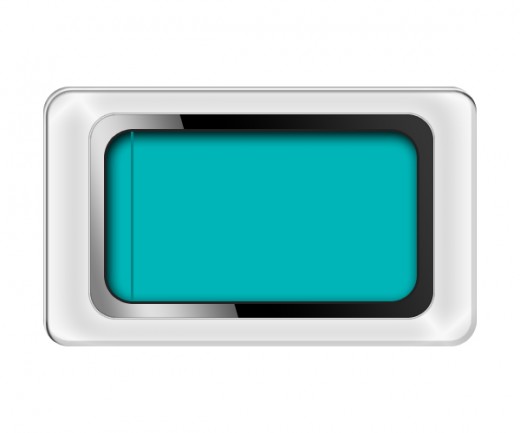
Duplicate the line layer ten time and adjust these lines as like in preview.

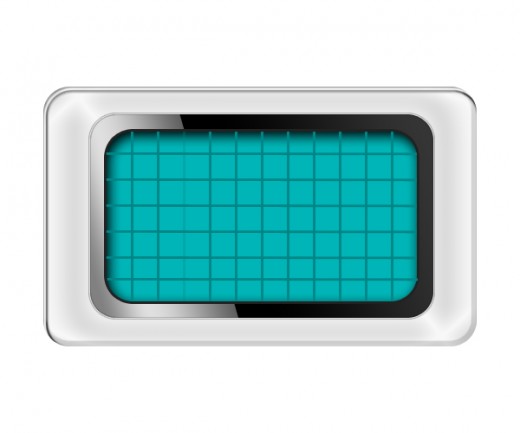
Step 9
Select again Rectangle Tool or Line Tool and draw a horizontal line with this color #008687.

Duplicate the horizontal line five time and adjust these lines as like in picture.
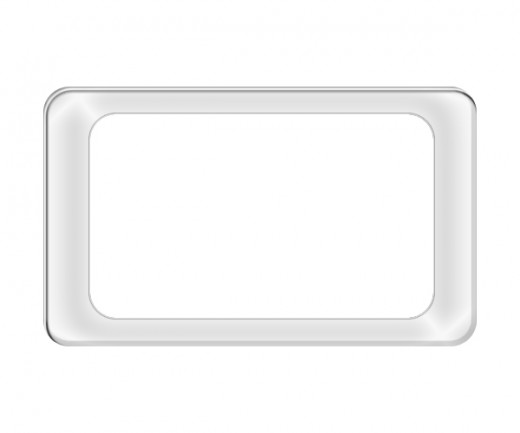
Step 10
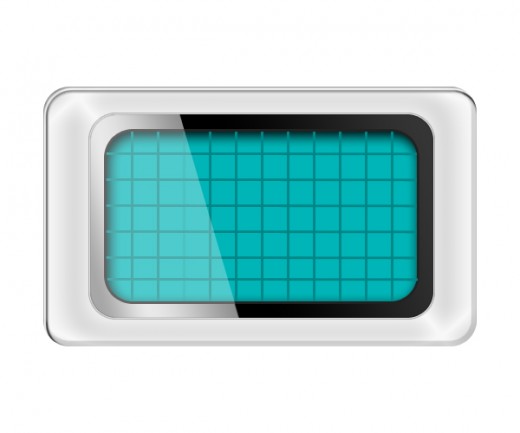
Now top of the all layers create a rectangle with help of rounded rectangle tool and applying white color #ffffff as like in preview.
Now with the help of Polygonal Lasso Tool select the same area as like shown in preview and hit the delete button.
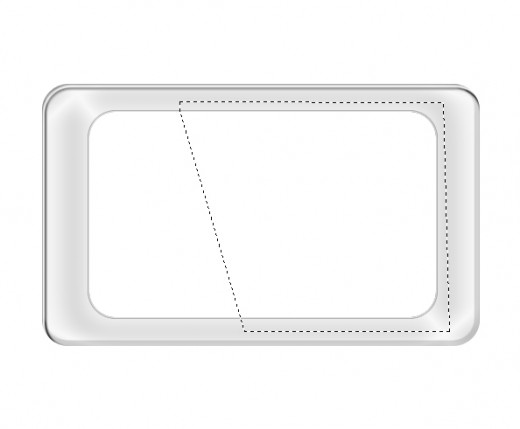
When we deleted the selected area down the opacity 30% of this current layer.
Step 11
Select the Pen Tool form tool panel and draw a shape with black color #000000 as like in preview.
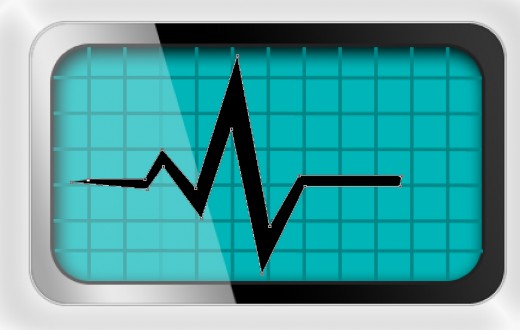
When we created the shape we get this nice result.
Step 12
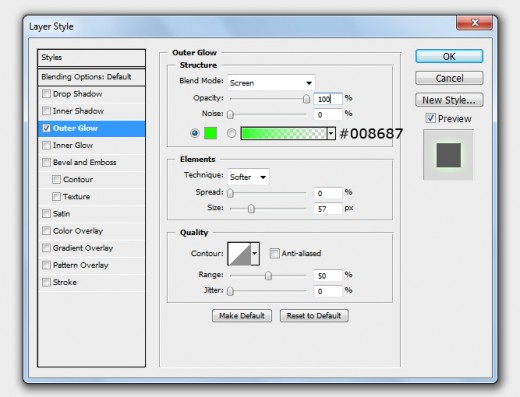
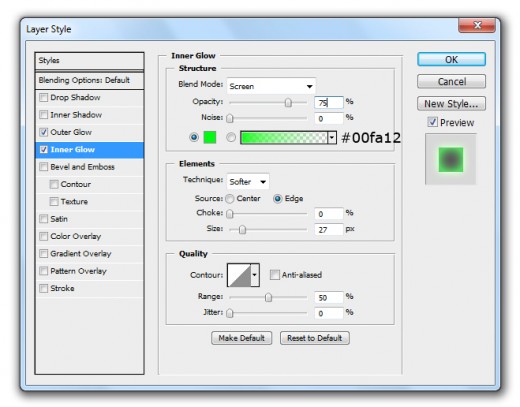
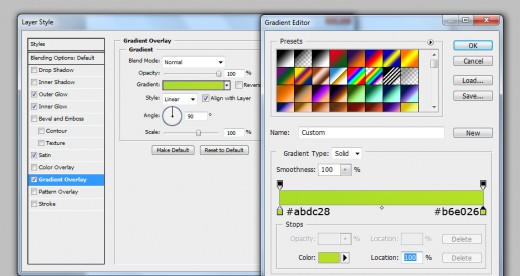
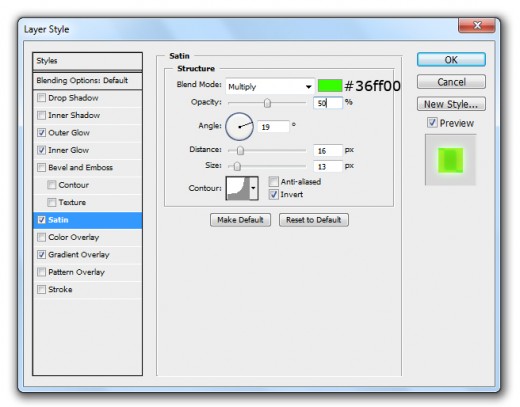
Now applying some blending options to this shape layer.
Outer Glow
Inner Glow
Gradient Overlay
Satin
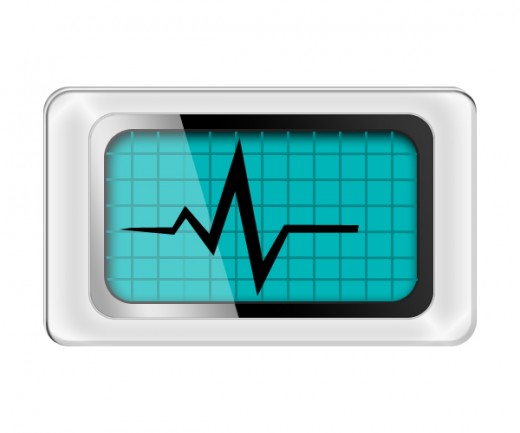
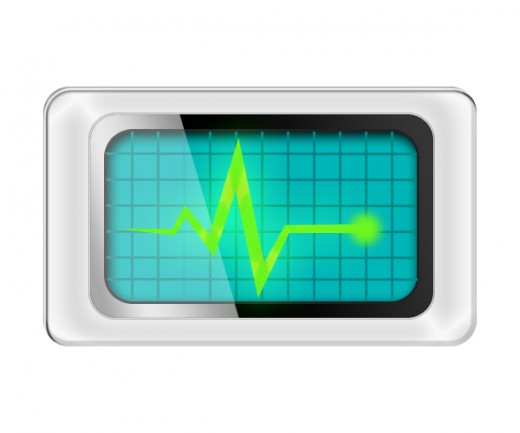
When we applying all these effects on this shape layer, we get awesome preview.
Step 13
At this time select the Ellipse Tool and draw a small circle with green color #6df621.

Go to Filter > Blur > Gaussian Blur set radius 5.0%
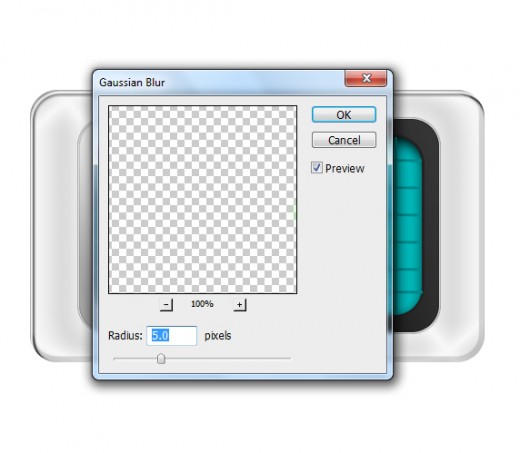
Now we get a cool effect on circle layer as like in preview.
Step 14
Select the Ellipse Tool again form tool panel and draw a shape for creating a shadow of diagnostics icon with this color #b2b2b2.
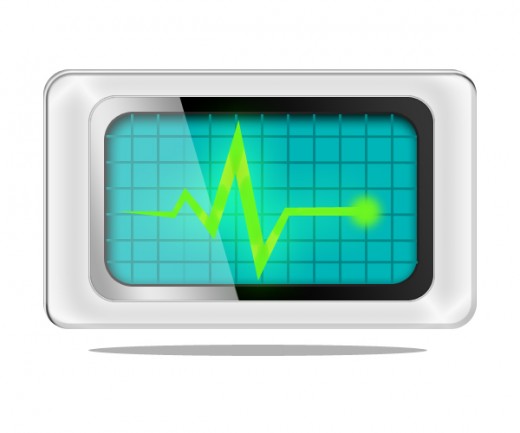
Go blend mode and minimize the opacity 40%.
Step 15
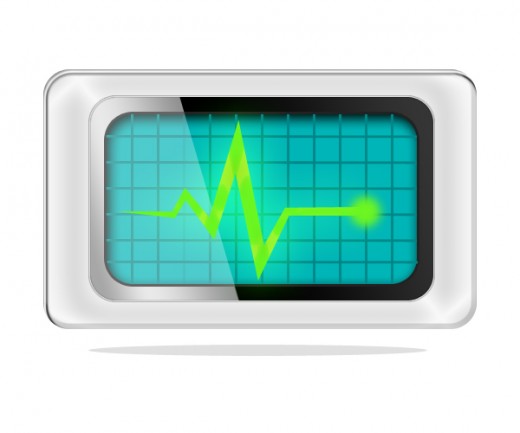
Now duplicate this shape layer set blend mode opacity 100% and applying this color #6e6e6e.

Go to Filter > Blur > Gaussian Blur and set radius 6.8%.
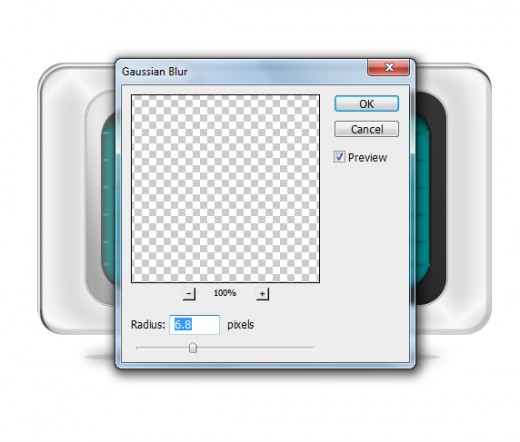
After applying the Gaussian blur filter, we get a new style shadow as like in final preview.
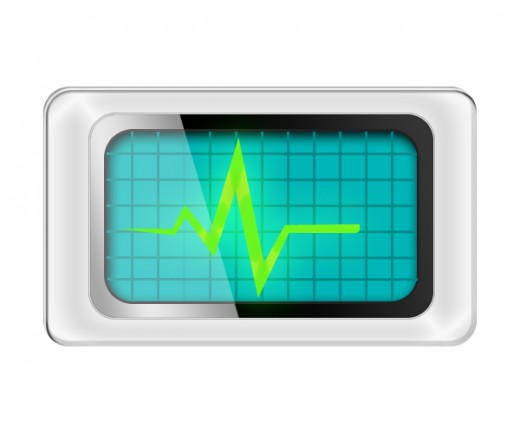
Final Preview
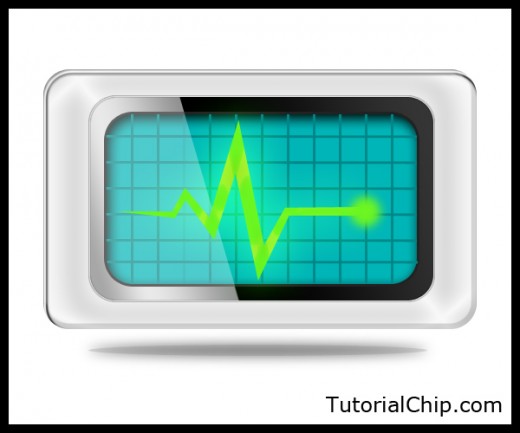
I hope you will like this Diagnostics Icon tutorial. Remember to share your comments with us. Follow TutorialChip on Twitter or Subscribe to TutorialChip to Get the Latest Updates on Giveaways, Tutorials and More for Free.