Radio is the transmission of signals through free space by modulation of electromagnetic waves with frequencies below those of visible light. Radio systems used for communications, more than 100 years of development, each process is implemented by a wide range of methods, specialized for different communications purposes.
So today, in this tutorial we are going to share with you that how to design a radio using simple shapes, gradients, patterns and textures. We are confidently say that you can improve your Photoshop skills to follow this helpful instructions. We hope you like our this incredible creation. Never forget to share your comments with us.
Related photoshop tutorials:
- Create a Thermometer Icon in Photoshop CS5
- How to Create a Glass Table Icon in Photoshop
- Alluring Apple Safari Icon Tutorial in Photoshop
- Create an Apple Wallpaper in Photoshop: Gimp Glowing Effect Tutorial
Tutorial details:
- Program: Adobe Photoshop CS5
- Difficulty: Intermediate
- Estimated Completion Time: 50 Mins
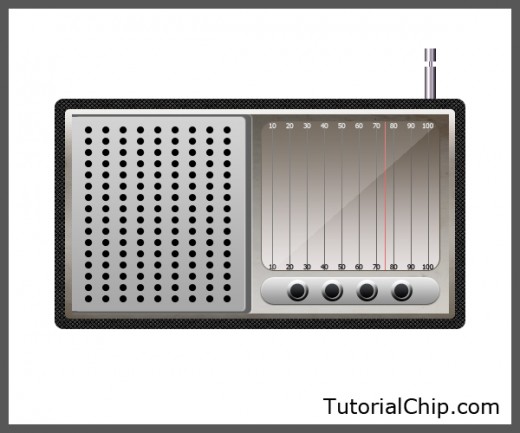
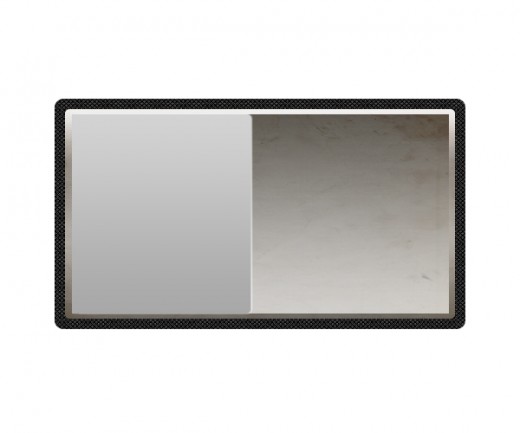
Create a Retro Radio Icon in Photoshop – Final Preview
Tools and Resources
External Resources
Photoshop Tools
- Text Tool
- Ellipse Tool
- Gradient Overlay
- Polygonal Lasso Tool
- Rectangle Tool
- Rounded Rectangle Tool
Lets start to create our radio in Photoshop.
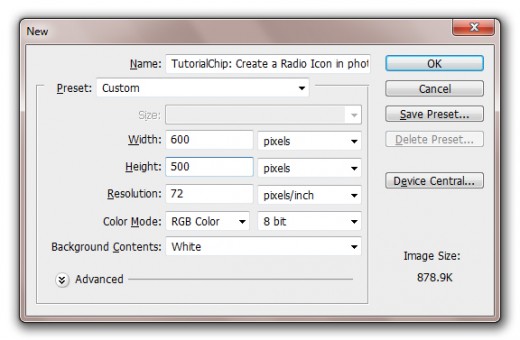
Step 1
Create a new document (Ctrl+N) with 600×500 of size.
Step 2
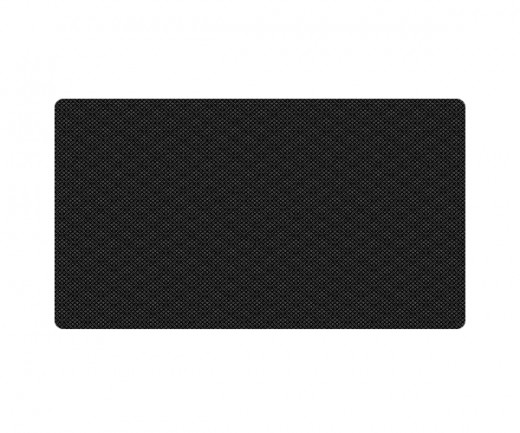
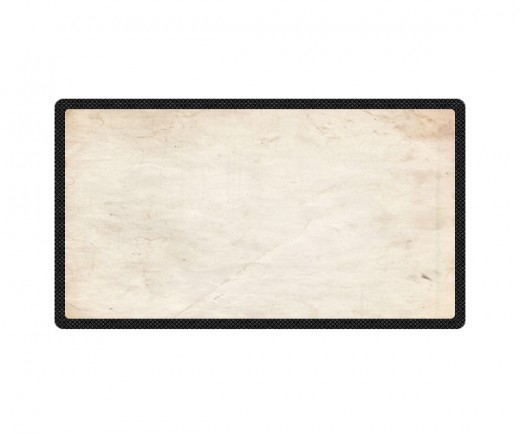
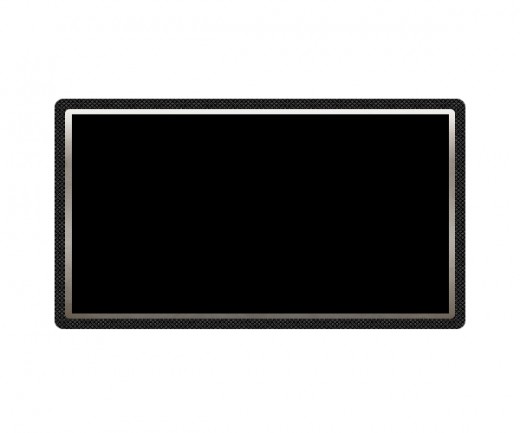
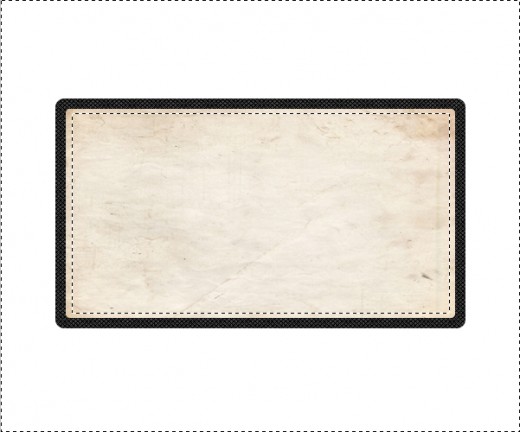
First of all select Rounded Rectangle Tool from tool panel set Radius (10px) and draw a rectangle with black color #000000 name it 1st Rectangle.

After create rectangle now we are going to applying Carbon Pattern on 1st rectangle layer.
Go to Layer > Layer Style > Pattern.
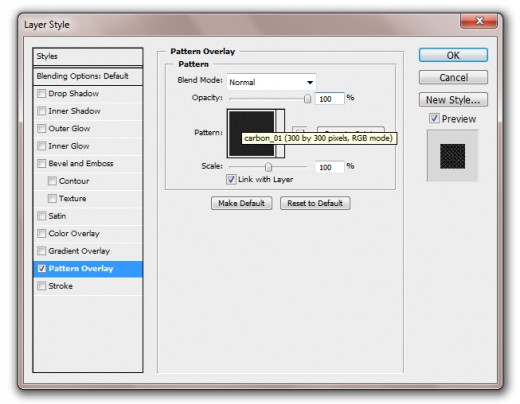
After applying pattern we get a nice effect on 1st rectangle layer.
Step 3
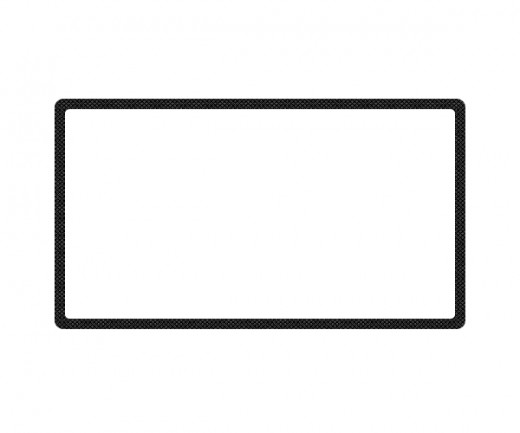
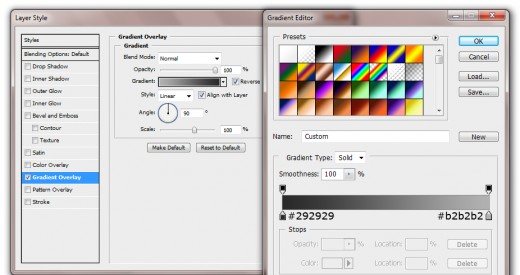
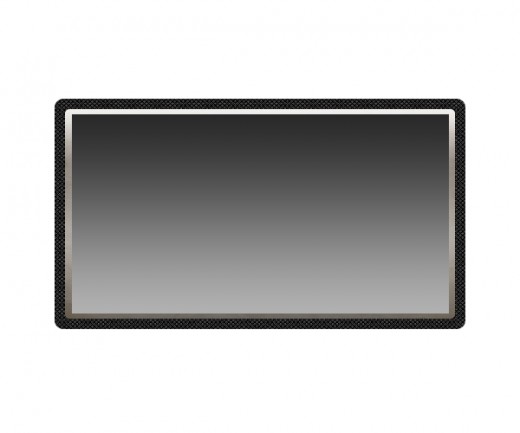
Select Rounded Rectangle Tool again set radius (5px) and draw a rectangle with white color #ffffff name it 2nd Rectangle.
Now go to the Blending Options and applying Gradient Overlay on 2nd rectangle layer.
Go to Layer > Layer Style > Gradient Overlay.
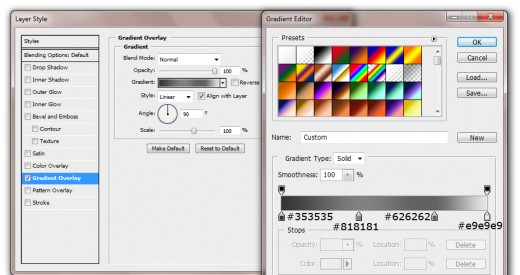
When we applying gradient overlay we get a new effect on 2nd rectangle layer.

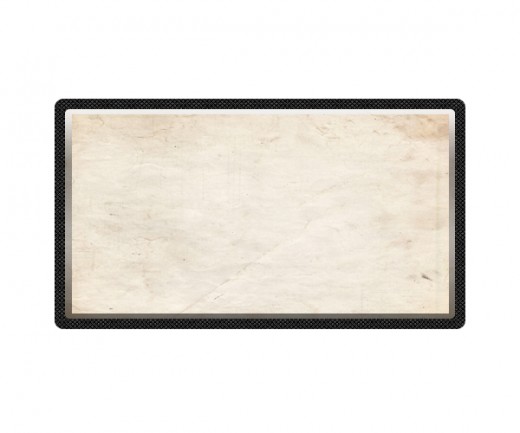
Step 4
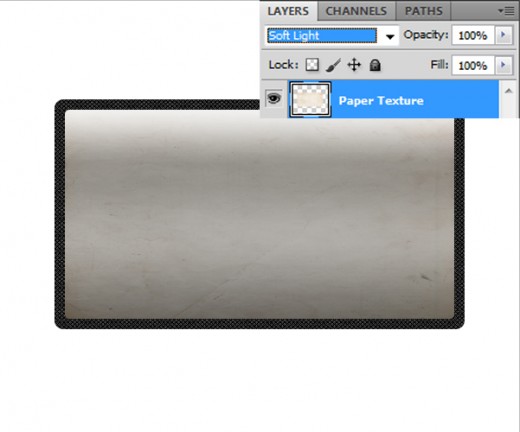
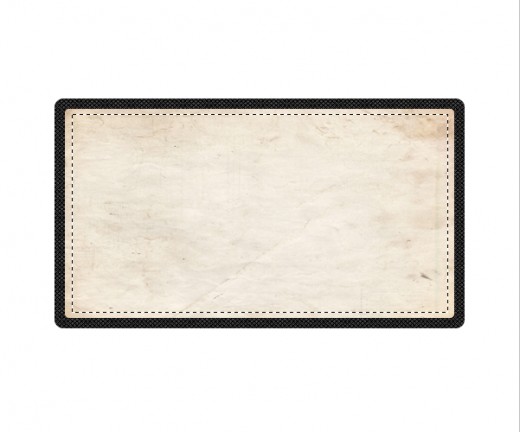
In this step we are going to add Paper Texture in photoshop.

Now hold Ctrl key and press right click thumbnail of 2nd rectangle layer to create a selection.
When selection created press (Shift+Ctrl+I) to inverse the selection.
Select texture layer rasterize it then hit delete button to delete selected area and press (Ctrl+D) to deselect selection.
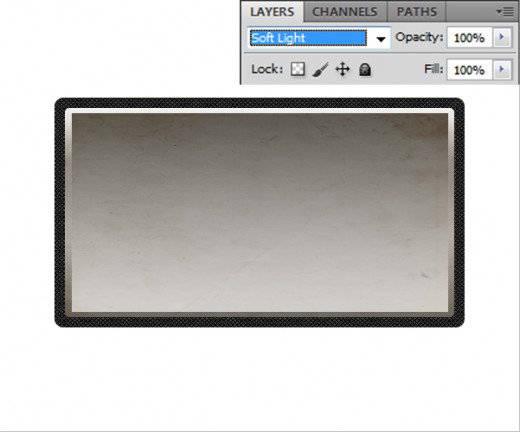
Set Blend Mode to (Soft Light) of this texture layers.
Step 5
Select Rounded rectangle Tool ones again and draw a rectangle with black color #000000 name it layer 3rd Rectangle.
Now go to Blending Options and applying Gradient Overlay on this 3rd rectangle layer.
Go to Layer > Layer Style > Gradient Overlay.
After applying gradient get this new result.
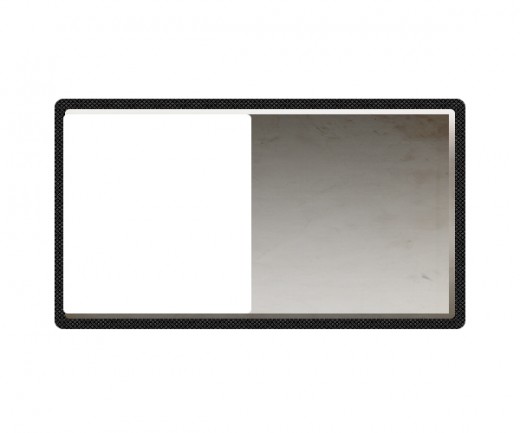
Select texture layer press (Ctrl+J) to duplicate it and set it top of all the layer.

Hold Ctrl key then right click on thumbnail of 3rd rectangle layer to make a selection.
When selection created press (Shift+Ctrl+I) to inverse the selection.
Select texture layer hit delete button to delete selected area then press (Ctrl+D) to deselected the selection.
Set Blend Mode to (Soft Light) of this duplicate texture layer.
Step 6
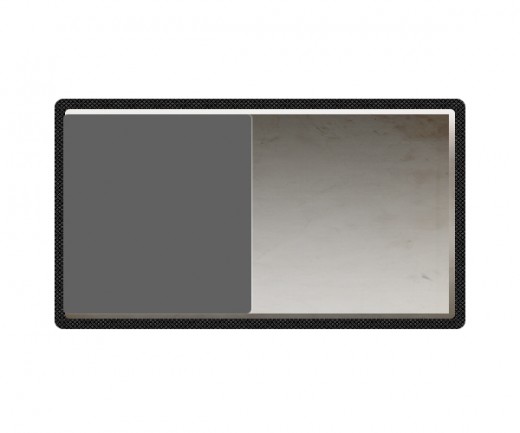
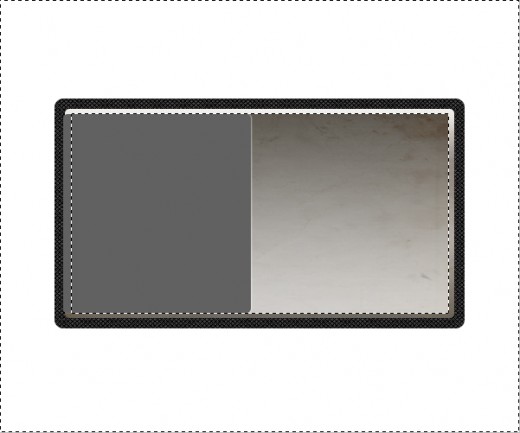
Select Rounded Rectangle Tool and create a rectangle with white color #ffffff name it layer Small Rectangle.
Now go to the Blending Options and applying some Layer Styles on this rectangle layer.
Go to Layer > Layer Styles and applying these Blending Options.
Drop Shadow
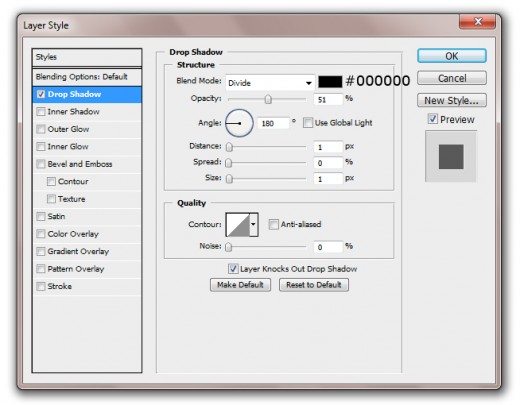
Color Overlay
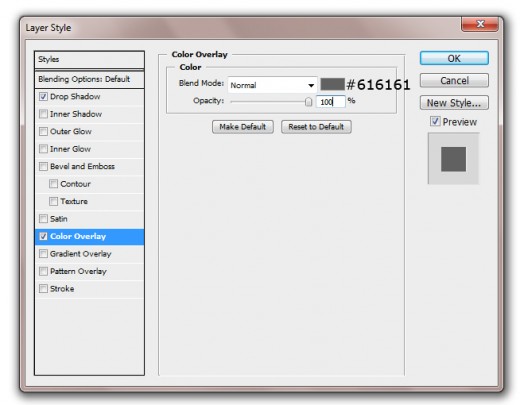
After applying these layer styles we get a nice result.
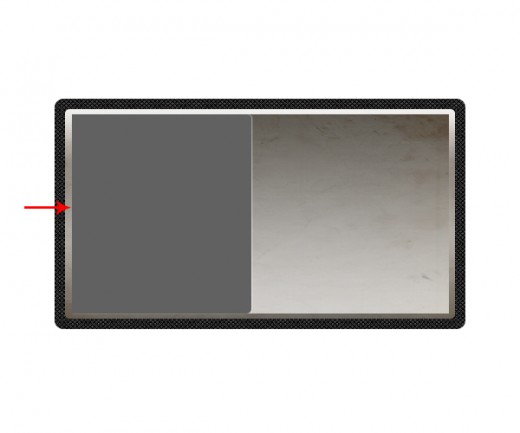
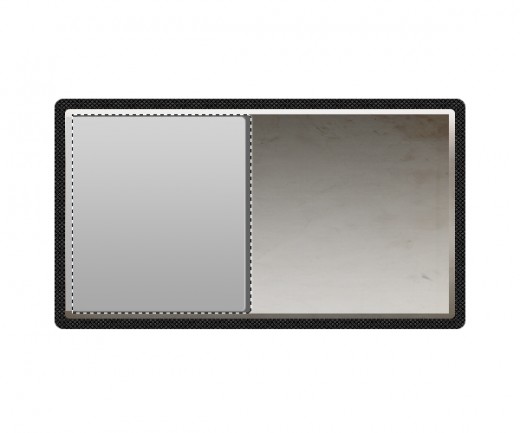
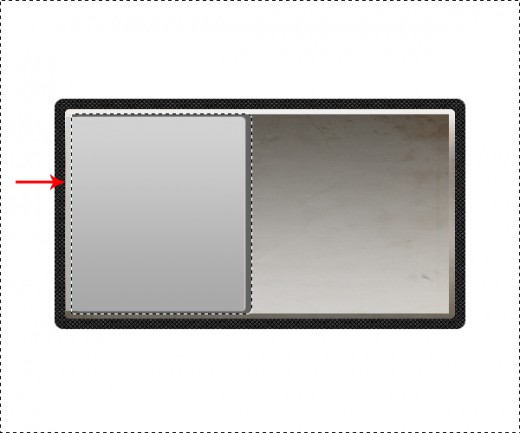
Hold Ctrl key and click on thumbnail of 3rd rectangle layer to create a selection.
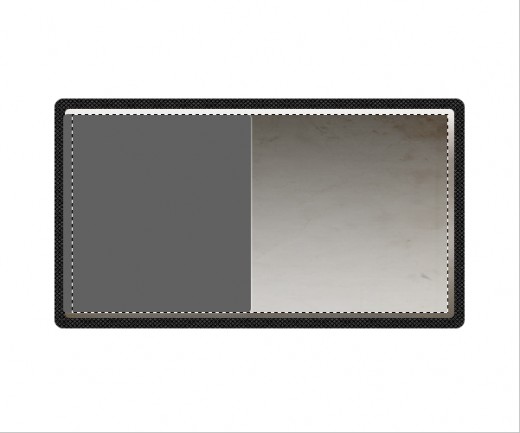
When selection created press (Shift+Ctrl+I) to inverse the selection.
Now select small rectangle rasterize it and hit delete button to delete the outer area and press (Ctrl+D) to deselect the selection.
Step 7
Duplicate small rectangle and applying some Blending Options on it.
Go to Layer > Layer Styles and applying these Blending Options.
Drop Shadow
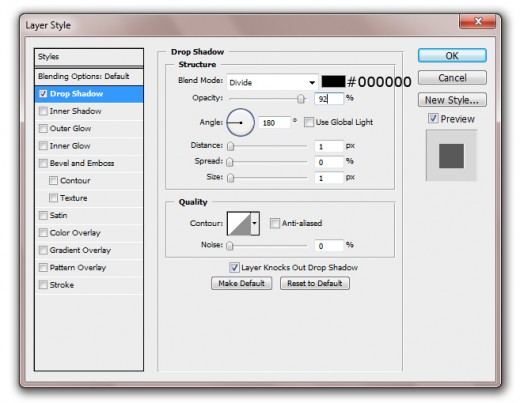
Gradient Overlay
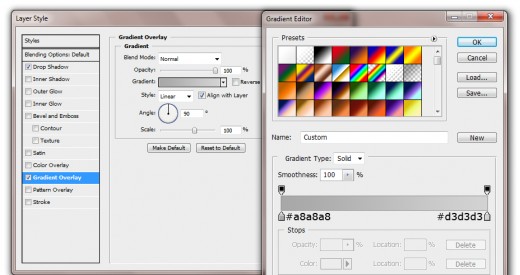
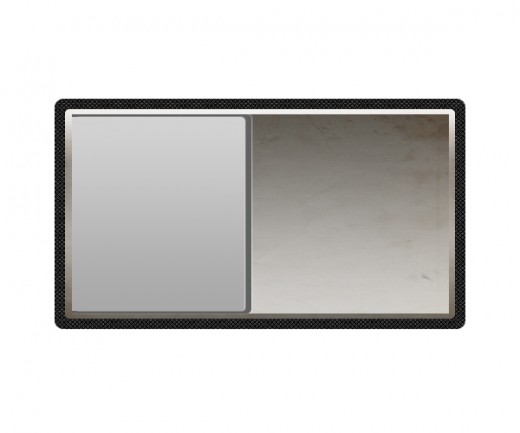
After applying these layer styles we get this result.
Go to Edit > Free Transform or press (Ctrl+T) to transform it, minimize the size and set little bit left side of duplicate rectangle layer.
After transform rectangle layer we get this result.
Hold Ctrl key click thumbnail of original small rectangle layer to make a selection.
Press (Shift+Ctrl+I) to inverse the selection hit delete button to delete unneeded area.
After delete unneeded area press (Ctrl+D) to deselect selection.
Step 8
Select Ellipse Tool from tool panel and create a small circle with black color #000000 as like in preview.
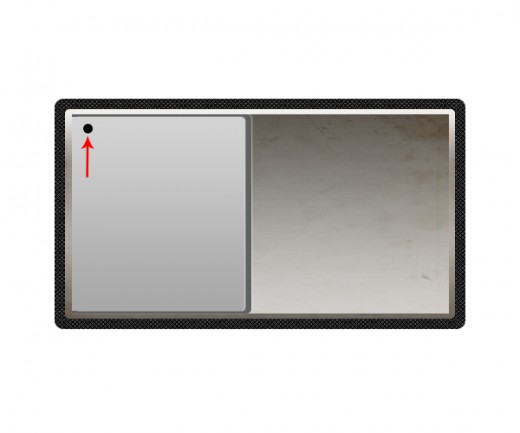
Duplicate this circle layer many times and set them as like in preview.