In this tutorial, I am going to create a medieval fantasy themed photo in Photoshop. I am creating an outstanding themed photo using some images, brushes and Photoshop effects. I am confident that you really like my this new creation and share your exclusive opinions with us. Enjoy!
Most visited photoshop tutorials:
- Create a Realistic Landscape in Photoshop
- How to Create a Vector Composite Effect in Photoshop
- Create a Fantastic Special Lighting Effect in Photoshop
- How to Create a Floating Over Grown Tree in Photoshop
Tutorial details:
- Program: Adobe Photoshop CS5
- Difficulty: Intermediate
- Estimated Completion Time: 50 Mins
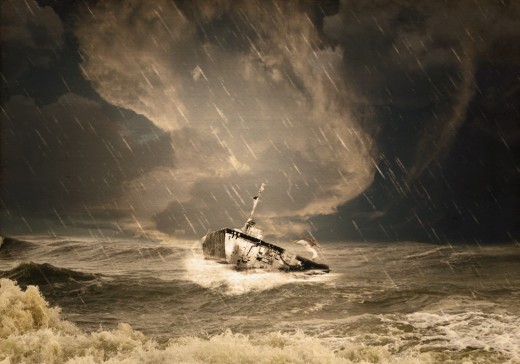
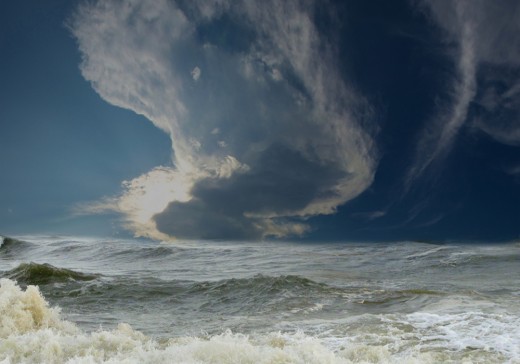
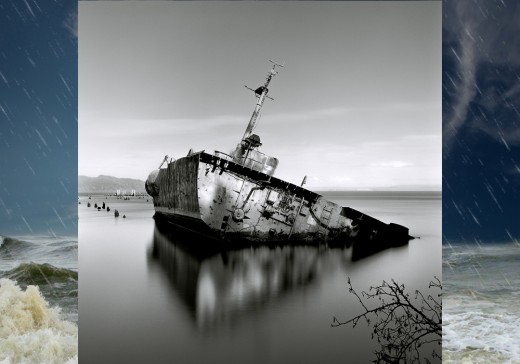
Create a Medieval Fantasy Themed Photo in Photoshop – Final Preview
Tools and Resources
External Resources
- Stormy Sea
- Sky Image
- Abandoned Ship
- Man Image
- Rain Brush
- Weave Brush
- Seamless Canvas Textured Paper
- Grungy Paper Texture
Photoshop Tools
- Eraser Tool
- Brush Tool
- Gradient Overlay
- Rectangle Tool
Lets start to create our medieval fantasy themed photo in photoshop.
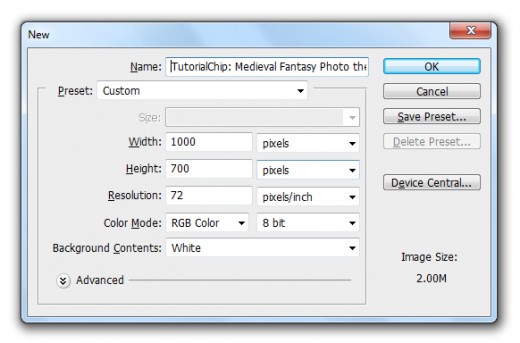
Step 1
Create a new document (Ctrl+N) with 1000×700 of size.
Step 2
First of all add the Stormy Sea Image in photoshop to start our medieval fantasy themed photo.
Select Rectangle Tool from tool panel and make a selection from sea area.
After make a selection press (Ctrl+J) to duplicate selected area name it Sea, then delete original image and see this result.
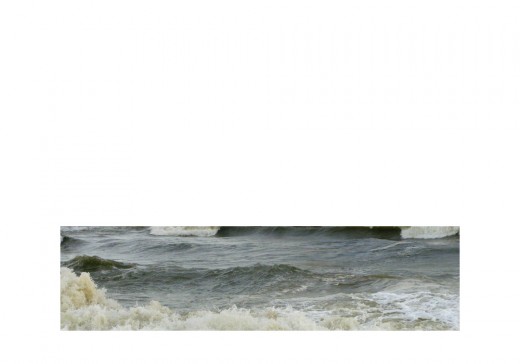
Now Transform this sea layer and place left and right whole canvas.
Go to Edit > Free Transform or press (Ctrl+T) and set image.
After set image we get this result.
Step 3
Now I am going to add the Sky Image in photoshop.

Rasterize layer, select the Eraser Tool from tool panel and erase the down area of this sky image layer.
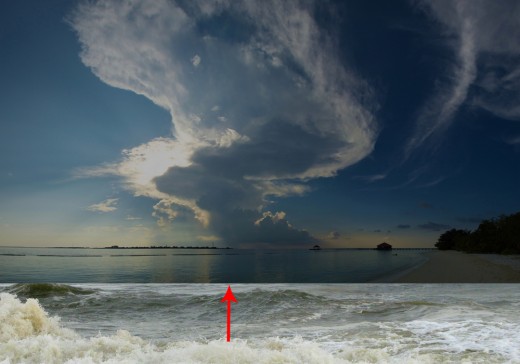
After erase the down area we get this result.
Step 4
Now create a new layer (Ctrl+Shift+N) select Rain Brush and make it to the whole canvas with white color #ffffff.

Step 5
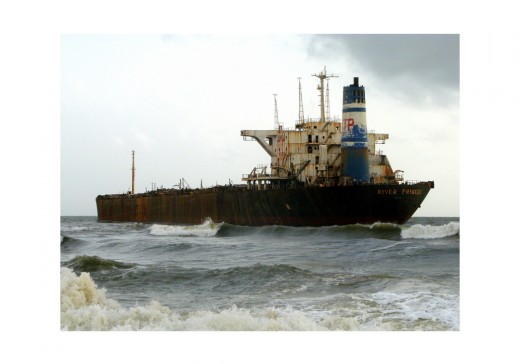
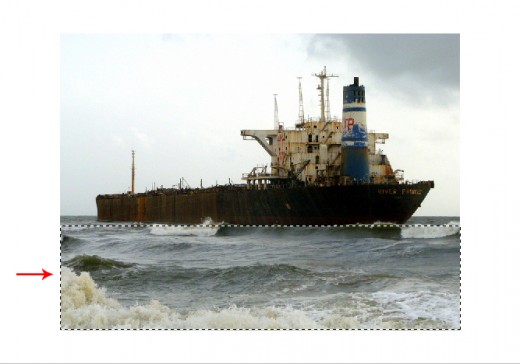
In this step I am going to add the Abandoned Ship Image in photoshop.
Rasterize this ship image layer, select Eraser Tool and erase the outer area as like in preview.
After erase outer area now Transform the layer and minimize the size as like in picture below.
Go to Edit > Free Transform or press (Ctrl+T).
After minimize the size of ship image layer get result.

Now create a new layer (Ctrl+Shift+N) select the Weave Brush and make some weave down area of ship image layer.

After make these weaves we get a cool effect as like in preview.
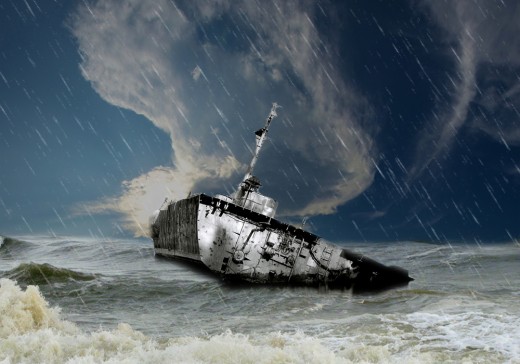
Step 6
Create new layer (Ctrl+Shift+N) down side of rain layer, select Cloud Brush and make some clouds in empty areas to make our picture more stormy.
After make some clouds we can see that our picture more darker and stormy.
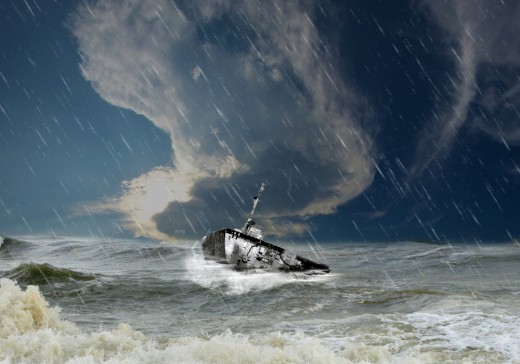
Step 7
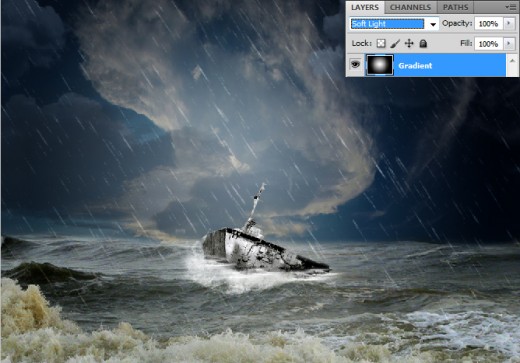
In this step create one more time a new layer (Ctrl+Shift+N) and applying black and white Radial Gradient.
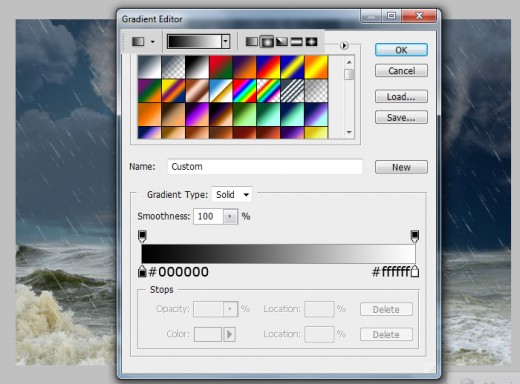
When we applying radial gradient we get this result.
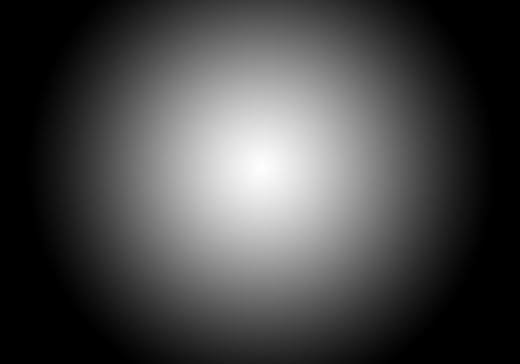
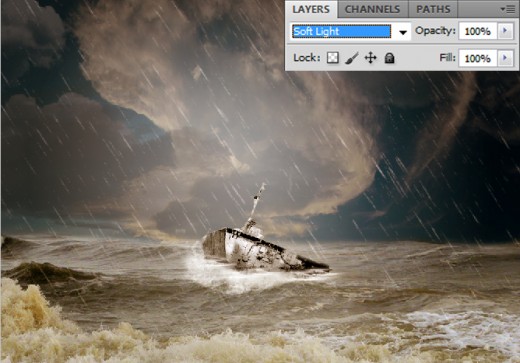
Set Blend Mode to (Soft Light) of this gradient layer.
Step 8
Here in this step again create a new layer (Ctrl+Shift+N) and applying this color #d5a67d.

Set Blend Mode to (Soft Light) of this layer.
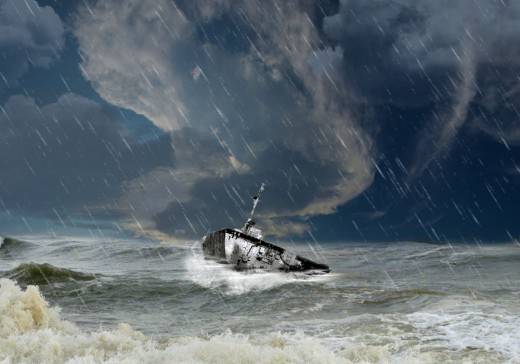
Step 9
Now click on Create a New Adjustment Layer button from layer panel and select Color Balance option, set this setting.
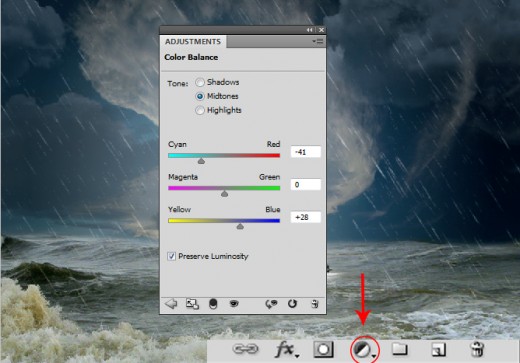
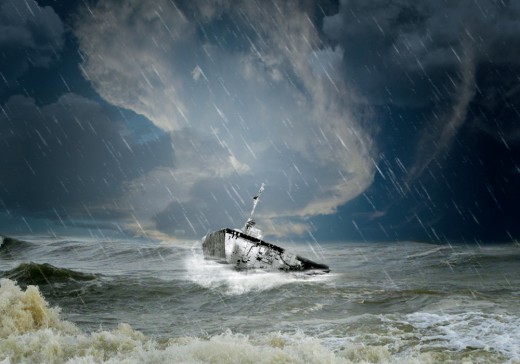
After set color balance we get this new result.
Ones again click Create a New Adjustment Layer and select Color Balance option, set it.
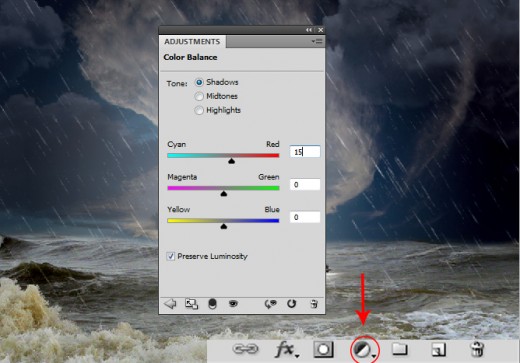
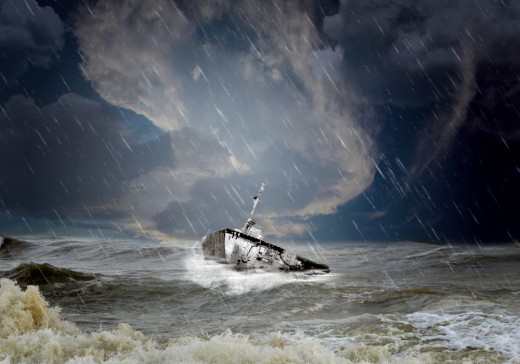
After set this color balance setting we get this result.
Thanks for the tips on this. It would be easy to create such themes with this.
Excellent tutorial very much useful. Thanks a lot for sharing !!