In this tutorial I am going to create an awesome water text effect in Photoshop that is sure to catch your eyes. This tutorial requires some basic knowledge of Photoshop and how to work in it’s environment.
This tutorial is consists on only 8 steps, but most useful techniques and blending modes will make your text look more beautiful. I hope you will like this fantastic Photoshop tutorial. Feel free to share your comments with us.
You may also like:
- How to Create a Texture Text Effect in Photoshop
- How to Create a Grunge Text Effect: Photoshop Tutorial
- Create a Beautiful Concrete Text Effect: Photoshop Tutorial
- How to Create a Stuffed Text Effect: Photoshop CS5 Tutorial
Tutorial details:
- Program: Adobe Photoshop CS5
- Difficulty: Intermediate
- Estimated Completion Time: 40 Mins
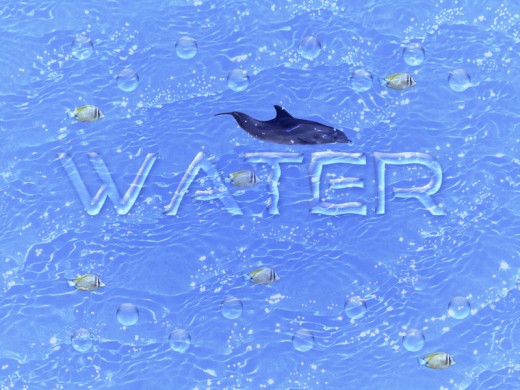
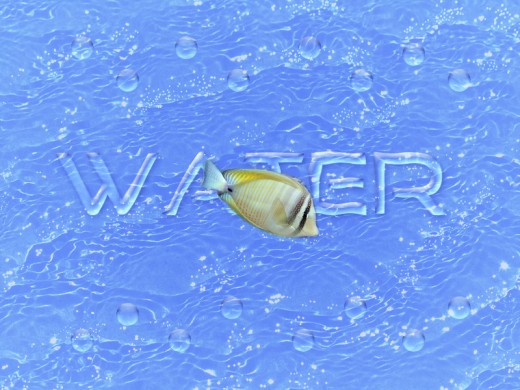
Create a Splendid Water Text Effect in Photoshop – Final Preview
Tools and Resources
External Resources
Photoshop Tools
- Text Tool
- Brush Tool
- Eraser Tool
- Ellipse Tool
- Gradient Overlay
Lets start to create our splendid water text effect in photoshop.
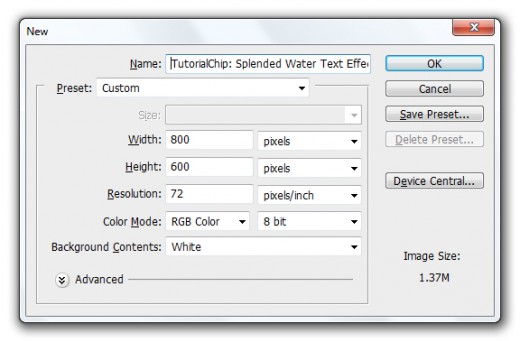
Step 1
Create a new document (Ctrl+N) with 800×600 of size.
Step 2
First of all applying background color #779cf0, then create a new layer (Shift+Ctrl+N) select Brush Tool from tool panel select any soft brush with (100px) of size and paint it with this color #182bb5.

After paint go to Filter > Blur > Gaussian Blur and set Radius (250px).
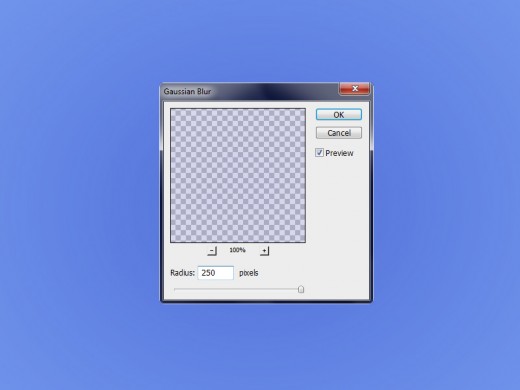
After applying Gaussian Blur we get a new result.

Step 3
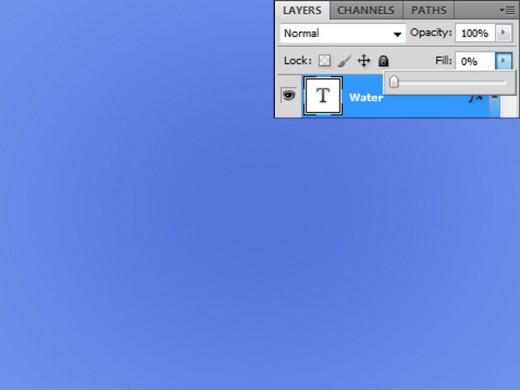
Select Text Tool and type some text with (130px) of size applying white color #ffffff, here I am using Good Times Font you can chose your own choice of font.

Set Fill (0%) of this text layer.
After set fill of text layer now I am going to applying some Blending Options on this text layer.
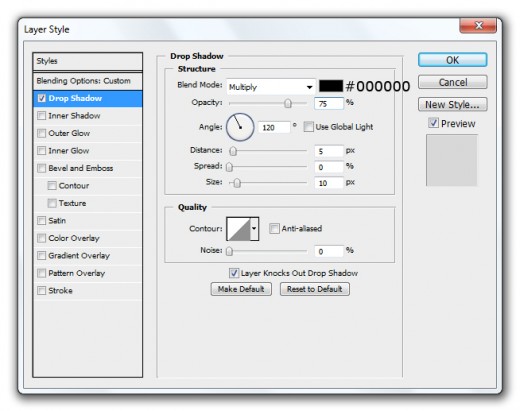
Go to Layer > Layer Style and applying these Blending Options.
Drop Shadow
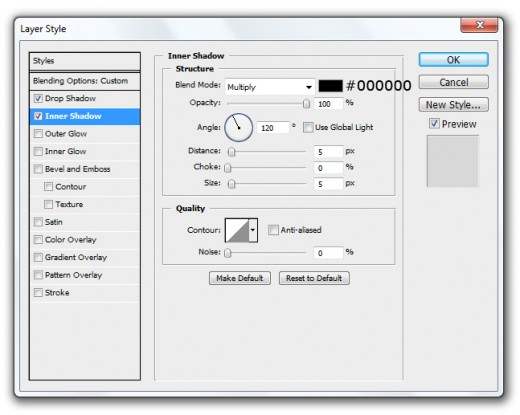
Inner Shadow
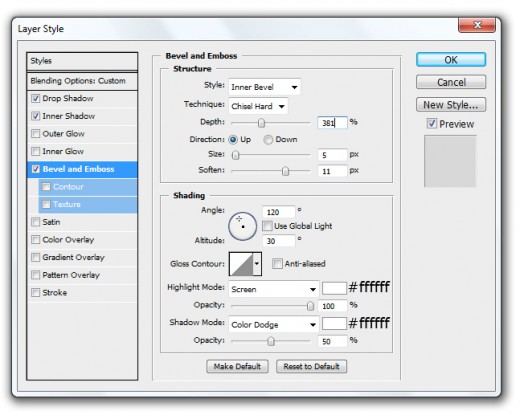
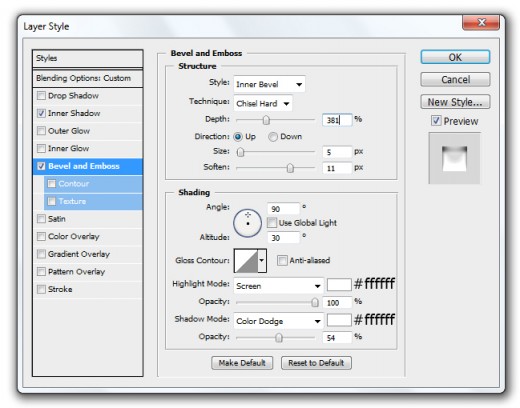
Bevel and Emboss
After applying these layer styles we get awesome effect on text layer.

Step 4
Now in this step applying Zigzag Filter on this text layer.
Go to Filter > Distort > Zigzag set Amount (3) and Ridges (8) and Style (Pond Ripple).
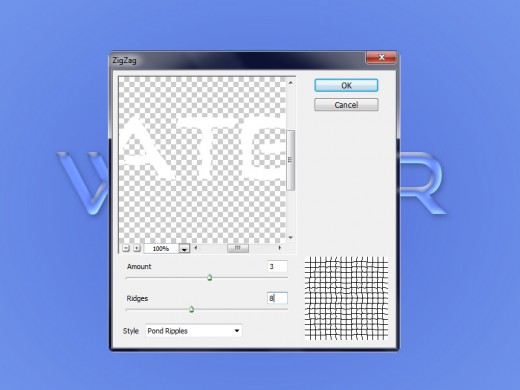
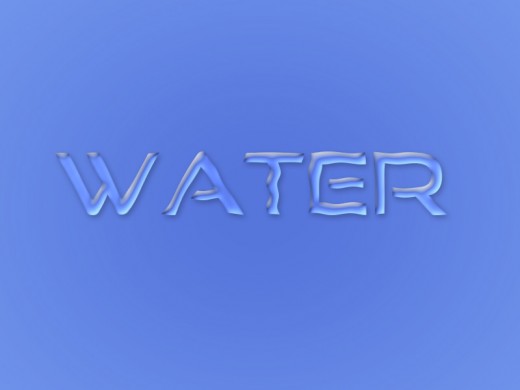
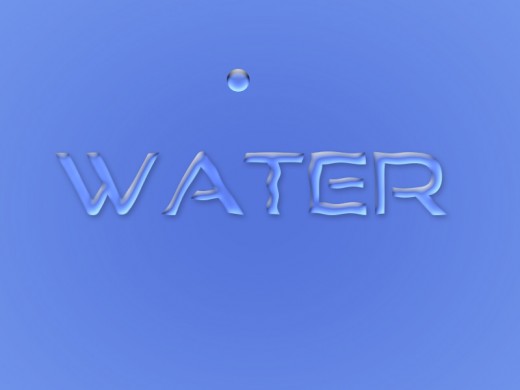
After applying zigzag filter we get a cool effect on text layer.
Step 5
Select Ellipse Tool from tool panel and create a small circle with white color #ffffff.
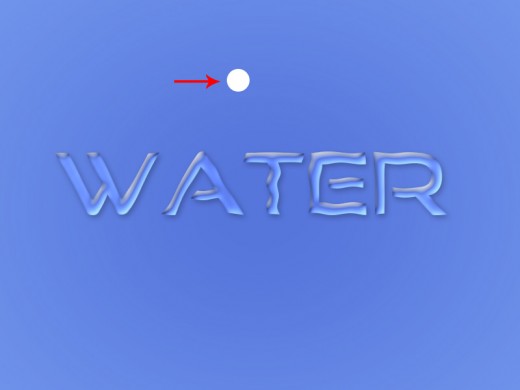
Set Fill (0%) of this circle layer.
Now go to the Blending Options and applying some Layer Styles on this circle layer.
Go to Layer > Layer Style and applying these Blending Options.
Inner Shadow

Bevel and Emboss
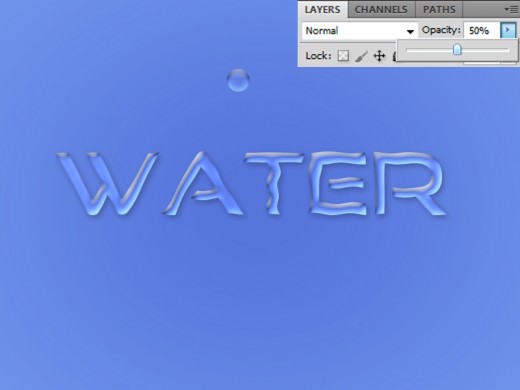
After applying these layer styles we get a new effect on circle layer.
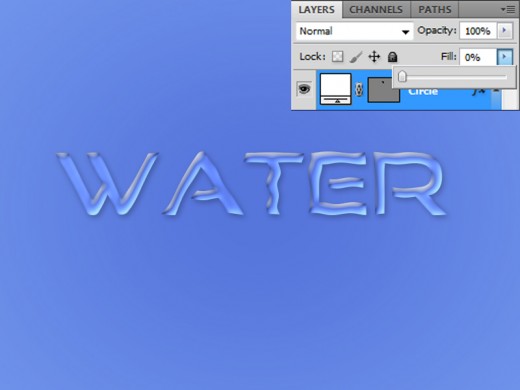
Down Opacity (50%) of this circle layer.
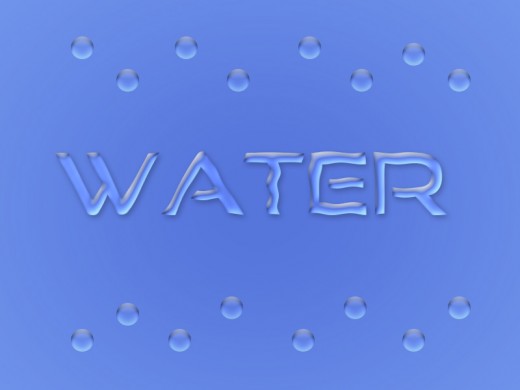
Now duplicate circle layer many times and set them as like in preview.
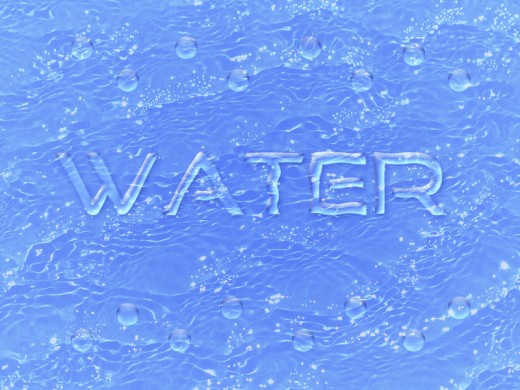
Step 6
In this step I am going to add Water Image in photoshop.
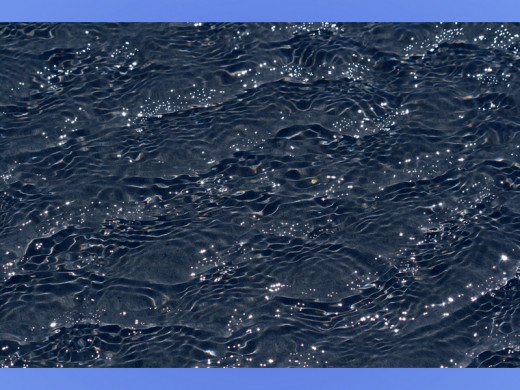
After add image transform it (Ctrl+T) and set it whole canvas as like in picture below.
When we set water image we get this result.
Set Blend Mode to (Color Dodge) and Opacity (70%) of this water image layer.
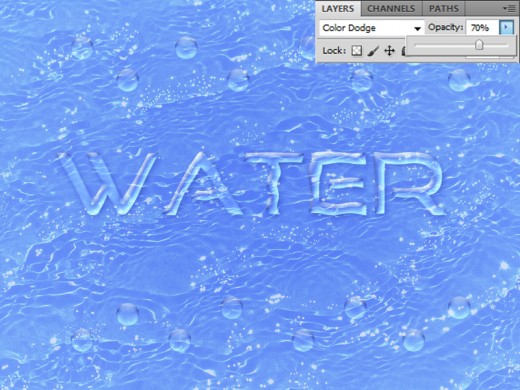
After set blend mode and opacity we get new effect as like in preview.
Step 7
Now add Fish Image in Photoshop.
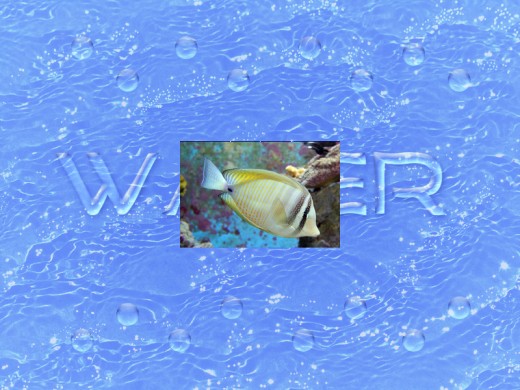
Rasterize it, select Eraser Tool from tool panel and erase the sides area of fish image layer as like in preview.
Now Transform fish layer (Ctrl+T) minimize size and rotate it.
After transform fish layer set it bottom of all the other layers.
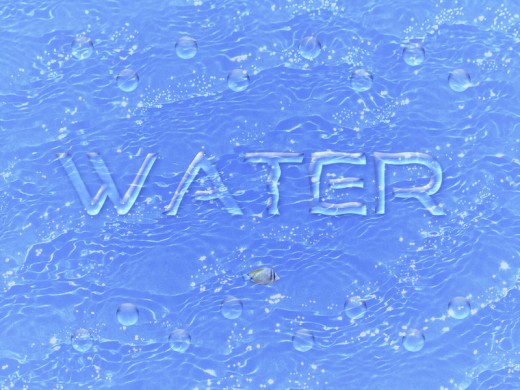
Now duplicate this fish image layer four or five time and adjust them as like in picture below.

Step 8
Now I am going to add Dolphin Image in photoshop.
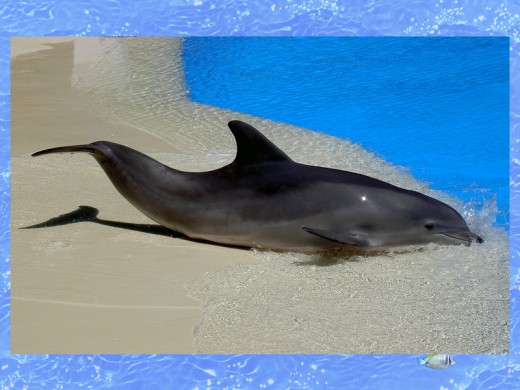
Select Eraser Tool and erase sides of dolphin image layer as like in preview.
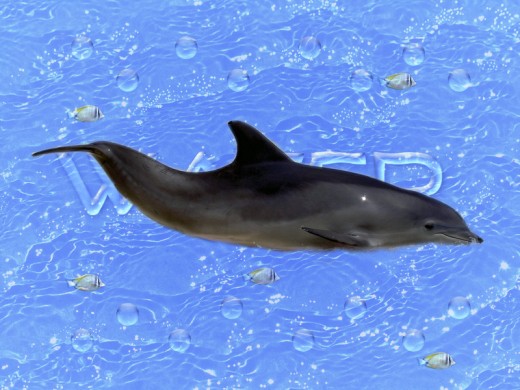
Transform it and minimize the size of dolphin image.
After minimize size of dolphin image set it bottom of all layer and upper area of text layer as like i preview.
After this struggle here we get our splendid water text effect in final preview.
Final Preview
I hope you will like this splendid water text effect tutorial. Never forget to share your comments with us. Follow TutorialChip on Twitter or Subscribe to TutorialChip to Get the Latest Updates on Giveaways, Tutorials and More for Free.