Thermometers are calibrated in standard temperature units such as Fahrenheit or Celsius and Kelvin. In a mercury or alcohol thermometer the liquid expands as it is heated and contracts when it is cooled.
So today, we are going to create a thermometer icon in Photoshop. This tutorial helps to learn new techniques of Photoshop. We are hopeful that you will like this thermometer tutorial. Happily share your comments with us.
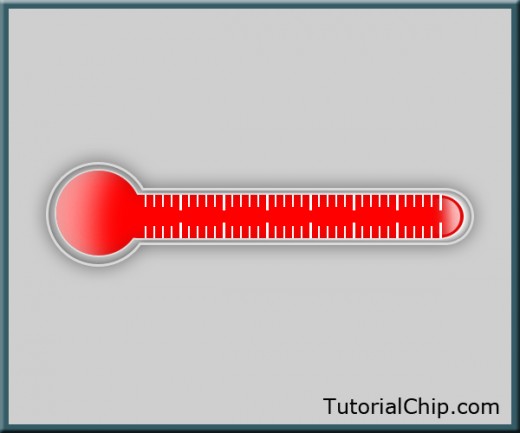
Create a Thermometer Icon in Photoshop – Final Preview
Final Preview
Tools and Resources
Tools and Resources
Photoshop Tools
Rectangle Tool
Rounded Rectangle Tool
Ellipse Tool
Gradient Overlay
Eraser Tool
Lets start to create thermometer icon in Photoshop.
Step 1
Create new document (Ctrl+N) 600×500 of size.
Thermometer Icon in Photoshop
Step 2
Select Ellipse Tool from tool panel create a circle with white color #ffffff.
Create a Circle
Step 3
Select Rounded Rectangle Tool set radius 40% create a rectangle with white color #ffffff.
Create Rounded Rectangle
Step 4
Joint the rectangle layer with circle then select circle and rectangle both layers press (Ctrl+E) to merge them.
Merge Both Layers
Step 5
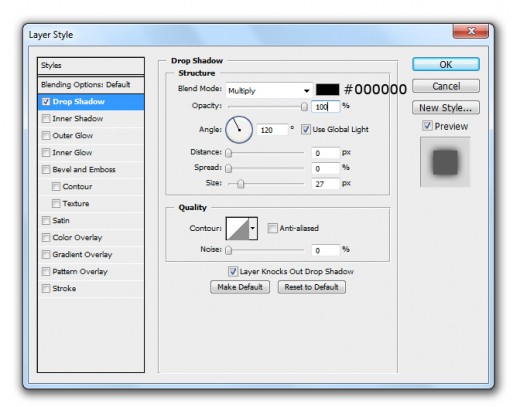
Go to Layer > Layer Style and applying some blending options.
Drop Shadow
Drop Shadow
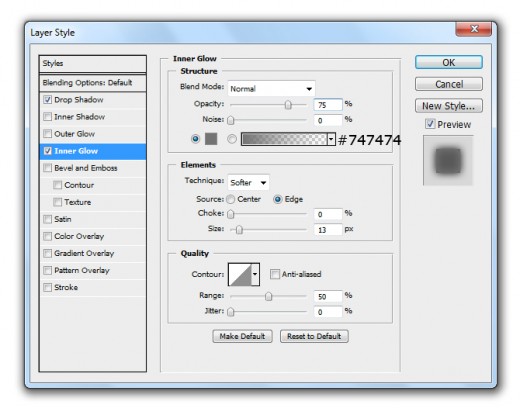
Inner Glow
Inner Glow
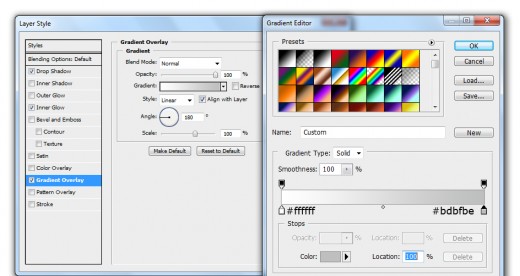
Gradient Overlay
Gradient Overlay
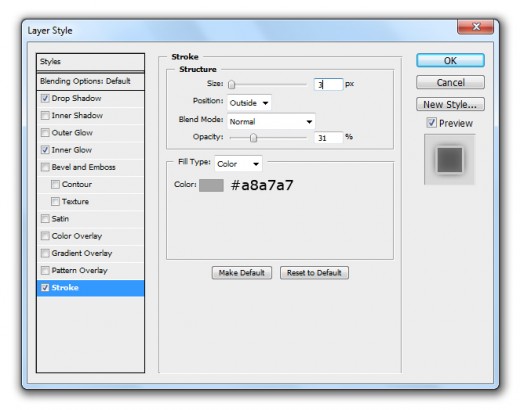
Stroke
Stroke
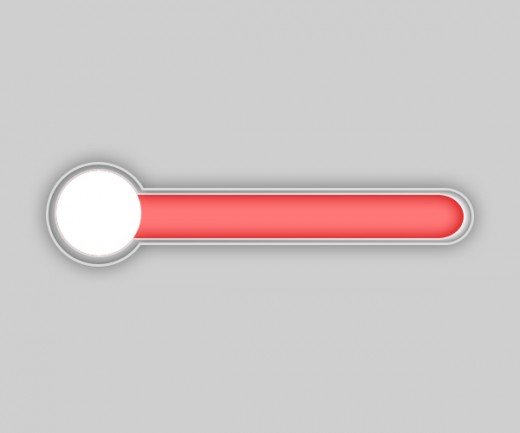
After applying these layer styles we get nice effects.
Get Nice Effect
Step 6
Now select Ellipse Tool again create a circle with white color #ffffff.
Create a Circle
Step 7
Select Rounded Rectangle Tool again set radius 40% and create a rectangle with white color #ffffff.
Create a Rectangle
Step 8
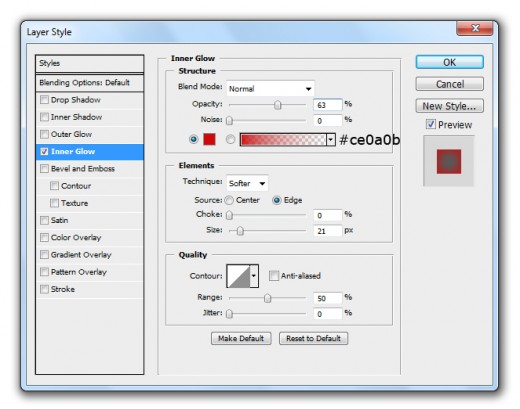
Select both layers merge them (Ctrl+E) name it layer Red base and applying some blending options.
Inner Glow
Inner Glow
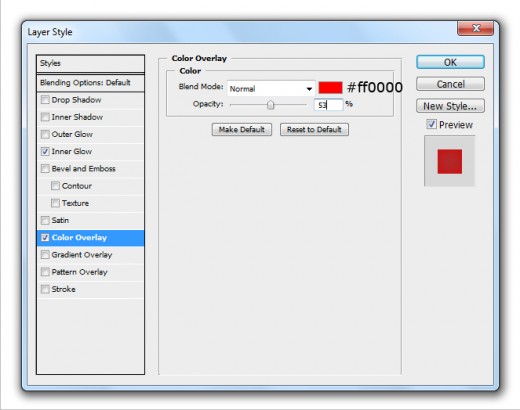
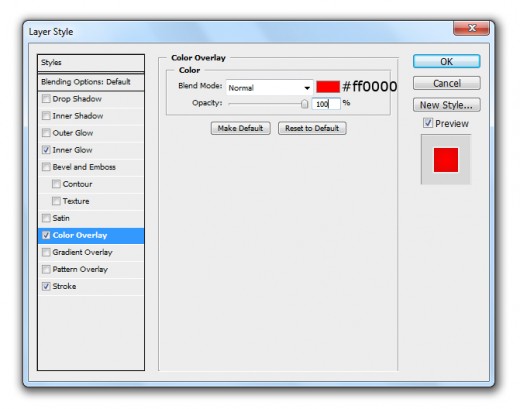
Color Overlay
Color Overlay
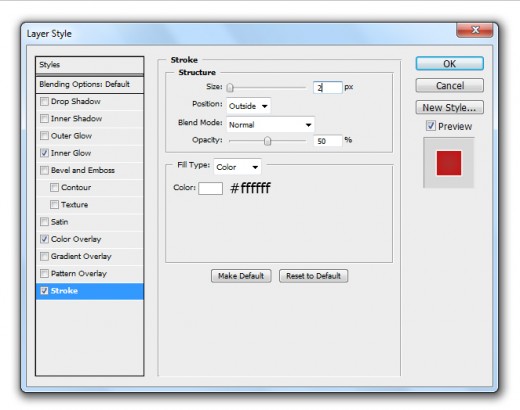
Stroke
Stroke
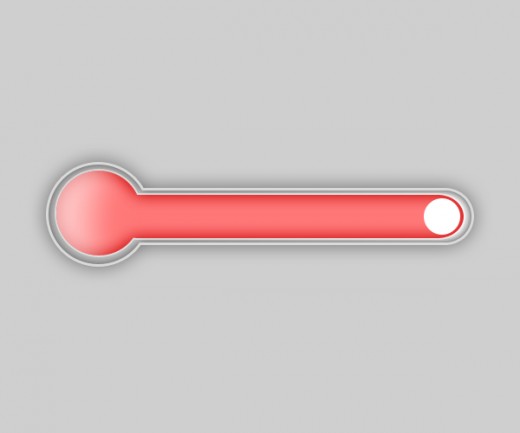
After applying blending options we get nice result on red base layer.
Get Nice Result
Step 9
Select ones more time Ellipse Tool and draw a white circle #ffffff name it layer crystal.
Draw a Circle
Rasterize crystal layer and erase with Eraser Tool as like in preview.
Rasterize and Erase
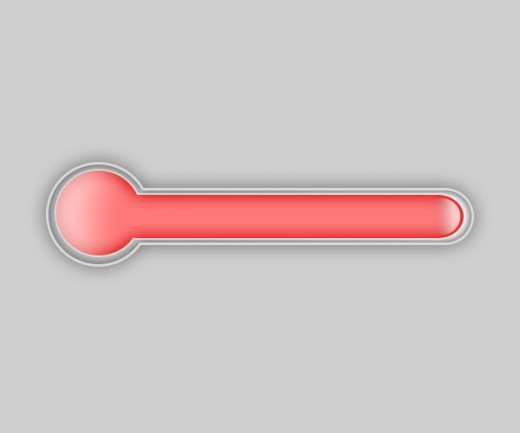
Now minimize the opacity 60% of this crystal layer.
Minimize the Opacity
Step 10
Create a small circle of white color #ffffff with Ellipse Tool.
Create a Small Circle
Rasterize small circle layer and erase with Eraser Tool as like in picture below.
Rasterize and Erase Small Circle
Step 11
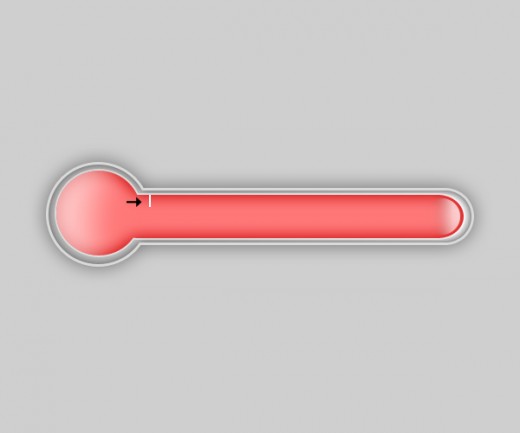
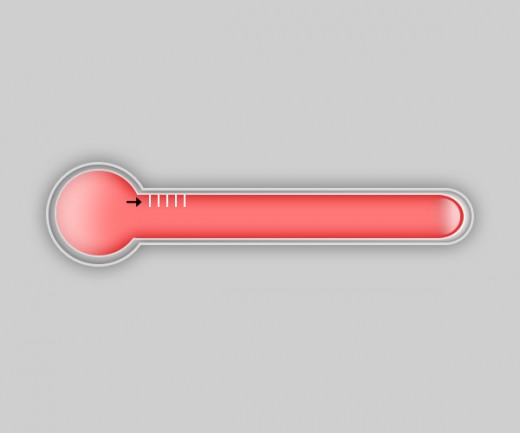
Select Rectangle Tool and create a small white line as like in preview.
Create a Line
Duplicate line layer four time and set as like in picture below.
Duplicate Line Layer
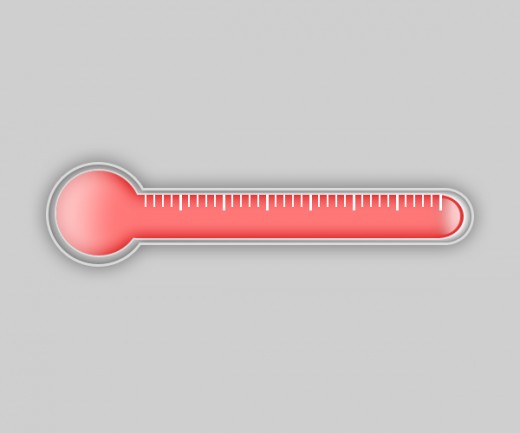
Select fifth number line and go to Edit > Transform and make this line little bit big to other lines.
Make Big Sized
Step 12
Select the all five lines and merge them (Ctrl+E) name it layer lines and duplicate this layer five time and adjust these layers as like in preview.
Merge Lines
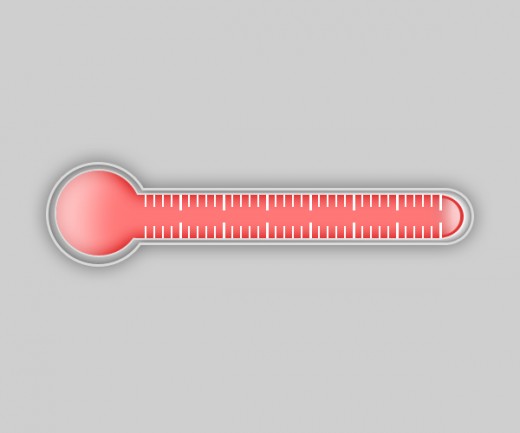
Step 13
Now select all the line layers merge them (Ctrl+E) name it layer upper lines, duplicate upper lines layer and adjust down side as like in picture.
Duplicate Upper Lines
Step 14
Now in this last step select red base layer and change the color overlay opacity 100%.
Color Overlay
Here we have beautiful final result.
Final Preview
Final Preview
I hope you have enjoyed this Thermometer icon tutorial. Always remember to share your comments with us. Follow TutorialChip on Twitter or Subscribe to TutorialChip to Get the Latest Updates on Giveaways, Tutorials and More for Free.
I am a web graphic designer and photographer. I always focuses on free web resources and inspiration for designers and developers.
View all posts by mario