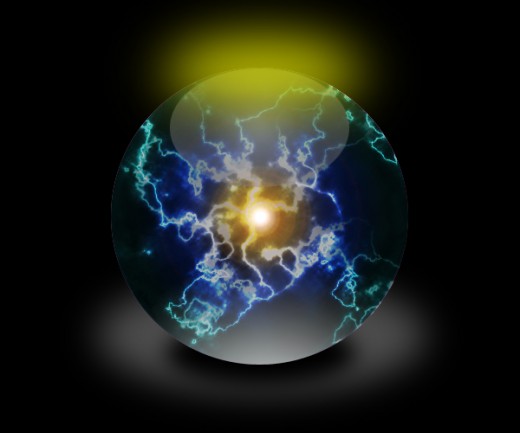
In this tutorial, we will show you that how to create a wonderful Crystal Ball with some nice light effects and filters happening. I hope you enjoy the tutorial and try it with your own stock imagery. It’s basically some lighting effects with blurs and blend modes, but the effect is awesome. Feel free and share your comments with us.
Other useful photoshop tutorials:
- Create a Realistic iPhone in Photoshop
- Tutorial: Drawing a Pencil Icon in Photoshop
- Create a Beautiful Lady Bag Using Photoshop
- Learn to Create Abstract Explosion in Photoshop
Tutorial details:
- Program: Adobe Photoshop CS5
- Difficulty: Intermediate
- Estimated Completion Time: 45 Mins
Create a Wonderful Crystal Ball in Photoshop – Final Preview
Tools and Resources

Tools
- Ellipse Tool
- Elliptical Marquee Tool
- Gradient Overlay
Lets start to create our crystal ball in adobe Photoshop.
Step 1
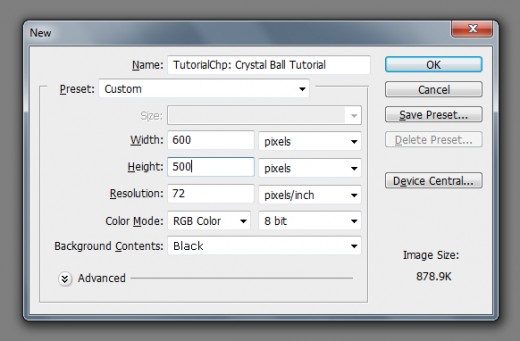
Create new document (Ctrl+N) 600×500 of size.
Step 2
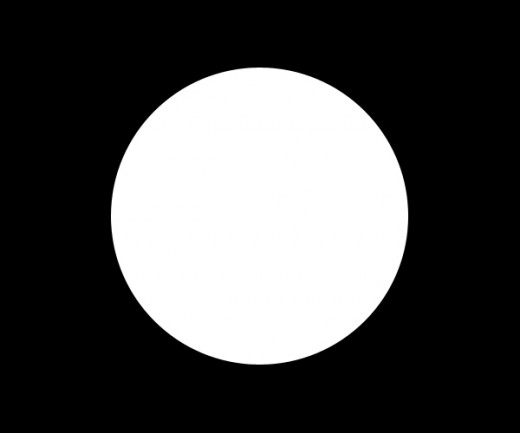
Select Ellipse Tool from tool panel and create a circle with white color #ffffff.
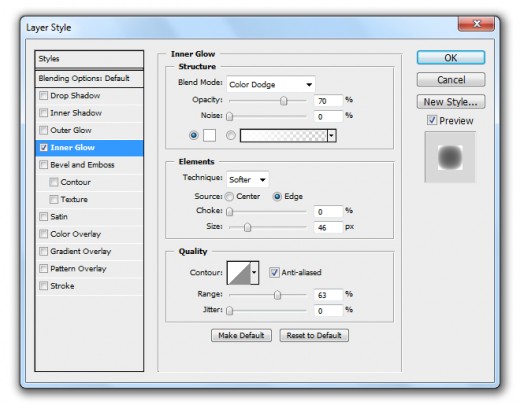
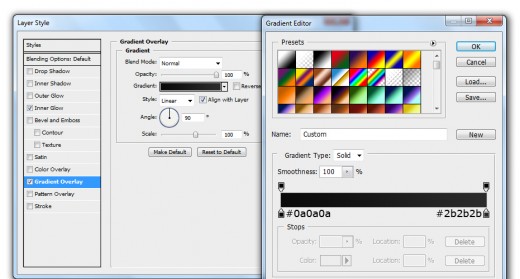
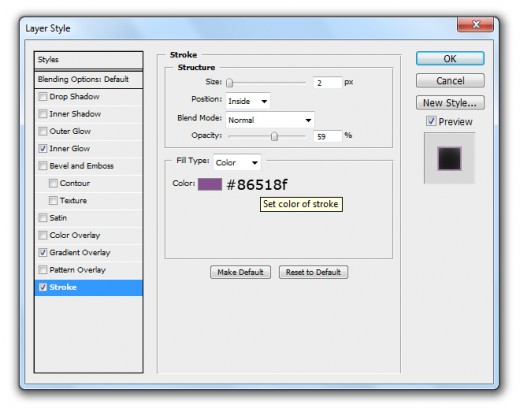
Go to Layer > Layer Style and applying some Blending Options of this circle layer.
Inner Glow
Gradient Overlay
Stroke
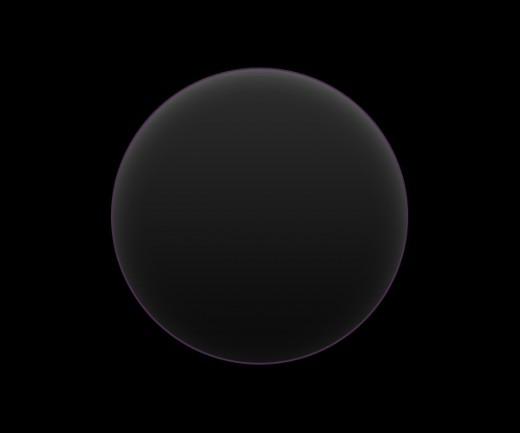
After applying blending options we get nice result.
Step 3
Create new layer select Elliptical Marquee Tool and make a selection as like in preview.
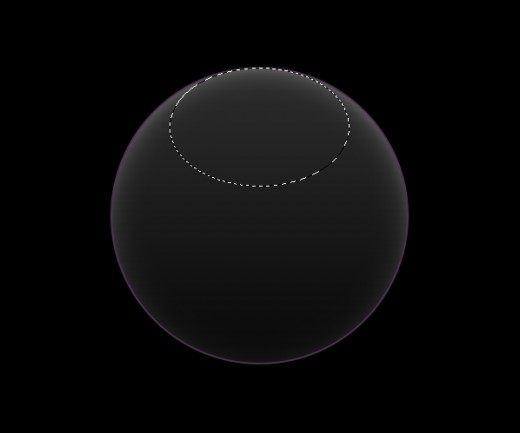
Fill the selection with this color #131313 and named it Top Reflection.
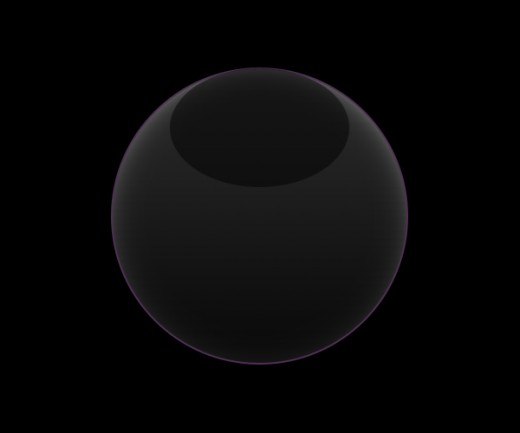
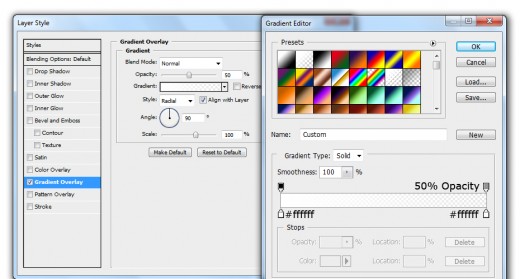
Go to Blending Option and applying Gradient Overlay on this top reflection layer.
After applying gradient we get this nice result.
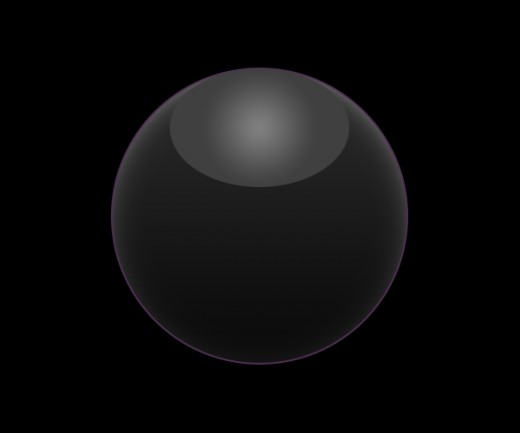
Step 4
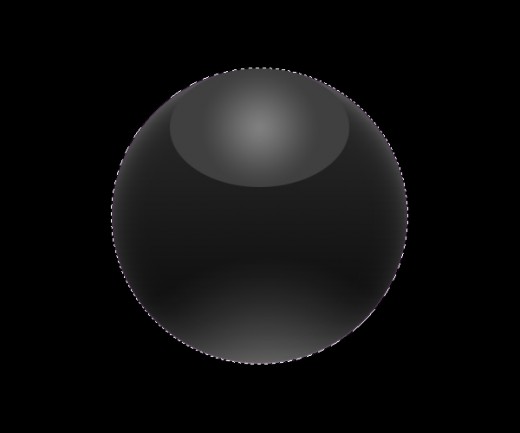
Now create new layer select the Elliptical Marquee Tool and make the complete selection around the big ball for applying the gradient as like in preview.
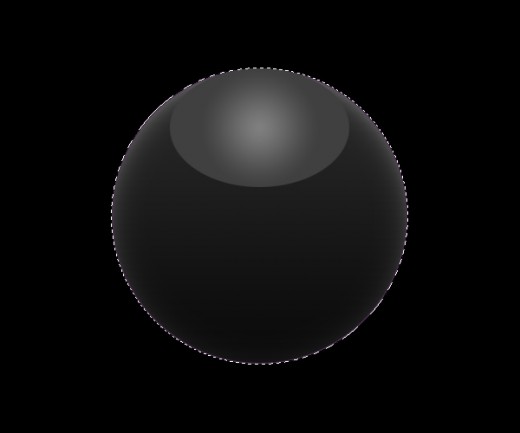
Select Gradient Tool and fill this selection with gradient remember first set the gradient style (Radial).
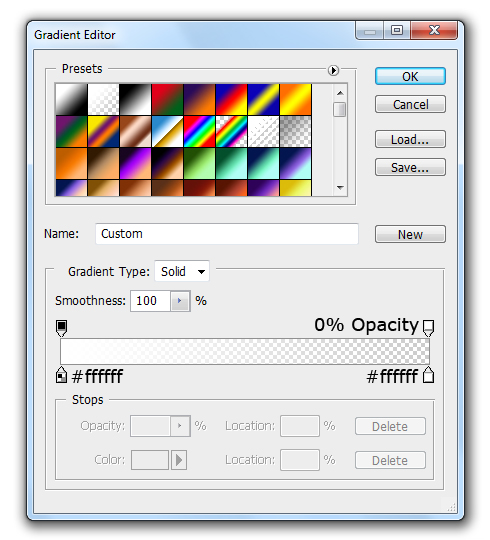
After applying gradient get nice result, name it layer Bottom Reflection and press the (Ctrl+D) for the deselection.
Step 5
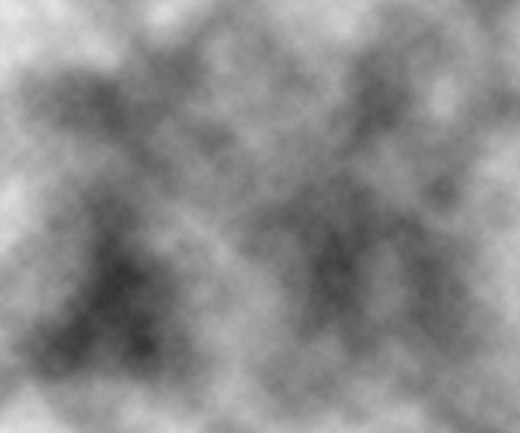
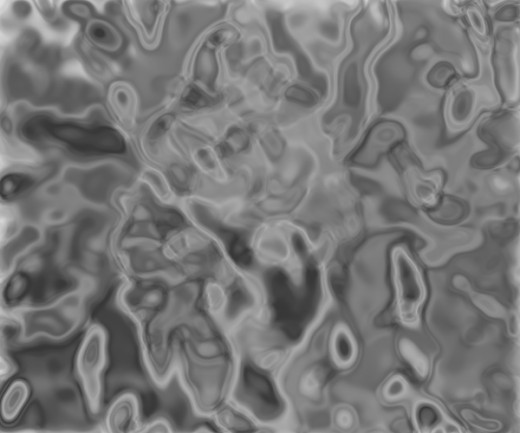
Create new layer name it layer Light go to Filter > Render > Clouds and see result.
Now go to Filter > Sketch > Chrome and set Detail (3) and Smoothness (10).
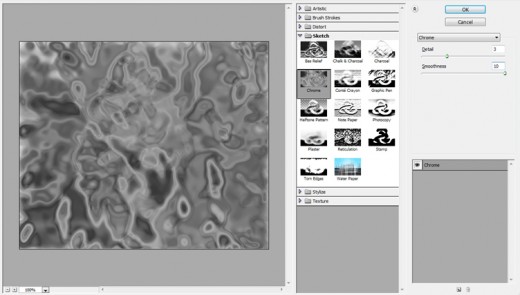
After this setting we get this result.
Step 6
Create a Marquee Selection of the circle layer, Hold Ctrl key and click on thumbnail of the circle layer.
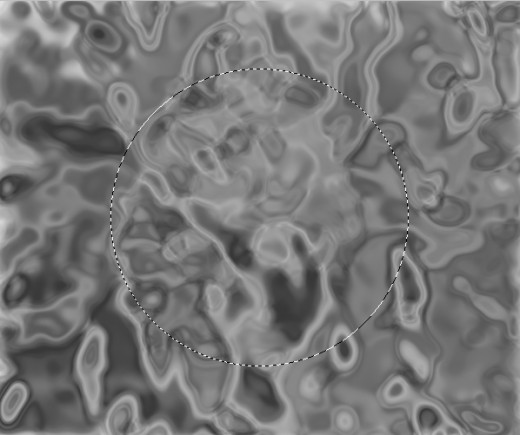
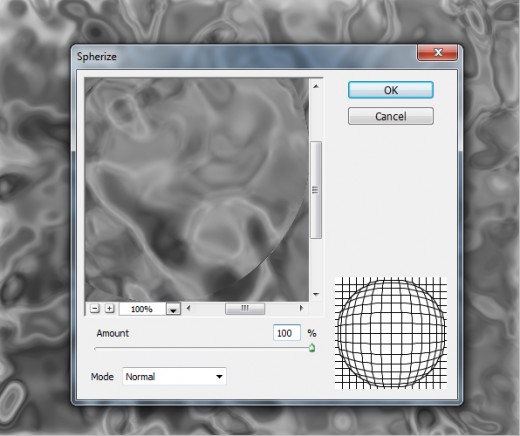
Go to Filter > Distort > Spherize and set Amount (100%).
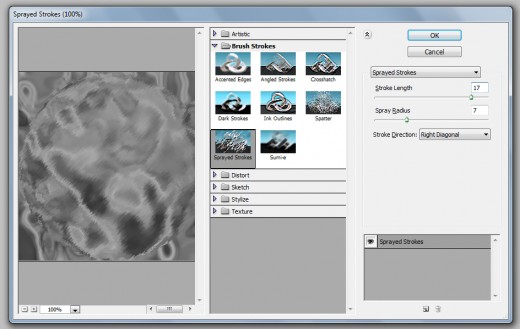
Now go to Filter > Brush Stroke > Sprayed Strokes and set Stroke Length (17) and Spray (7).
Now press (Shift+Ctrl+I) and hit delete button to delete the unneeded area.
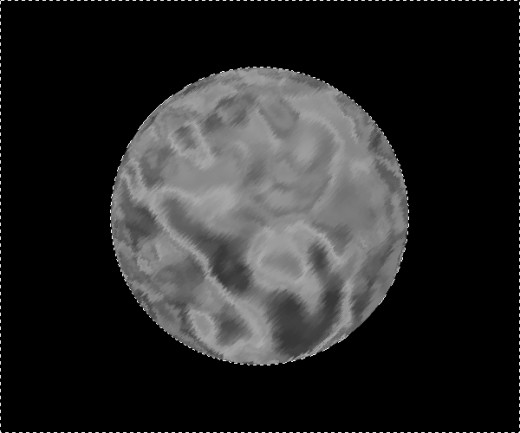
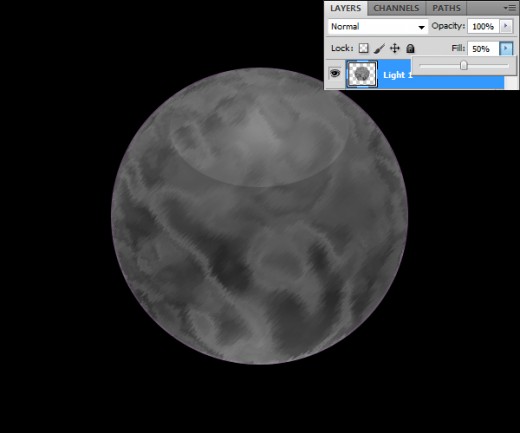
Set Blend Mode Fill (50%) of this light layer.
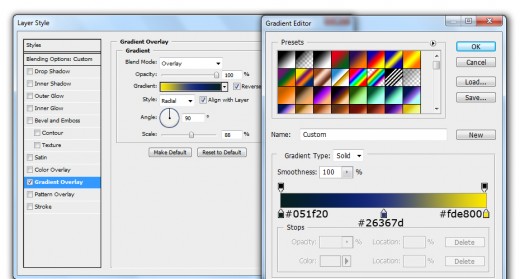
Now I am going to applying Gradient Overlay on this light layer.
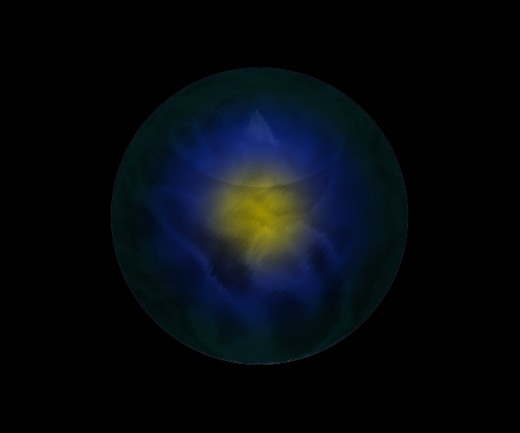
After applying gradient overlay we get awesome effect on this light layer.
This was terrific! I messed up the bottom reflection, but can’t wait to redo.
Thanks, Michael.