A lock is a mechanical and electronic device that is released by a physical object. Its a great and very useful invention. So today we are going to create a wonderful lock icon in Photoshop. We hope you will really like and easily learn this tutorial. If you have any suggestion then feel free and share with us.
Related Tutorials:
- Create a Realistic iPhone in Photoshop
- How to Create a Bullet in Photoshop CS3
- Creating a MP3 Design: Photoshop Tutorial
- Creating a Cool Rolling Counter in Photoshop
Tutorial Details:
- Program: Adobe Photoshop CS5
- Difficulty: Intermediate
- Estimated Completion Time: 45 Mins
Download source file:
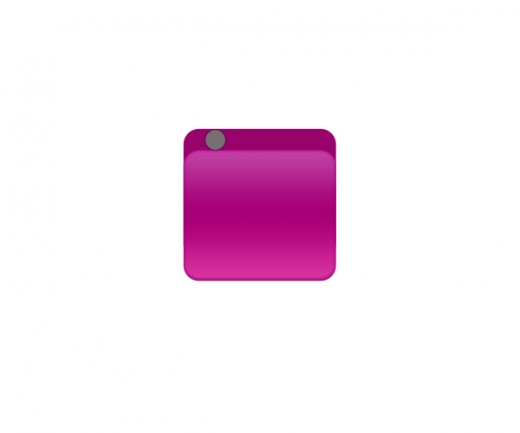
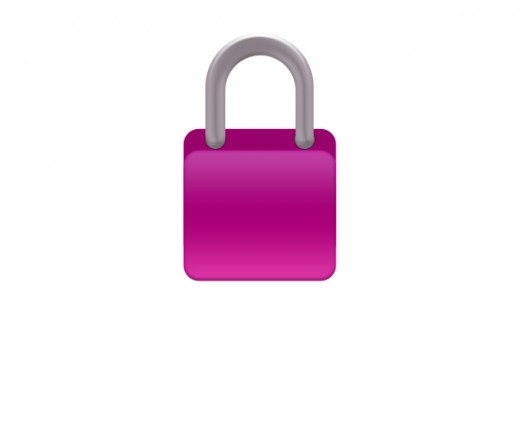
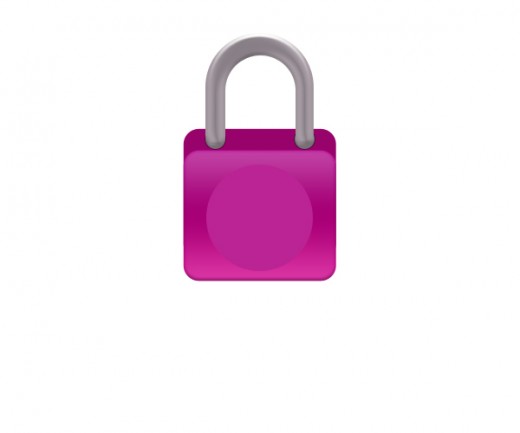
Create a Wonderful Lock Icon in Photoshop: Final Preview
Tools and Resources
Tools
Following photoshop tool are used in this tutorial.
- Rounded Rectangle Tool
- Ellipse Tool
- Pen Tool
- Gradient Tool
- Eraser Tool
Lets start to create a wonderful lock icon in Photoshop
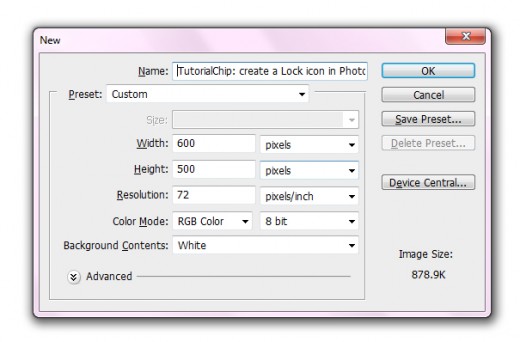
Step 1
Create a new document (Ctrl+N) 600×500 of size.
Step 2
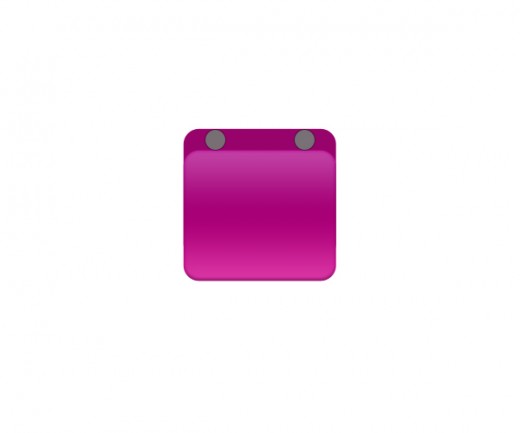
Select the Rounded Rectangle Tool and draw a rectangle with color #98036b.

Step 3
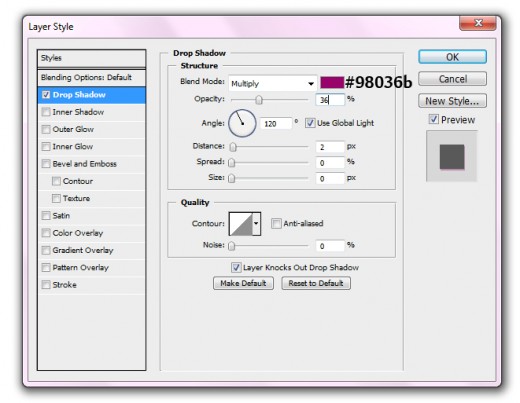
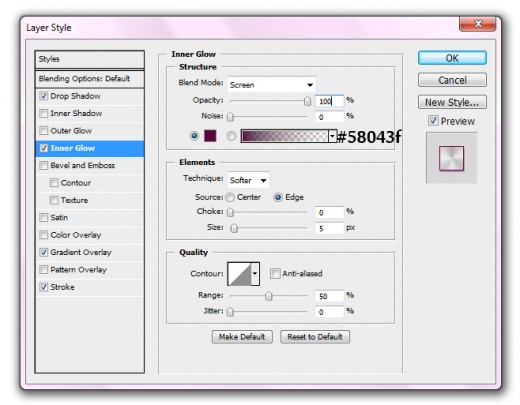
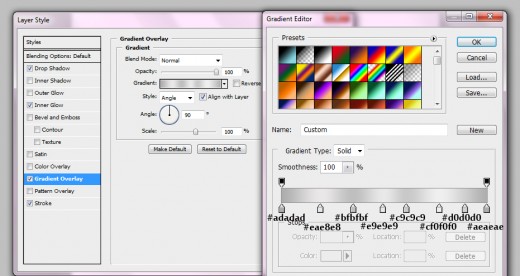
Select Rounded rectangle tool again and draw one more shape with any of color, I am going to apply this color #262626.
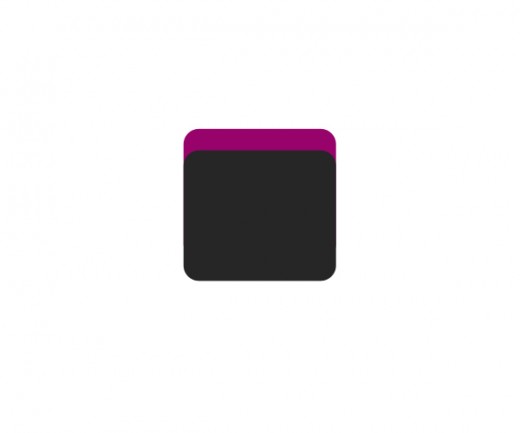
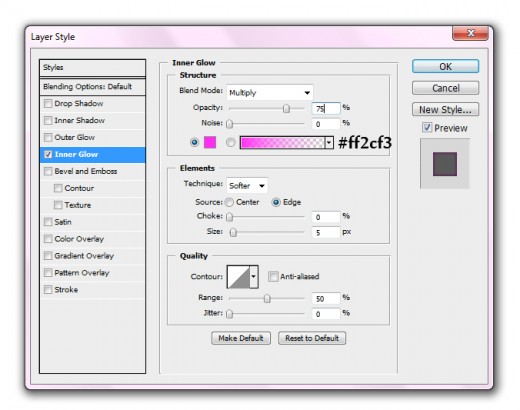
Now I am going to apply some Blending Options.
Inner Glow
Bevel and Emboss
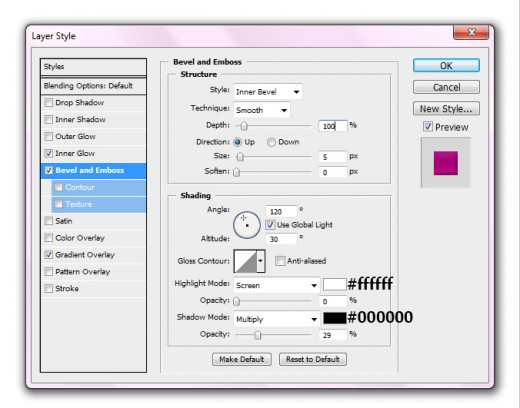
Gradient Overlay
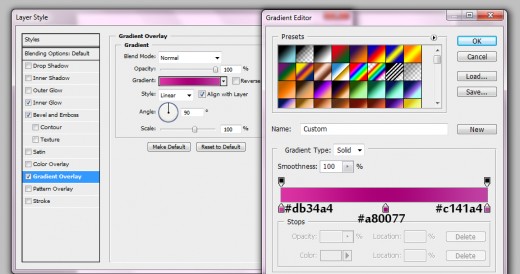
After applying blending options we get a nice rectangle.

Step 4
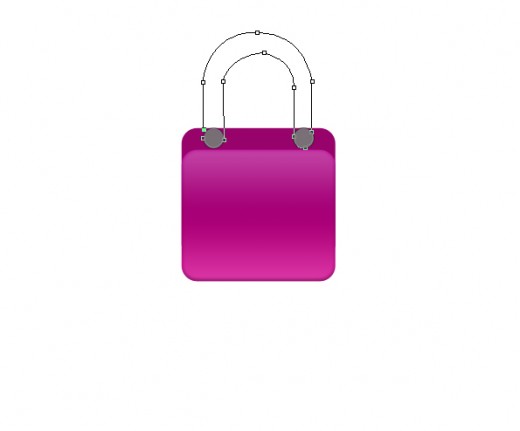
Select the Ellipse Tool and draw a small circle with this color #797077 as like shown below.

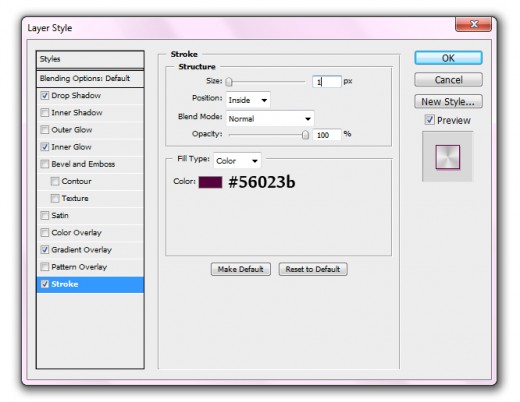
Go to blending options and applying Stroke.
Duplicate this small circle layer and adjust right side as like in preview.
Step 5
Select the Pen Tool and draw a path as like in picture below.
Now right click on the path and click on (Make selection).
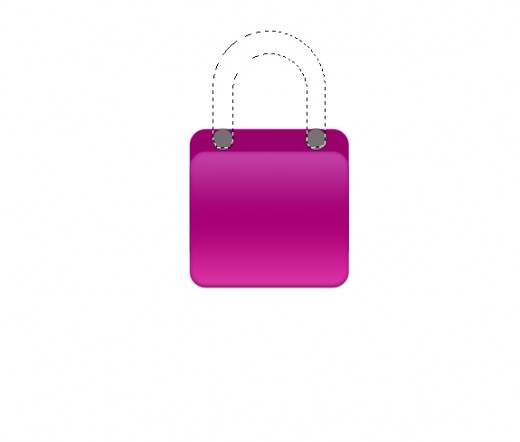
Fill it layer with any color, I fill this selection with black color #000000.
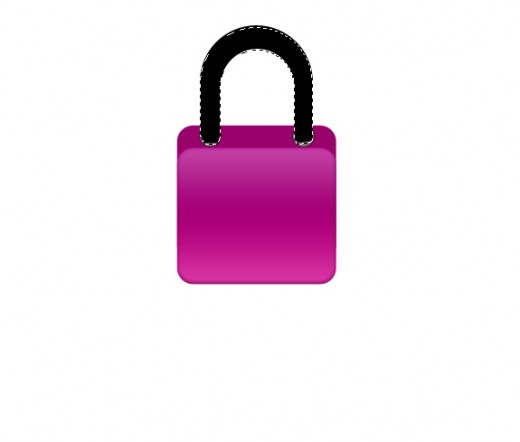
When we have applied color, then go to Layer > Layer Style and applying some effects.
Bevel and Emboss
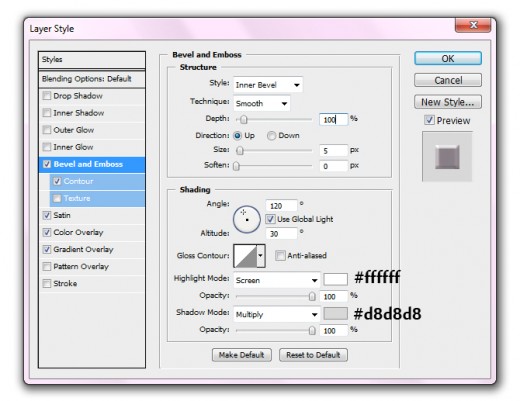
Color Overlay
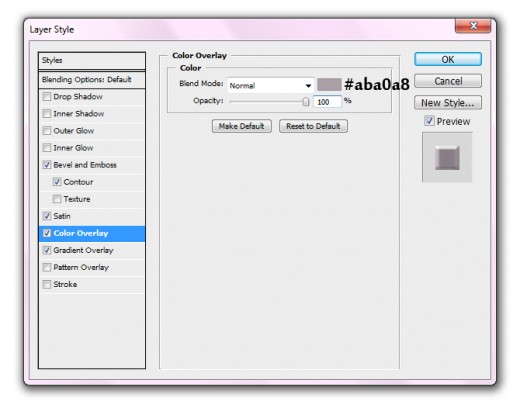
Gradient Overlay

Satin
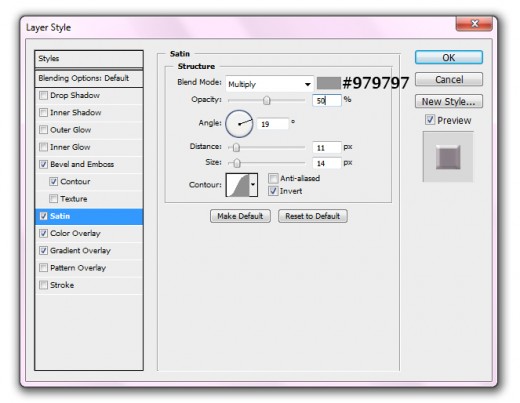
After applying these effects we have get cool result.
Step 6
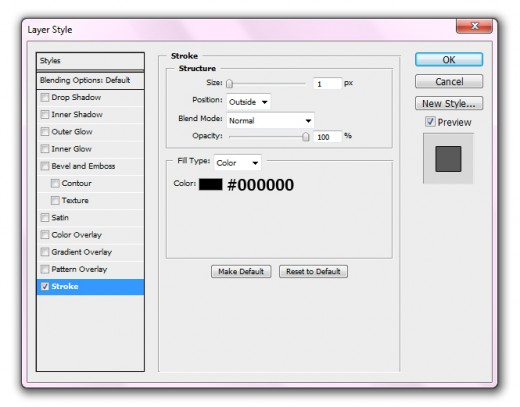
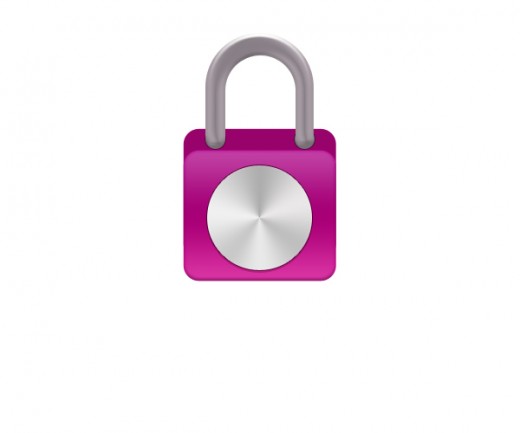
Now select the Ellipse Tool again and draw a circle with color #bb2494 as like in picture.
Now applying some blending options.
Drop Shadow
Inner Glow
Gradient Overlay
Stroke
Now we have get a new stylish circle as like in picture.
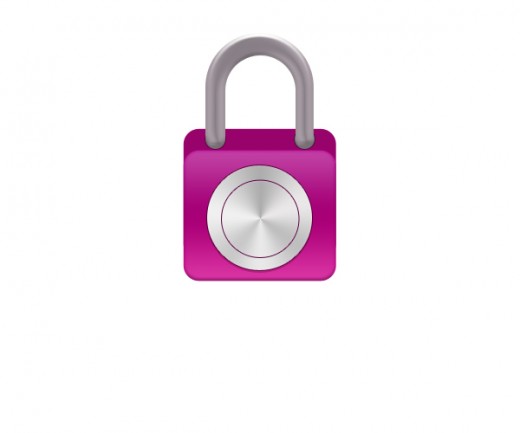
Duplicate this circle layer with the help of transform tool (Ctrl+T) down the size of circle and adjust it as like in preview.
Step 7
Select the Rounded Rectangle Tool again and create a small rectangle with black color #000000.

Step 8
Now select the ellipse tool again and draw a small circle with black color #000000 and adjust it as like in preview.
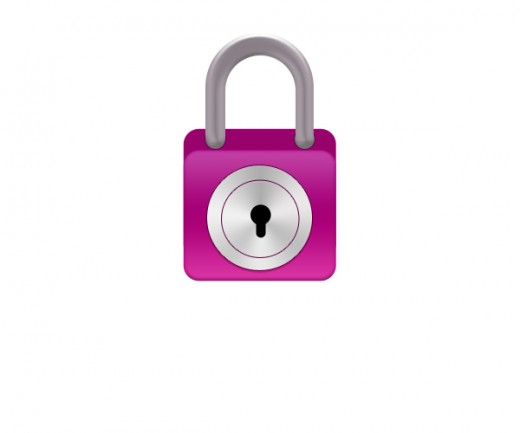
Step 9
Now in this last step select the all layers and press (Ctrl+E) to merge them, named it Lock Layer duplicate the lock layer and select the Transform Tool
Go to Edit > Transform > Rotate Vertical
Now select the Eraser tool set the opacity 20% till, erase the half lock as like in final preview.
Final Preview
I hope you have enjoyed this beautiful and attractive Lock Icon tutorial. If you like it then don’t forget to share your comments with us. Follow TutorialChip on Twitter or Subscribe to TutorialChip to Get the Latest Updates on Giveaways, Tutorials and More for Free.
good and i am really inspired to see that…@_@…
Nice post! Thanks for the step by step instructions. Now I can try this one.