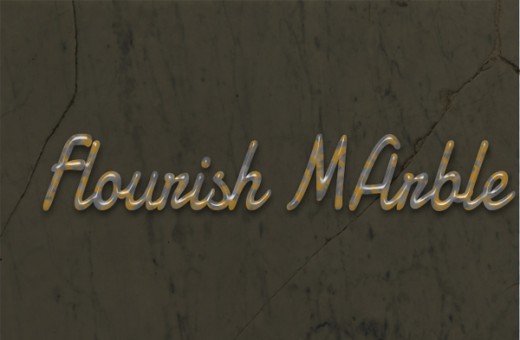
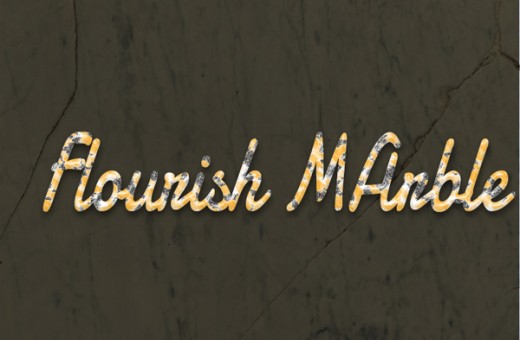
Today we are creating a flourish marble text effect in Photoshop.This tutorial explains how to use Photoshop layer styles and Filters to create a nice marble text effect. We hope you will like our beautiful creation. Don’t forget to comment if you like this tutorial. Enjoy!
Other useful Photoshop tutorials:
- Photoshop Smoke Text Tutorial in 10 Minutes
- Well-Explained Fire Text Effect Tutorial in Photoshop
- Photoshop Tutorial: Learn Melting Chocolate Text Effect
- Photoshop Tutorial: Learn Layered Text Effect in Simple 5 Steps
Flourish Marble Text Effect: Final Preivew

Tools and Resources

Photoshop Tools
- Text Tool
Now lets start to create a flourish marble text effect in Photoshop,
Step 1
Create new docoment of width 600 x height 500, select background #4e4836.

Step 2
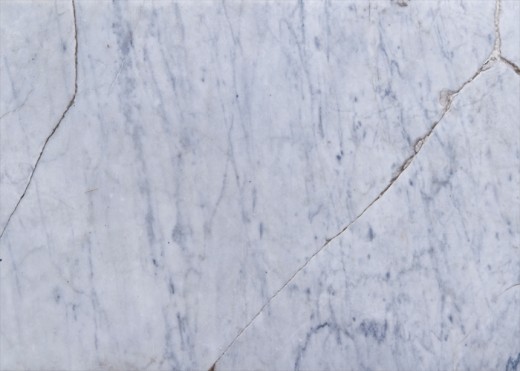
Now set the marble texture on background.
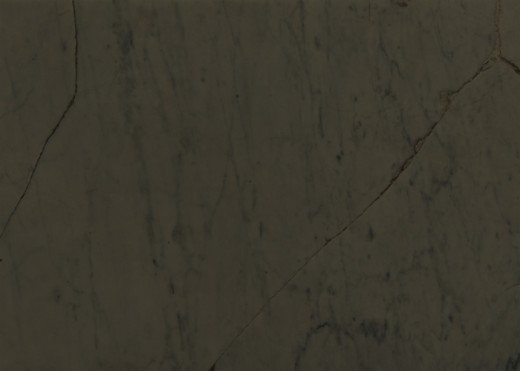
Change the texture blend mode to multiply.
Step 3
Create the text using the color #aaa691, write Flourish Marble or any thing you like.
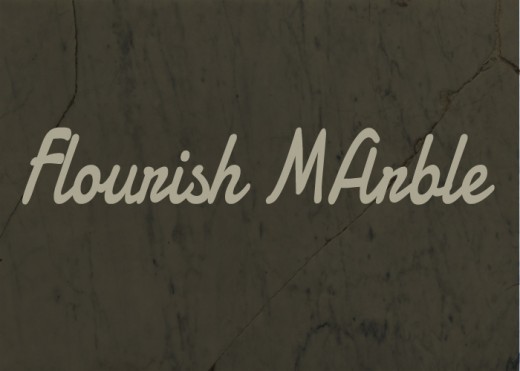
Duplicate the text layer and change the fill value to 0, of both text layers. Select the orignal text layer and applying some blending options.
Drop shadow distance 6, size 10 with this color #525252.
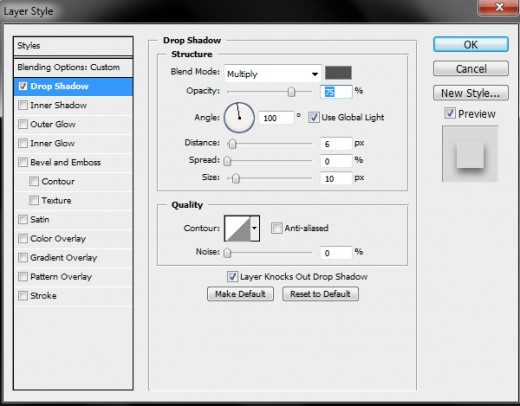
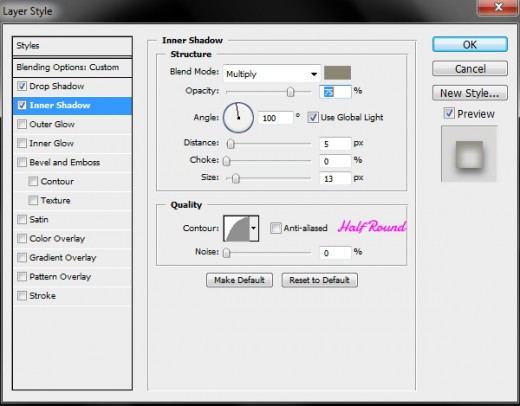
Inner shadow with color #8b8773, distance 5 size 13 and contour half round.
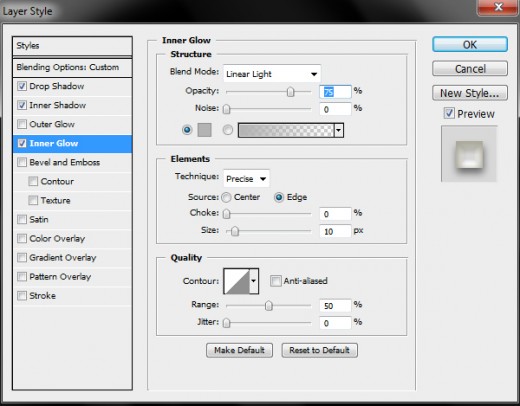
Inner glow with color #b3b3b3 and blend mode linear light, technique precise, and size 10.
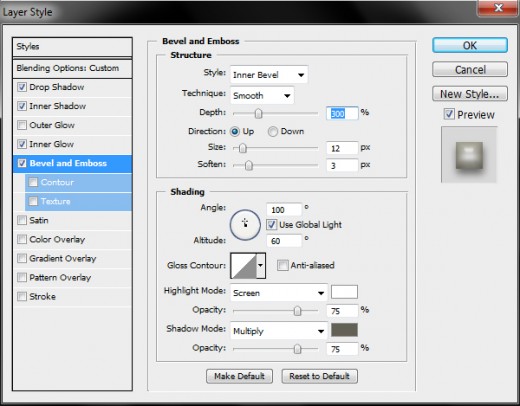
Bavel and Emboss depth 300, size 12, soften 3, and shadow mode color #636055.
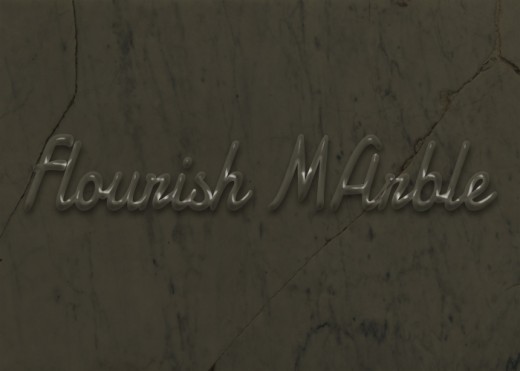
After applying these blending options we get awesome effect as shown in preview.
Step 4
Now select the 2nd duplicate text layer and go to blending option applying some effects, fill value must be zero.
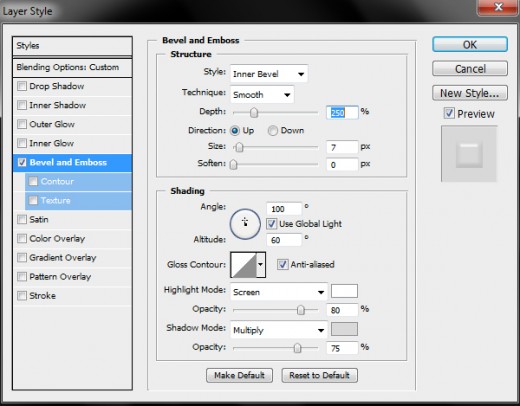
Bavel and emboss, depth 250 size 7, angle 100, altitude 60, click the check box of anti aliesed of glass contour, highlight mode opecity 80% and shadow mode color #d9d9d9.
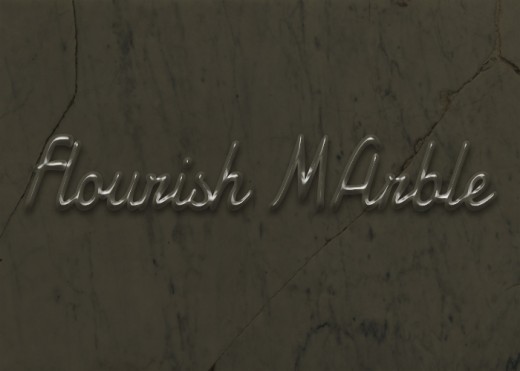
After applying bevel and emboss of 2nd duplicate text layer we get new effect.
Step 5
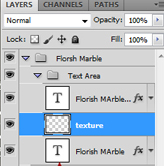
Create new layer in the center of both text layer, named it Texture.
Now ctrl+click on the down text layer and select the texture layer, apply this color #a47b30.
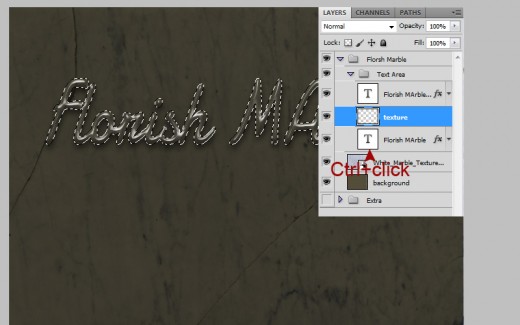
After applying color we get complete texture layer as in preview.
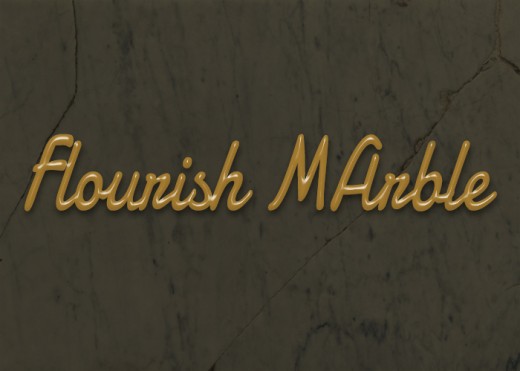
Step 6
Now we are going to create the Flourish marble text, applying some filter effects on texture layer.
Go to filter > artistic > sponge.
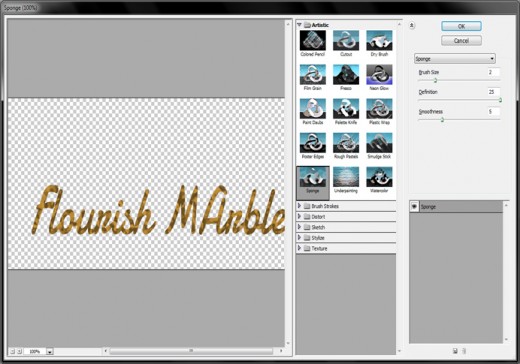
After applying.
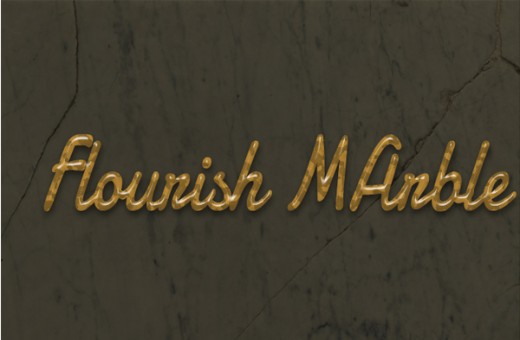
Go to Filter > Sketch > Chalk and Charcoal. Change the Charcoal Area to 7, the Chalk area to 10, and the Stroke Pressure to 1.
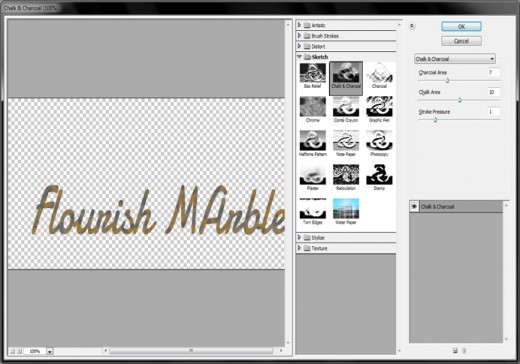
After applying chalk and charcoal we get something like shown in picture below.
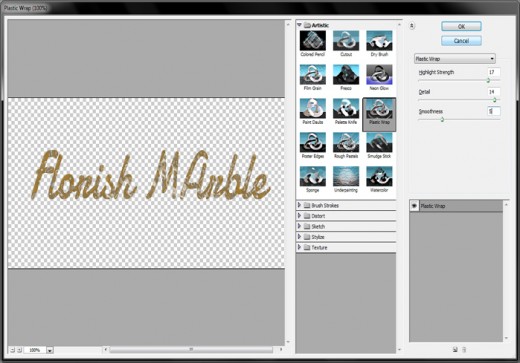
Now Go to Filter > Artistic > Plastic Wrap. Apply the Highlight Strength to 17, the Detail to 14, and the Smoothness to 5.
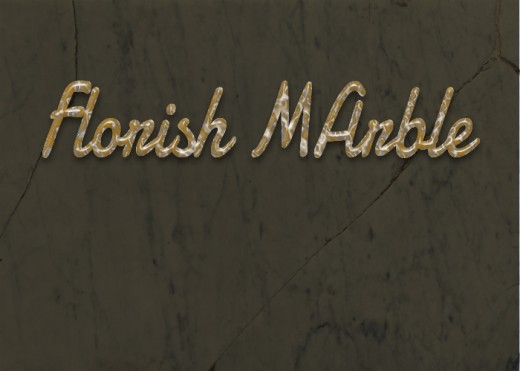
After applying these effect, we get beautiful look.
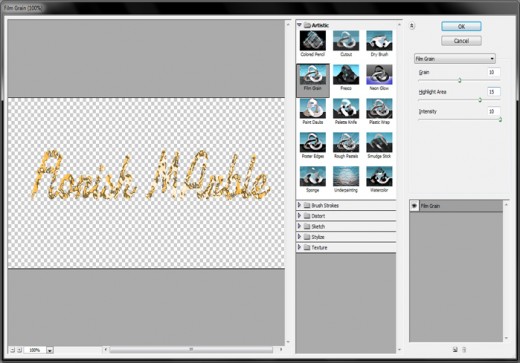
Now last time go to Filter > Artistic > Film Grain. Set the Grain to 10, the Highlight Area to 15, and the Intensity to 10.
After applying filter we get amazing preview below.
Step 7
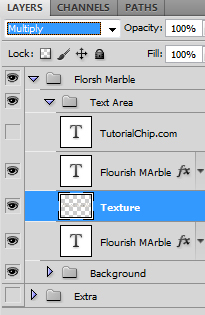
Now change the texture layer blend mode to multiply.
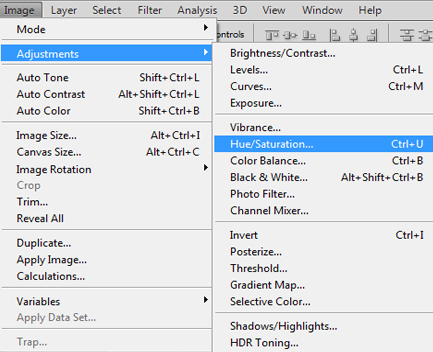
Go to Image > Adjustments > Hue Saturation, and set the Saturation value to -80.
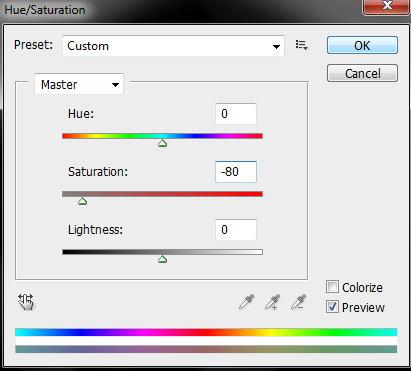
After set the hue saturation we get flourish marble text effect in the final preview.
Final Preview
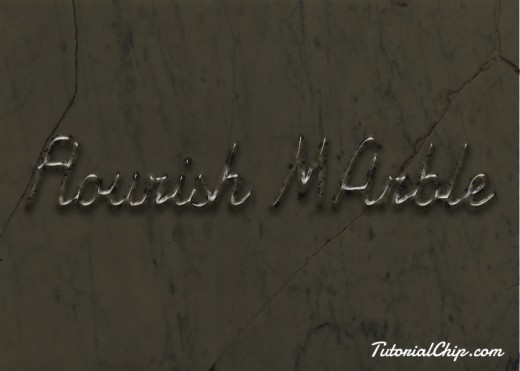
I hope you have enjoyed this marble text effect tutorial. Don’t Forget to Follow TutorialChip on Twitter or Subscribe to TutorialChip to Get the Latest Updates on Giveaways, Tutorials and More for Free.