In this tutorial we are going to create a cool 3D Globe in Photoshop CS3 using basic tools and the Spherize filter. This whole tutorial won’t take more than 30 minutes. This technique is useful for logo and icons. I hope you will like this tutorial and share your comments with us.
Other useful tutorials:
- Create a Diagnostics Icon in Photoshop
- How to Create a Bullet in Photoshop CS3
- Creating a Slick Silver Watch in Photoshop
- Plastic Jelly Style Text Effect Tutorial in Photoshop
Tutorial details:
- Program: Adobe Photoshop CS3
- Difficulty: Intermediate
- Estimated Completion Time: 30 Mins
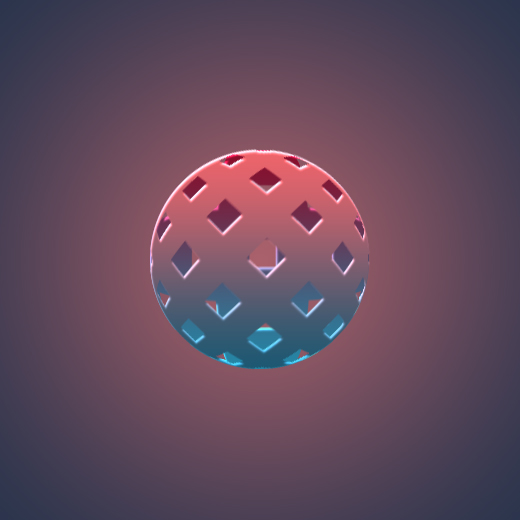
Creating a 3D Globe in Photoshop – Final Preview
Tool and Resources


Tools
Following photoshop tool are used in this tutorial.
- Elliptical Marquee Tool
- Gradient Tool
- Rectangle Tool
Let’s start to create our create a 3D globe tutorial in Photoshop,
Step 1
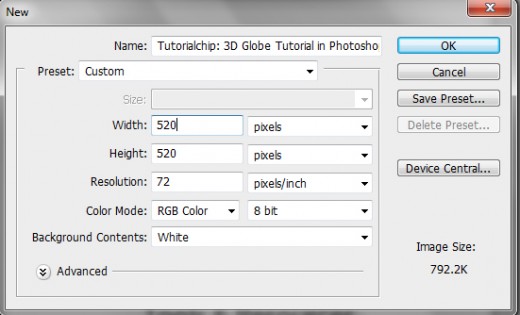
Open Adobe Photoshop, and create a new Photoshop document. I am going to create a new document of 520 x 520 px with #ffffff color.

Step 2
First of all select the Rectangle Tool (U) and draw a rectangle as like in preview.


Now start duplicating it until you get 6 columns.
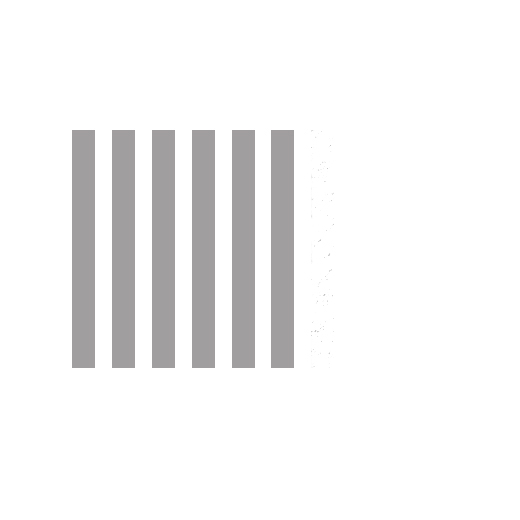

After that duplicate those 6 rectangles and rotate them to create a grid.


Step 3
With the Elliptical Marquee Tool (M) create a circle selection as like in the image below.


Go to Filter > Distort > Spherize. Use 100% for the amount and normal for the mode.


When we applying spherize filter then we have get new effect as like in picture.


Now cut the selection (Ctrl+X) and paste it on new layer (Ctrl+V).


Step 4
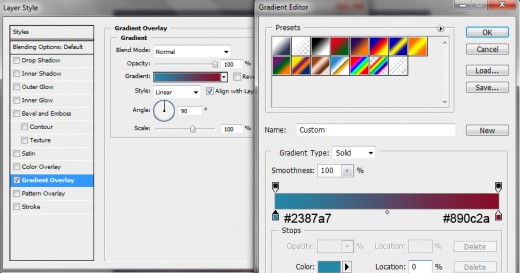
Now we applying gradient overlay and Inner shadow. Go to Layer > Layer Styles > Gradient Overlay.

Inner Shadow
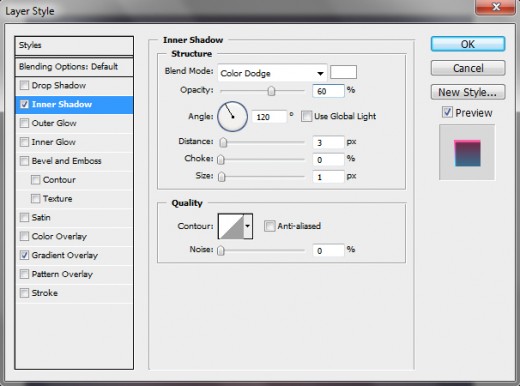

After applying these blending options we get a awesome effect.
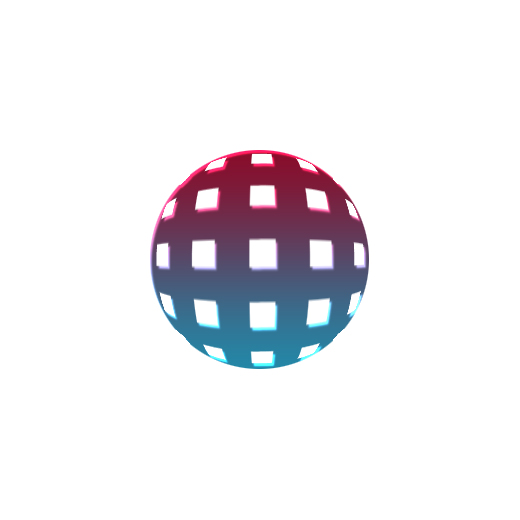

Step 5
Now duplicate the circle layer and right click on this layer, click on Clear All Layer Style option. Now rotate it 45º.
Go to Edit > Transform > Rotate.
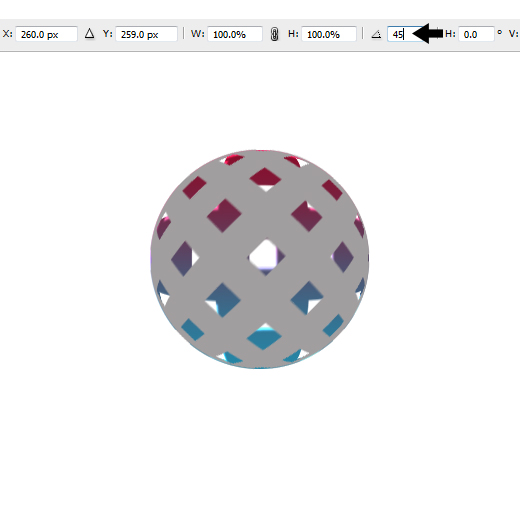

Step 6
In this step we applying again gradient overlay and inner shadow on duplicate circle layer.
Gradient Overlay


Inner Shadow
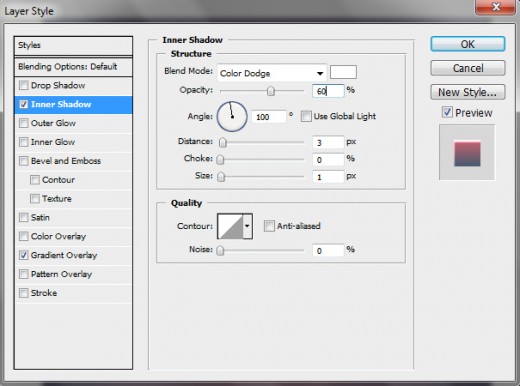

After applying layer style, we get cool effect on circle.
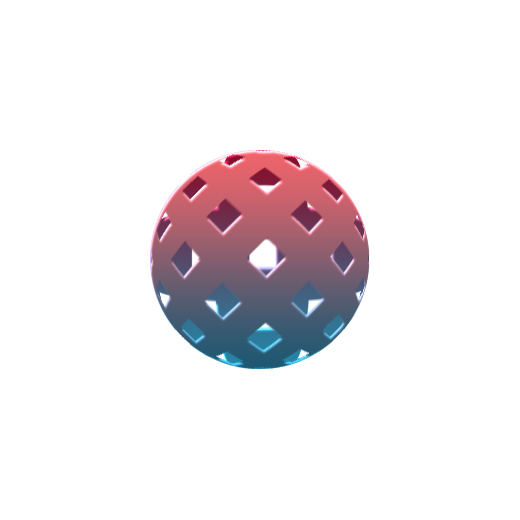

Select the two globe layers and merge them (Ctrl+E). After that go to Layer > Merge Layers. You will have one layer with the globe.
Step 7
In this final step, select the background layer and go to Layer > Layer Styles > Gradient Overlay.
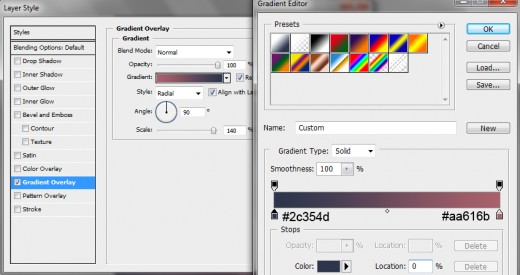

After applying gradient overlay we have get awesome and cool 3D Globe as like in final preview below.
Final Preview


I hope you have enjoyed this amazing and cool 3d globe tutorial. Don’t Forget to Follow TutorialChip on Twitter or Subscribe to TutorialChip to Get the Latest Updates on Giveaways, Tutorials and More for Free.