Nature is everything that was not created by man. But man acts as a part of nature and designers. Nature is set in relation to human existence. This tutorial will teach you how to design the nature inspired photo in photoshop. I will show you how easy it is to manipulate images into appearing real and unique. If you like this tutorial share you comments with us.
You may also like:
- How to Create a Gothic Building in Photoshop CS5
- Create a Medieval Fantasy Themed Photo in Photoshop
- How to Create a Speed Lightning Car Photo in Photoshop
- How to Create a Collage of Polaroids Photo in Photoshop
Tutorial details:
- Program: Adobe Photoshop CS5
- Difficulty: Intermediate
- Estimated Completion Time: 30 Mins
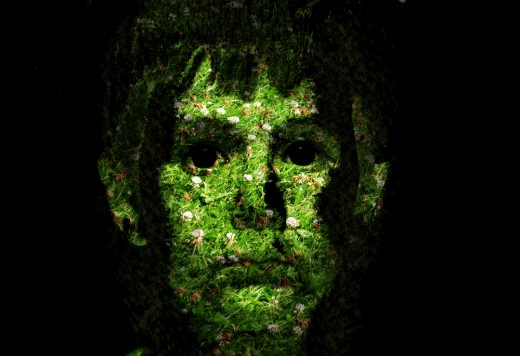
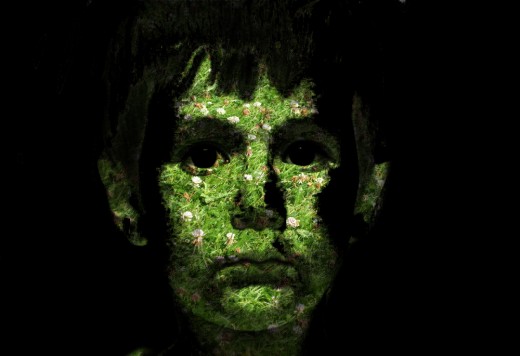
Create a Nature Inspired Photo in Photoshop – Final Preview
Tools and Resources
External Resources
Photoshop Tools
- Brush Tool
- Eraser Tool
Lets start to create nature inspired photo in photoshop.
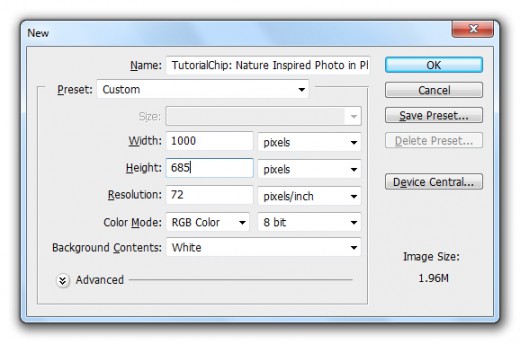
Step 1
Create a new document (Ctrl+N) with 1000×685 of size.
Step 2
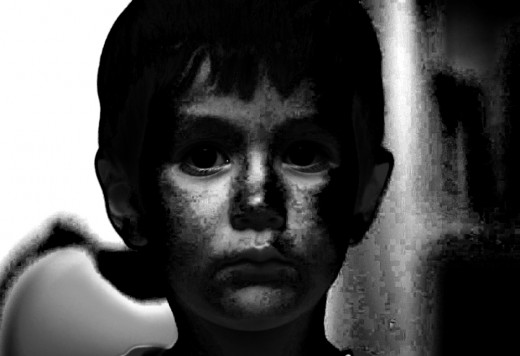
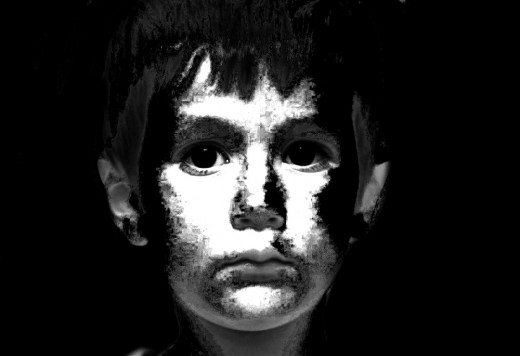
First of all add Boy Image in photoshop.
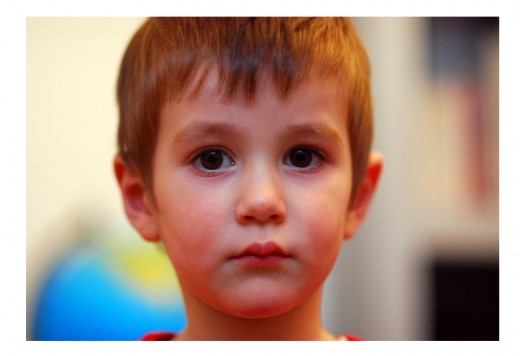
Go to Edit > Free Transform or press (Ctrl+T) to transform image and set it to whole the canvas.
After transform image we get this result.

Step 3
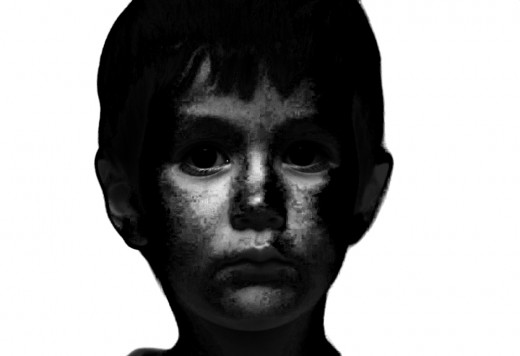
Now I am going to applying Curves.
Go to Layer > New Adjustment Layer > Curves.
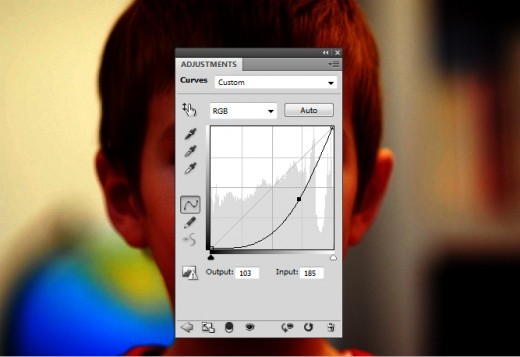
After applying curves we get nice effect on boy image layer.

Step 4
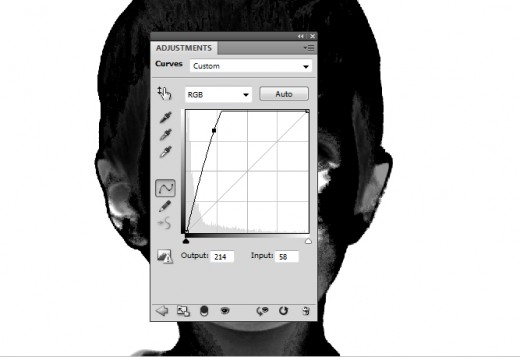
In this step ones again set Curves.
Go to Layer > New Adjustment Layer > Curves.
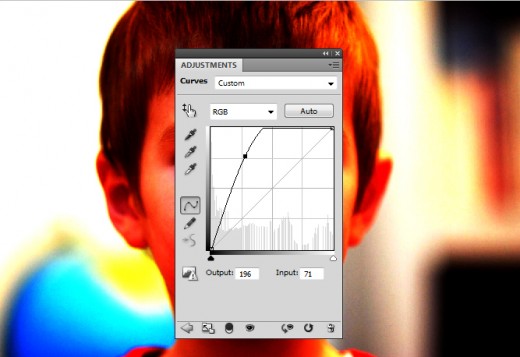
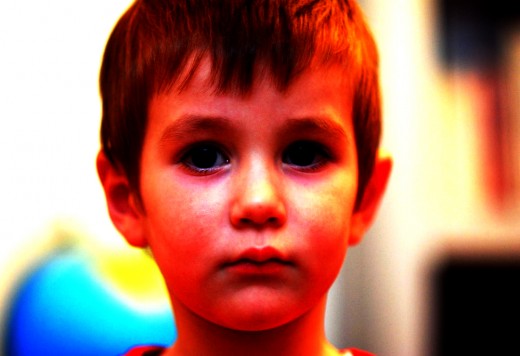
After set curves we get cool effect as like in preview.
Step 5
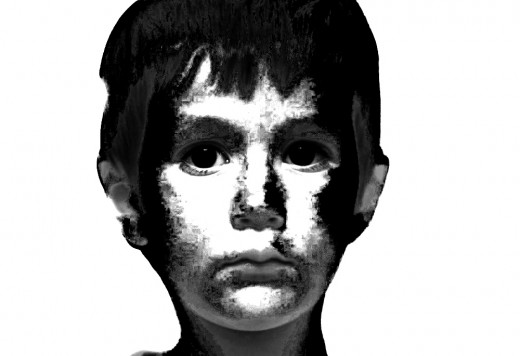
Now I am going to set Black and White Adjustment of this layer.
Go to Layer > New Adjustment Layer > Black & White.
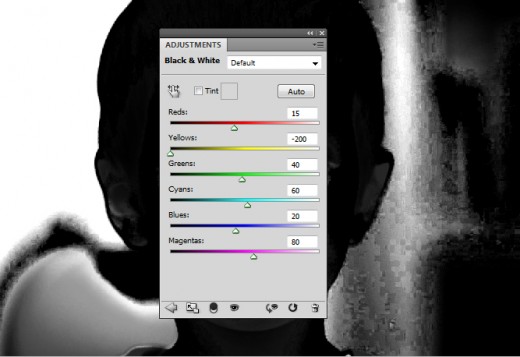
After set black and white setting we get beautiful result.
Select Eraser Tool and erase background of boy image layer as like in preview.
Step 6
Go to Layer > New Adjustment Layer > Curves.
After set curves we get this result.
Set background color black #000000.
Step 7
Now I am going to add Clover Image in photoshop.
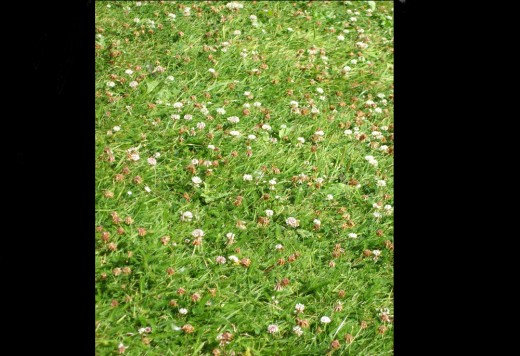
Set Blend Mode to (Multiple) of this clover image layer.
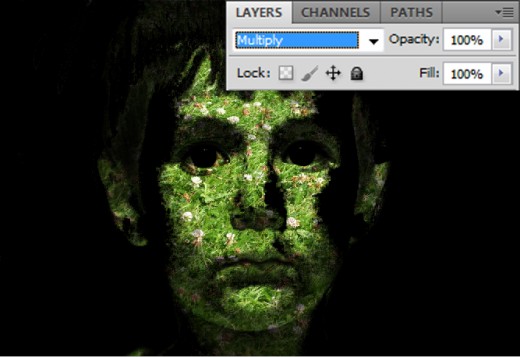
After set blend mode we get new effect as like in picture below.
Now duplicate this clover image layer (Ctrl+J) and set Blend Mode to (Soft Light) of duplicate clover image layer.
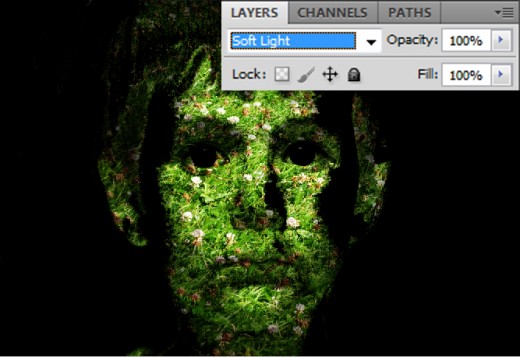
After change blend mode we get this result.

Step 8
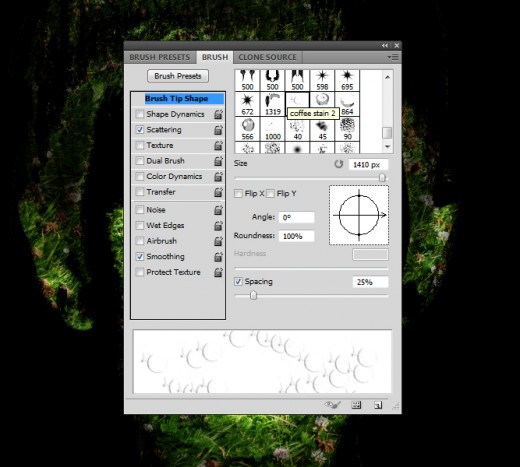
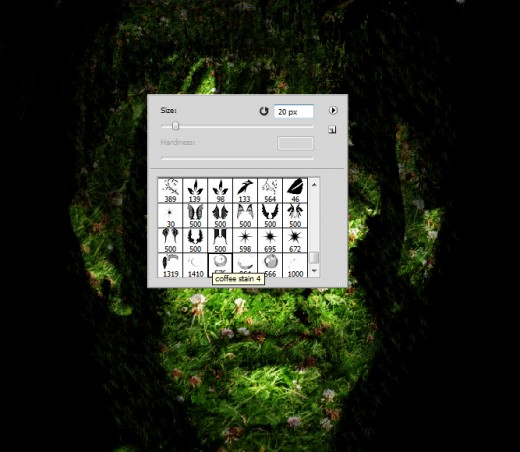
Select Brush Tool open brush panel (F5) select coffee stain brush as like shown in picture below.
Now select second option (Scattering) and set brush settings as like in preview.
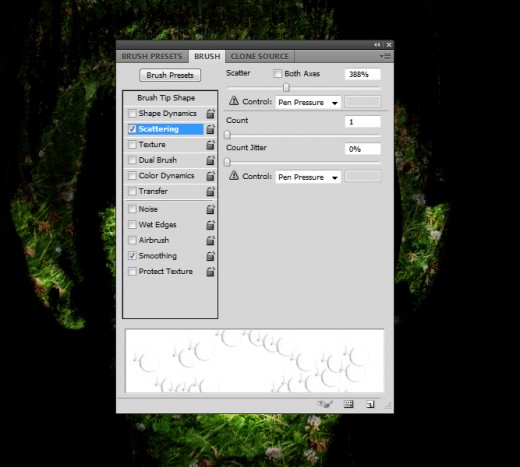
After brush settings create a new layer (Shift+Ctrl+N) select brush tool and paint around the boy image with this color #436f19.
Step 9
Create a new layer (Shift+Ctrl+N) select another Coffee Stain Brush as like in preview.
After select brush paint around the boy image layer with coffee stain brush with this color #262e0a.

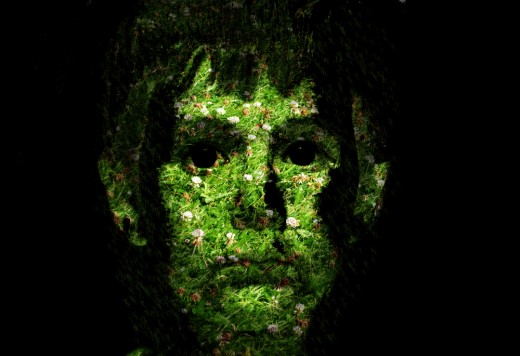
After complete all the steps here we get our nature inspired photo in final preview.
Final Preview
I hope you will like this nature inspired photo tutorial. Never forget to share your comments with us. Follow TutorialChip on Twitter or Subscribe to TutorialChip to Get the Latest Updates on Giveaways, Tutorials and More for Free.