Photoshop is one of the best tools for designers to create most amazing and beautiful effects. We can see many photo manipulations and stunning artworks on internet and most of them are created with Photoshop. Today in this tutorial, I’m going to show you a nice and easy way to use the Lighting Effect in Photoshop. Learn the techniques on how to create this cool lighting effect.
Related Tutorials:
- Professional Photoshop Banner Tutorial
- Photoshop Smoke Text Tutorial in 10 Minutes
- Photoshop Button Tutorial in Simple 8 Steps
- Photoshop Glowing Effect Tutorial in 30 Minutes
Photoshop Lighting Effect Tutorial Final Preview

Tools and Resources

External Resources
We will use following external resources to complete this lighting effect tutorial.
You can download these resources for complete this lighting effect tutorial.
Tools
We will use following major tools to complete this tutorial.
- Pen Tool
- Brush Tool
- Smudge Tool
- Photoshop Filters
- Elliptical Marquee Tool
Let’s start to create our amazing lighting effect tutorial.
Step 1
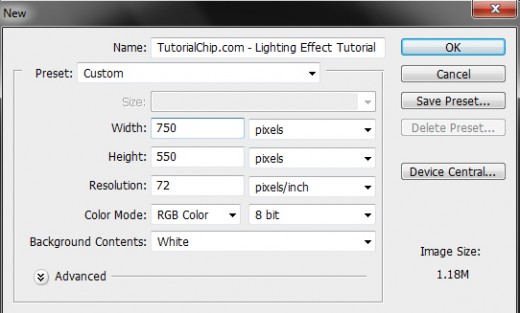
Open Adobe Photoshop, and create a new Photoshop document. I am going to create a new document of 750 x 550 px with white background.

Step 2
Create a new layer and name it “Background”. Set your foreground color to #505050 and background color to #000000. Drag a Radial Gradient at the position shown in the diagram.


Step 3
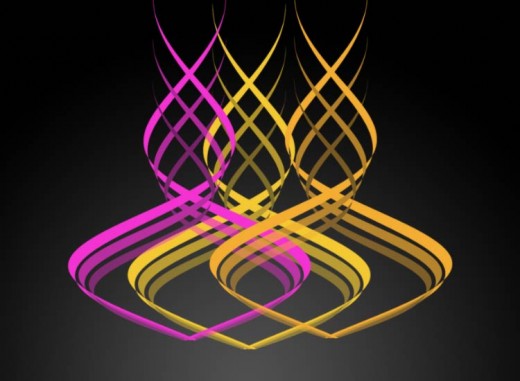
Create a new layer and name it “Curves Brush”. Apply brushes as shown in the preview.

Step 4
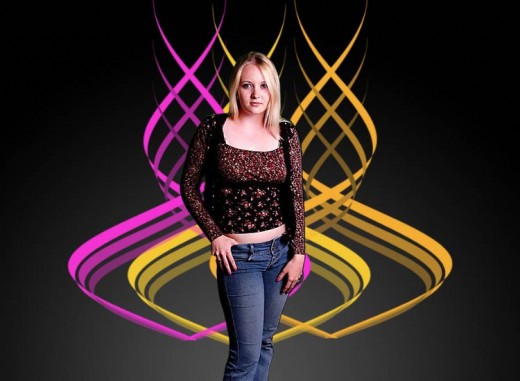
Now import the girl picture you downloaded from “girl in blue jeans” and extract the background using the Pen Tool (P) or any other method. Then remove the back strut with Eraser Tool as shown here.

Step 5
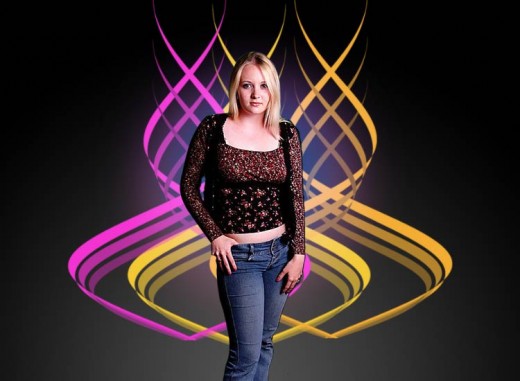
Create a new layer between the curves brush and the girl. Make a circular selection with Elliptical Marquee tool at the center.
Go to Select > Modify > Feather with 30px. Fill this selection with #D200FF. Change the Blending Mode to Screen and opacity to 50%.

Step 6
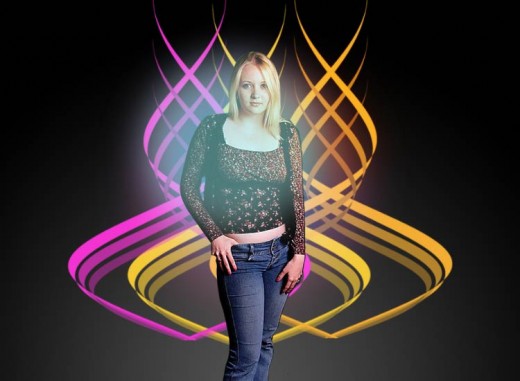
Using the same method in step 5, create 2 more colored lights above the girl layer. The colors used are #ff8b00 and #96f8f7. Change the Blending Mode for these two layers to Overlay and opacity to 50%.

Step 7
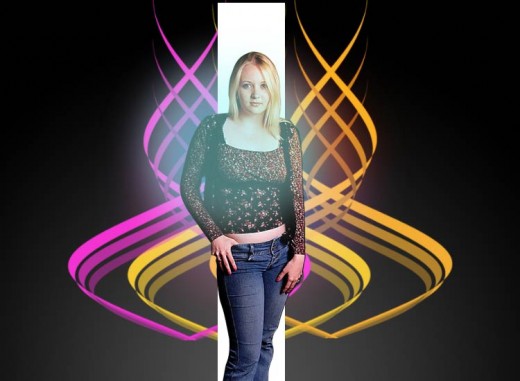
Create a new layer below the girl and draw a large rectangle with color #ffffff.

Step 8
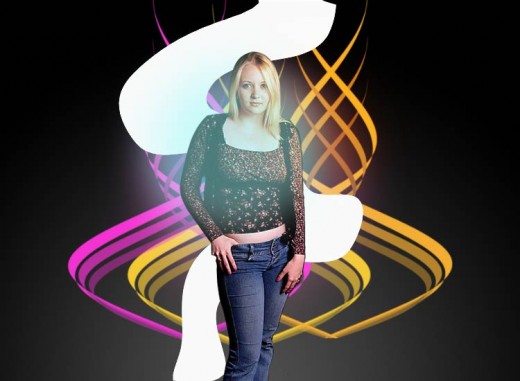
Now Go to Filter > Liquify. Using the Forward Warp tool with size 300px, push the white rectangle any way you like to form a wavy look.

Step 9
Select the Smudge tool with size 200px, smudge the white wave earlier around the girl. You can pull and push the wavy rectangle around in any manner as shown here.


Step 10
For creating the glow effect from girl’s legs, we take a new layer and name it “Texture Brush”. Select Texture Brush and set Master Diameter 45 px, start applying brush from girl’s legs with #dd9639 color.
Making more beautiful of glow effect we applying Blending Option > Outer Glow on Texture Brush layer.
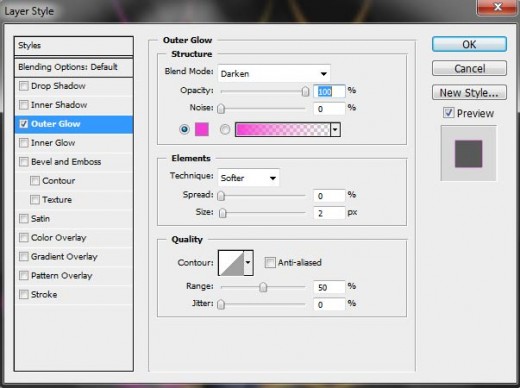

Now below you can see final preview of step 10.


Step 11
Ok, in this step we take a new layer on top and name it “Stroking Path 1”. Use the Pen tool make three paths, after making paths applying the stroke with #2ea0c6 color. Now apply the following blending options to this layer.
Outer Glow
- Blend Mode: Normal
- Opacity: 100%
- Color: #00d2ff
- Spread: 8%
- Size: 16px
Color Overlay
- Color: #04acd0
- Blend Mode: Normal
- Opacity: 100%
Now below you can see final preview of step 11.


Step 12
In this step we take other new layer and name it “Stroking Path 2”. Use the Pen tool make two paths, after making paths applying the stroke with #ffffff color. Now apply the following blending options to this layer.
Outer Glow
- Blend Mode: Normal
- Opacity: 100%
- Color: #ffffff
- Spread: 8%
- Size: 16px
Color Overlay
- Color: #e9e5e5
- Blend Mode: Normal
- Opacity: 100%
Now below you can see final preview of this tutorial.
Lighting Effect Tutorial Final Preview


I hope you have enjoyed the tutorial. Don’t Forget to Follow TutorialChip on Twitter or Subscribe to TutorialChip to Get the Latest Updates on Giveaways, Tutorials and More for Free.