Step 8
Select the Type tool or Text tool and type S with Arial Font and set it color white.

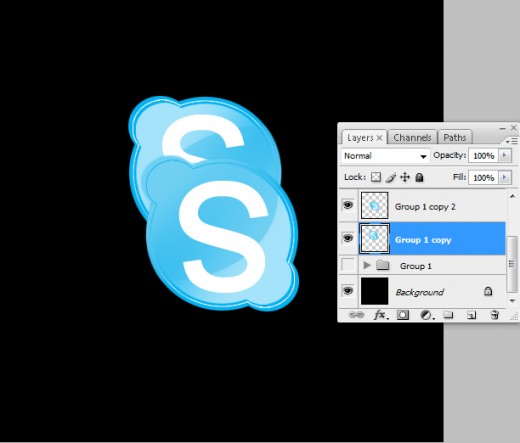
Step 9
Now we group all layers
- duplicate this group
- merge this duplicate group
- again duplicate of this merge layer
- now we have two duplicate layer
In the following result we have two skype shapes.
Step 10
Now we select Transform tool (Ctrl+T) and rotate any skype shape in Flip Vertical as shown in preview.

Step 11
In this step we are applying Add Layer Mask and Gradient on Flip Vertical shape layer.
- Select flip vertical shape layer
- Add layer mask
- Select gradient tool
Apply gradient Black to White middle of the vertical skype shape layer, after this we have got an outstanding Skype Logo. You can see following final preview of skype logo.
Final Preview
I hope you have enjoyed this useful Skype Logo tutorial. Don’t Forget to Follow TutorialChip on Twitter or Subscribe to TutorialChip to Get the Latest Updates on Giveaways, Tutorials and More for Free.