In this tutorial I am going to show you that how to applying lighting and shining effects to an image using Adobe Photoshop CS5 techniques. You can easily make this design on your picture to follow this useful tutorial’s techniques. So enjoy it and remember to share your opinions with us.
More new photoshop tutorials:
- Create a Fascinating Puzzle Effect in Photoshop CS5
- Create a Tempting Breaking Apart Effect in Photoshop CS5
- How to Create an Out of Bounds Surreal Photo in Photoshop CS5
- Inspirational Surreal Smoking Bird Composition: Photoshop CS5 Tutorial
Tutorial details:
- Program: Adobe Photoshop CS5
- Difficulty: Intermediate
- Estimated Completion Time: 40 Mins
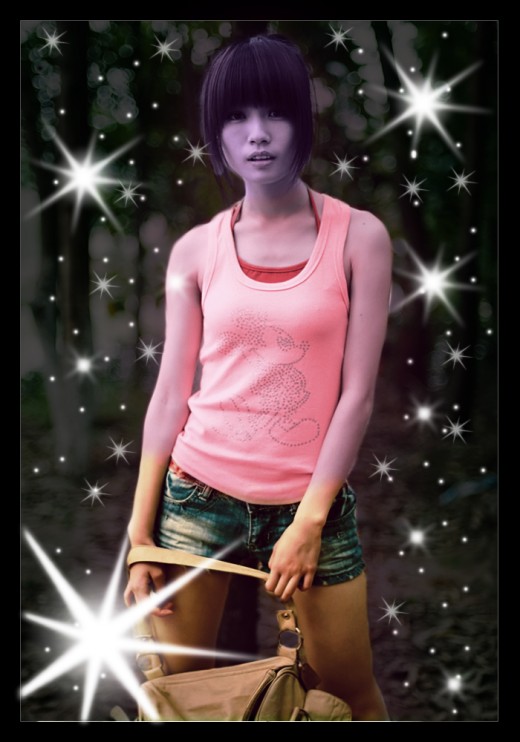
Create a Shining Effect in Photoshop – Final Preview
Tools and Resources
External Resources
Photoshop Tools
- Brush Tool
- Eraser Tool
- Gradient Overlay
- Rectangle Tool
Lets start to create our shining effect in photoshop.
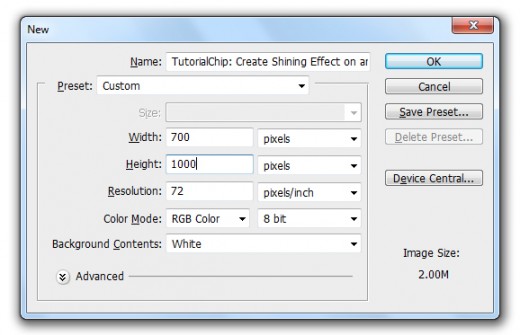
Step 1
Create a new document (Ctrl+N) with 700×1000 of size.
Step 2
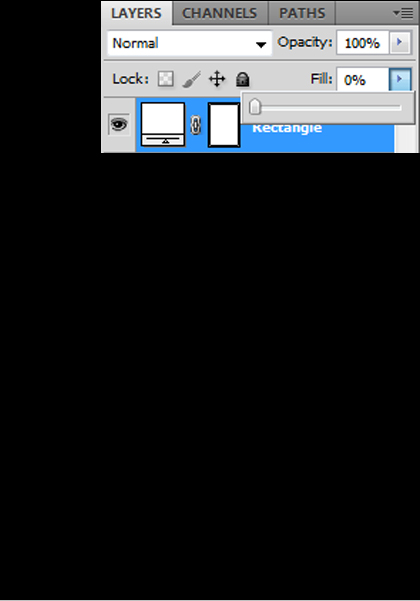
Set background color black #000000 then select Rectangle Tool from tool panel and create a rectangle with white color #ffffff.

Set Fill (0%) of this rectangle layer.
Go to the Blending Options and applying Stroke on this rectangle layer.
Go to Layer > Layer Styles > Stroke.
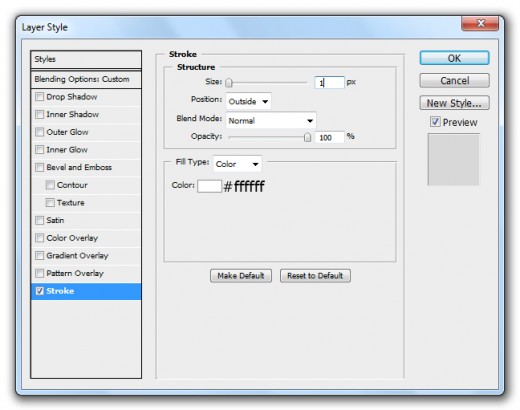
After applying stroke we get nice result.

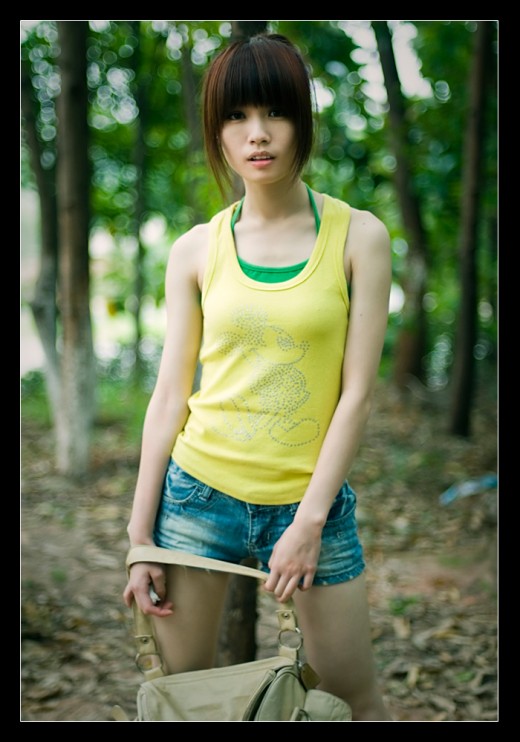
Step 3
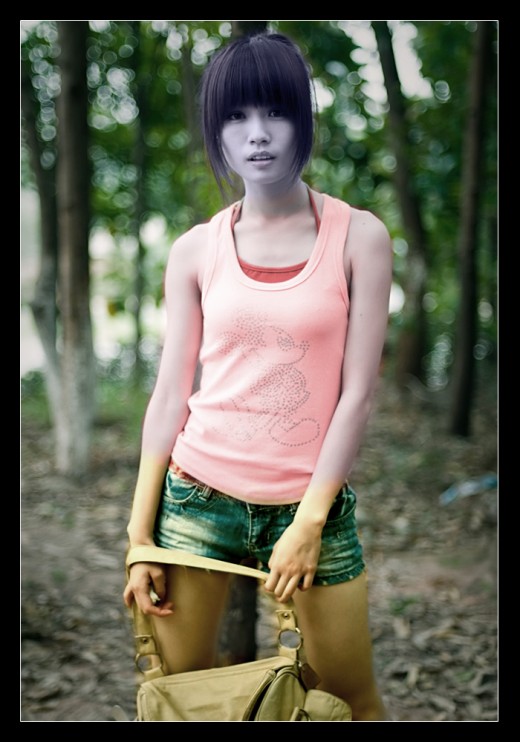
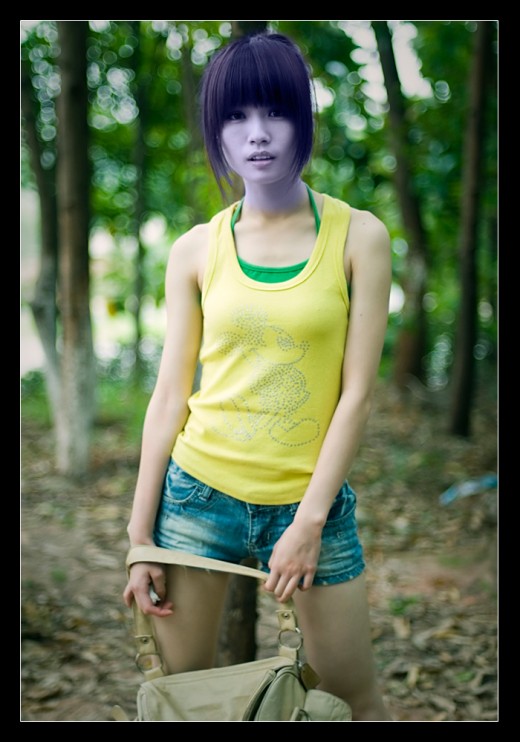
Now I am going to add the Chinese Cute Girl picture in Photoshop.
Create a new layer (Shift+Ctrl+N) select (20px) any soft round brush and paint girl face area with this color #8788c3.
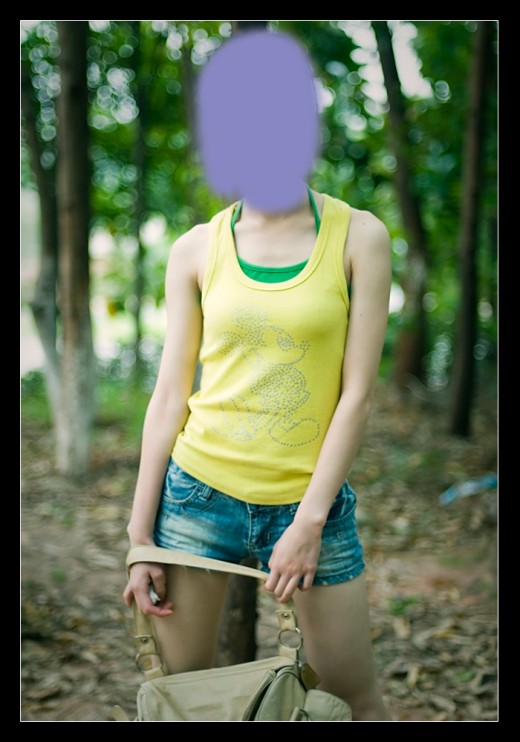
Set Blend Mode to (Color) and Opacity (70%) of this brush layer.
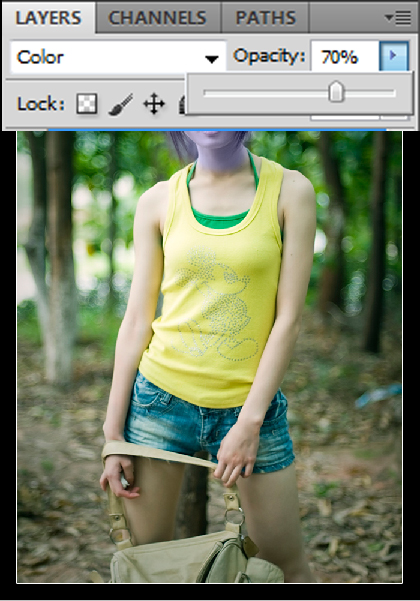
After set blend mode and opacity we get nice effect on brush layer.
Step 4
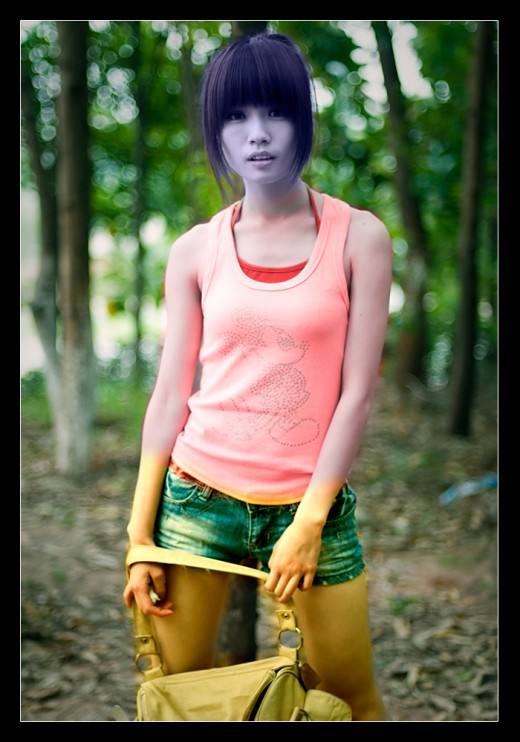
Create a new layer (Shift+Ctrl+N) select soft round brush and paint girl body area with this color #f02c34.
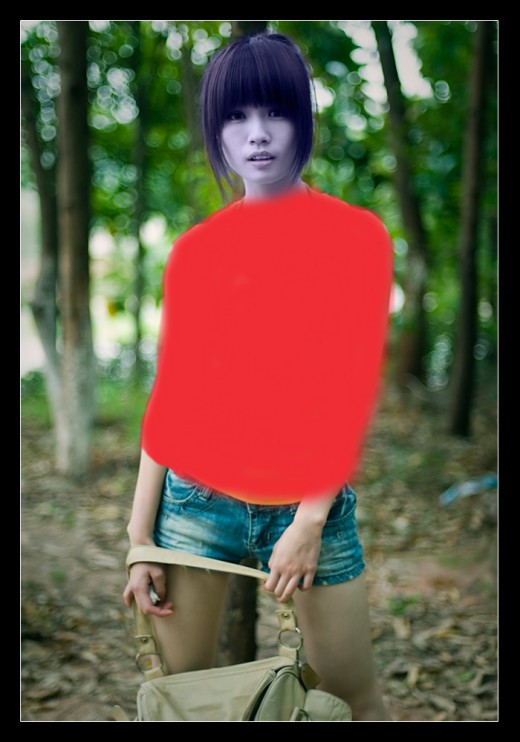
Set Blend Mode to (Hue) of this brush layer.
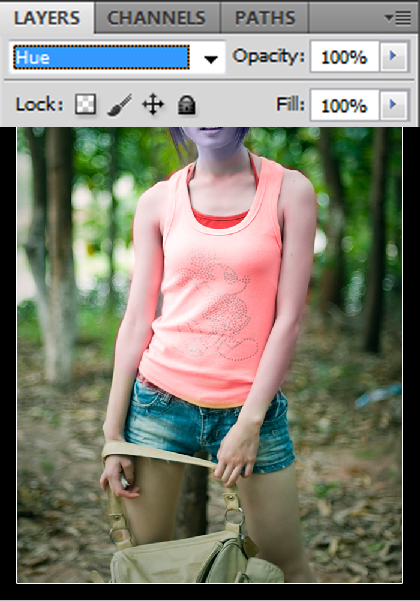
After set blend mode we get a new effect as like in picture below.

Step 5
Create another new layer select soft round brush and paint girl legs area with this color #db9820.
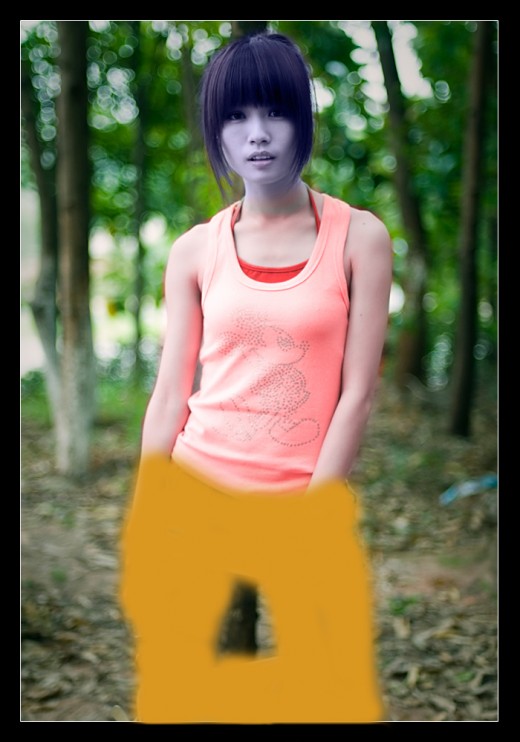
Set Blend Mode to (Hard Mix) and Fill (30%) of this brush layer.
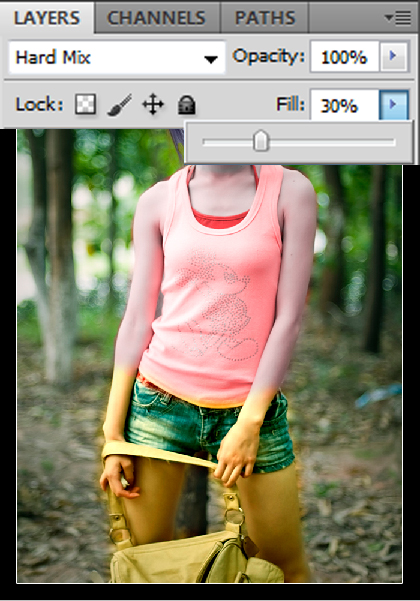
After set blend mode we get a nice effect in preview.
Step 6
Go to Layer > New Adjustment Layer > Hue Saturation.
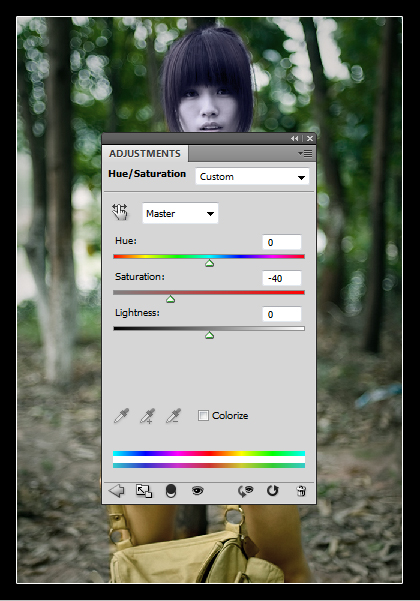
After set hue saturation get this result.