Today I am telling you that how to create a glass table icon in Photoshop. In this tutorial you can learn that how to use Photoshop tools and how to make a glass table in Photoshop CS5. This is very simple and easy design to make it. I hope you will easily create your own design to follow these instructions. So enjoy it and remember us via your comments.
Other related photoshop tutorials:
- Create a Realistic iPhone in Photoshop
- How to Create a Bullet in Photoshop CS3
- Create a Thermometer Icon in Photoshop CS5
- How to Create a Digital Camera: Photoshop Tutorial
Tutorial details:
- Program: Adobe Photoshop CS5
- Difficulty: Intermediate
- Estimated Completion Time: 30 Mins
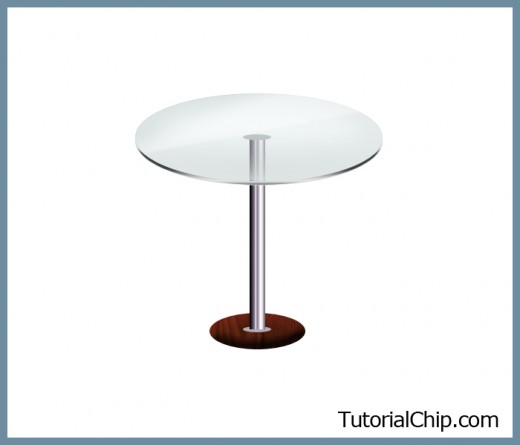
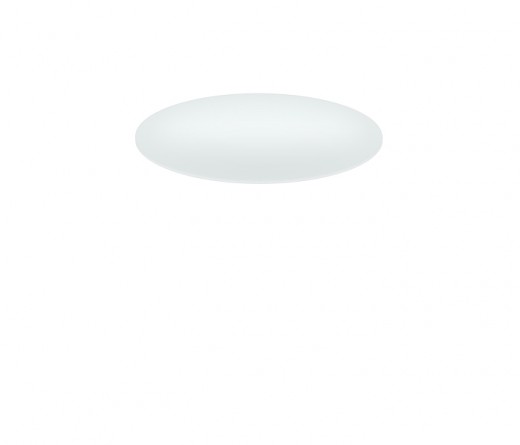
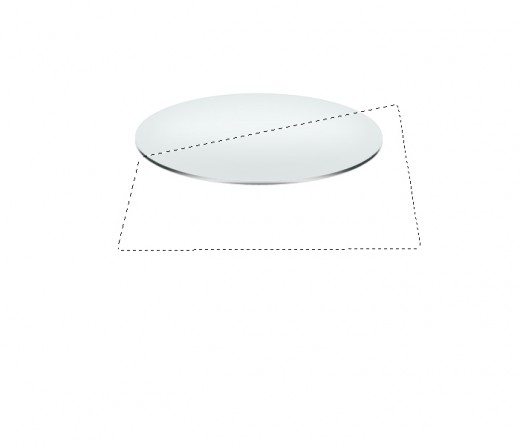
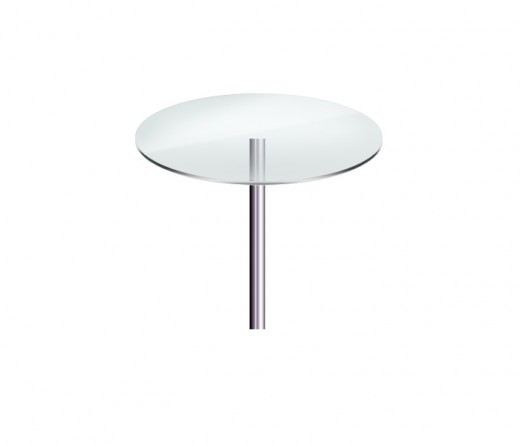
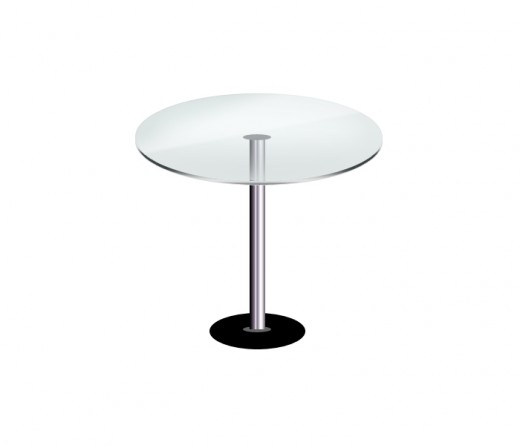
Create a Glass Table Icon in Photoshop – Final Preview
Tools and Resources
Photoshop Tools
- Ellipse Tool
- Gradient Overlay
- Rectangle Tool
- Polygonal Lasso Tool
Lets start to create our glass table icon in photoshop.
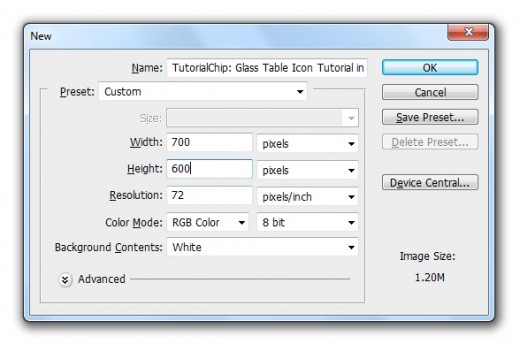
Step 1
Create a new document (Ctrl+N) with 700×600 of size.
Step 2
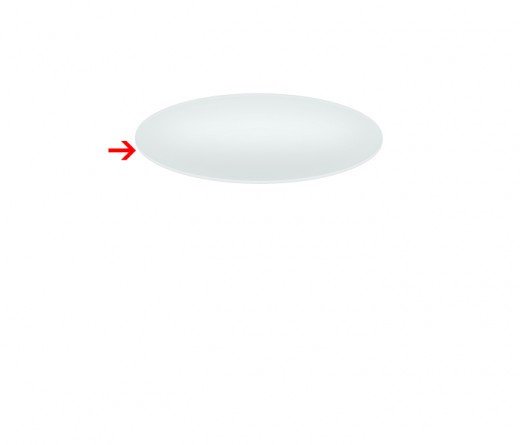
Select Ellipse Tool from tool panel create a circle with black color #000000.

Go to Edit > Transform > Skew and minimize size of the circle layer from upper side as like in preview.
After down size of circle layer we get new shape as like shown in picture.
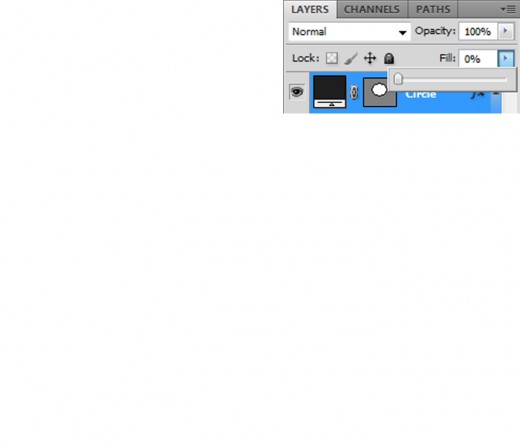
Step 3
Set Fill (0%) of this circle shape layer.
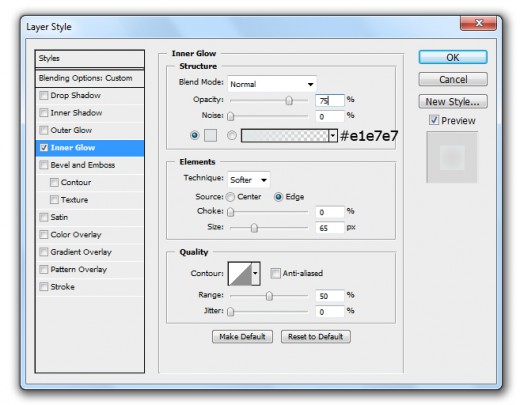
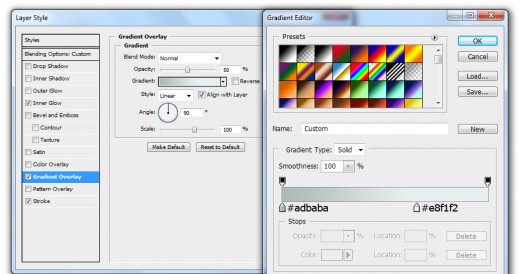
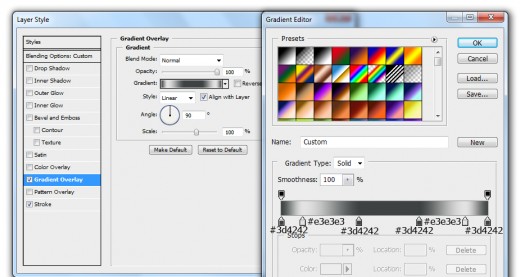
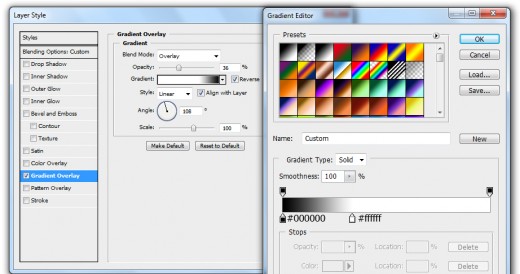
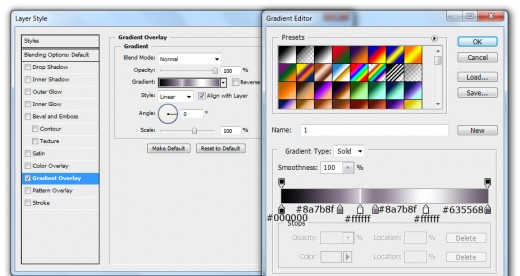
Now I am going to applying some Layer Style on this circle shape layer.
Go to Layer > Layer Style and applying these Blending Options.
Inner Glow
Gradient Overlay
Stroke

After applying these layer style we get new effect on circle shape layer.

Step 4
After applying layer style press (Ctrl+J) to duplicate this layer and set duplicate layer (4px) downside as like in preview.
Now hold Ctrl key and click on thumbnail of original circle layer then a selection created.
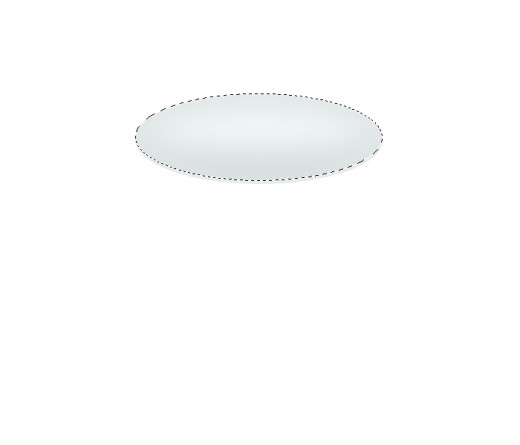
Now select the duplicate circle layer rasterize it and hit delete button to delete the selected area, press (Ctrl+D) ti deselect the selection and get this result.
Step 5
After delete selected area now I am applying some Blending Options to this duplicate circle layer.
Go to Layer > Layer Style and applying these Blending Options.
Gradient Overlay
Stroke
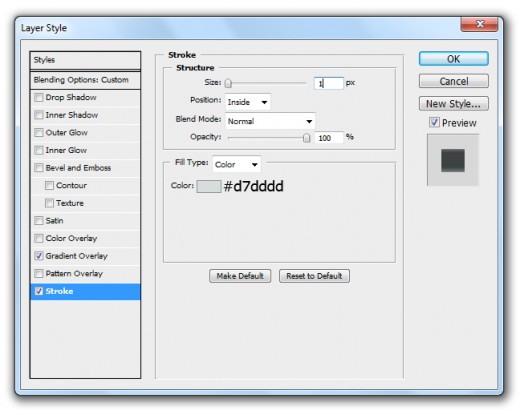
After applying these layer style we get new result.
Step 6
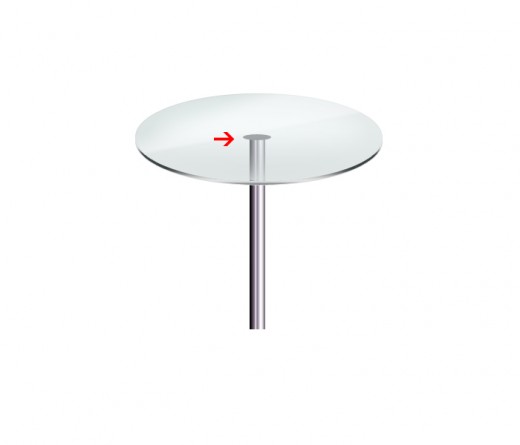
Now in this step select the original circle shape layer press (Ctrl+J) to duplicate it, name it layer Crystal then select Polygonal Lasso Tool and make a selection as like in picture below.
After make a selection select crystal layer rasterize it and hit delete button to delete the selected area, now go to the Blending Options and applying Gradient Overlay on this crystal layer.
After applying gradient overlay we get nice effect on crystal layer.

Step 7
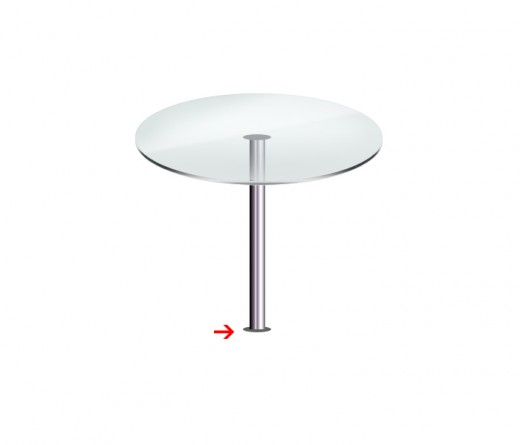
Now select the Rectangle Tool from tool panel and create a rectangle with black color #000000.
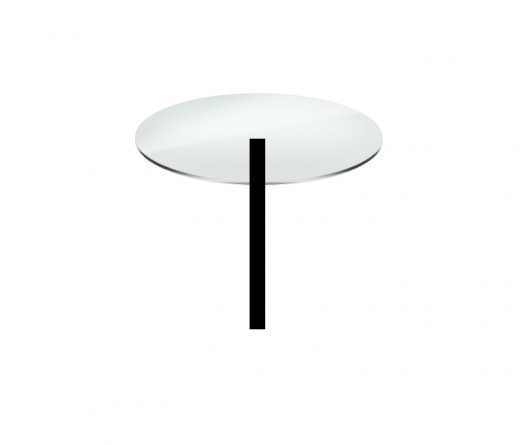
Set this rectangle layer bottom of all the other layer.
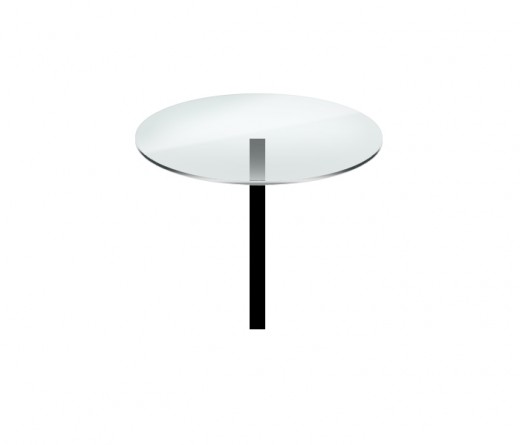
After set this rectangle downside now go to Layer > Layer Style and applying Gradient Overlay on this rectangle layer.
After applying gradient overlay we get awesome effect on rectangle layer.
Step 8
Now select Ellipse Tool and create a small circle shape top of the rectangle layer with this color #a1a1a1.
Now press (Ctrl+J) to duplicate this small circle shape layer and set bottom area of the rectangle layer.
Step 9
Select Ellipse Tool again and create a circle with black color #000000 bottom side of all the other layers.
After create circle applying some Layer Style on it.
Go to Layer > Layer Style and applying these Blending Options.
Bevel and Emboss
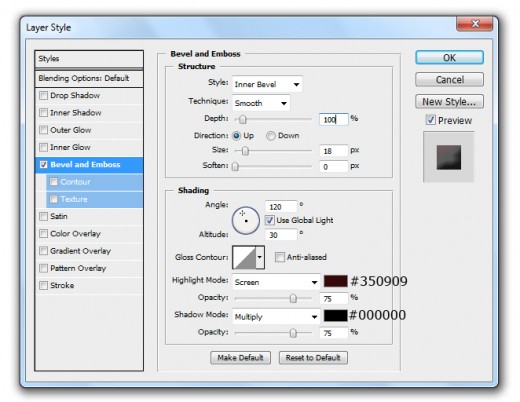
Pattern

After applying these blending options we get this result.
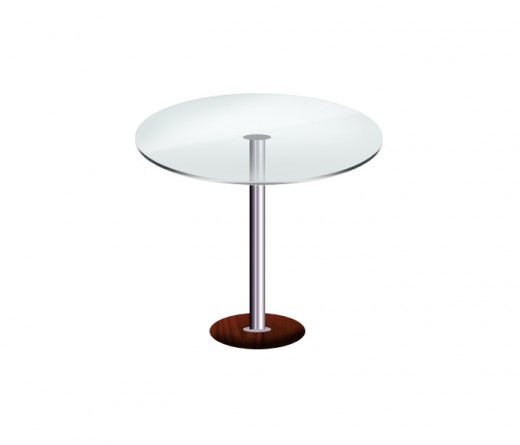
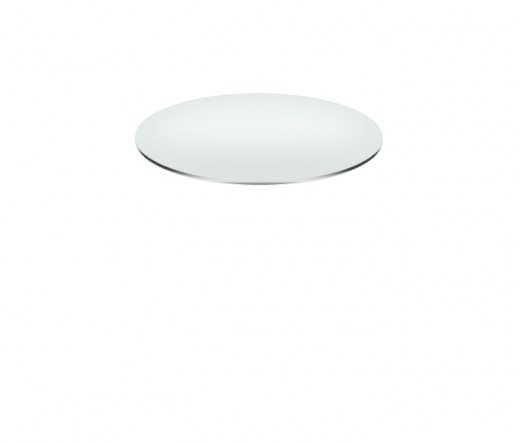
After all the procedure we get our beautiful glass table in final preview.
Final Preview
I hope you will like this glass table icon tutorial. Always remember to share your comments with us. Follow TutorialChip on Twitter or Subscribe to TutorialChip to Get the Latest Updates on Giveaways, Tutorials and More for Free.
hey Manam this tutorial is cool, bravo, you need to equip beginners with making selections basics, they are a good concept.