Step 9
Again create a small circle with Ellipse Tool and applying this color #f0d3f3.
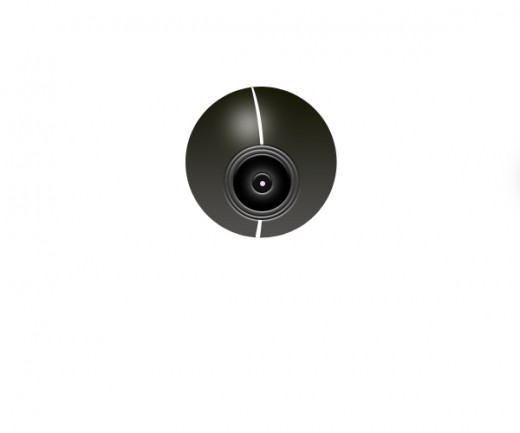
Step 10
Create new layer select Pen Tool and draw a path as like in picture below.
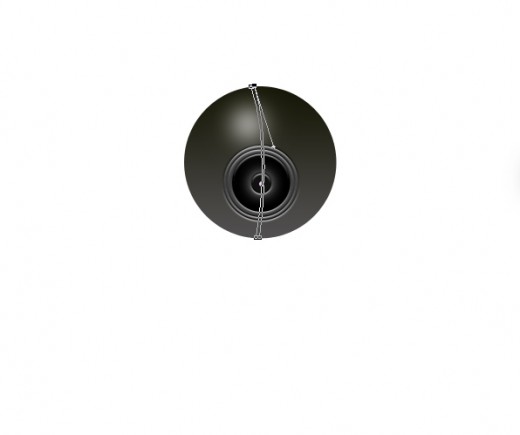
After creating the path right click on path and select (Make Selection) option.
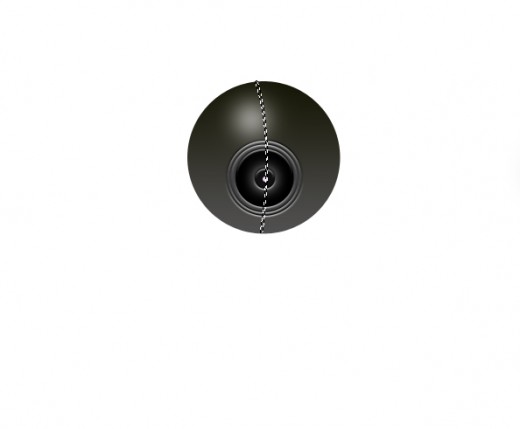
Now fill this selection with white color #ffffff and name it layer Line. Press the (Ctrl+D) for deselection.
After fill the selection set line layer bottom of the all circle layers as like in preview.
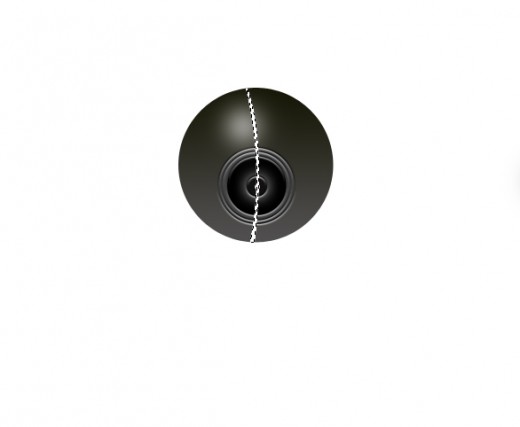
Now go to blending option and applying Satin.
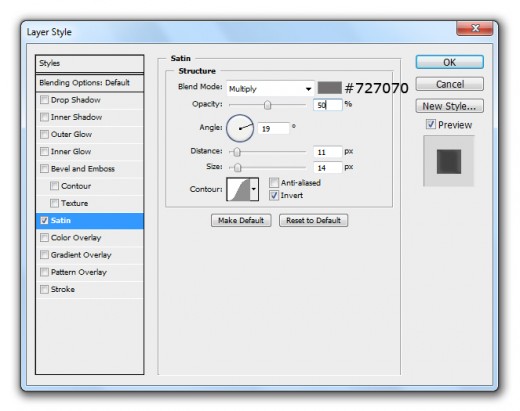
After applying satin we get new effect on line layer.

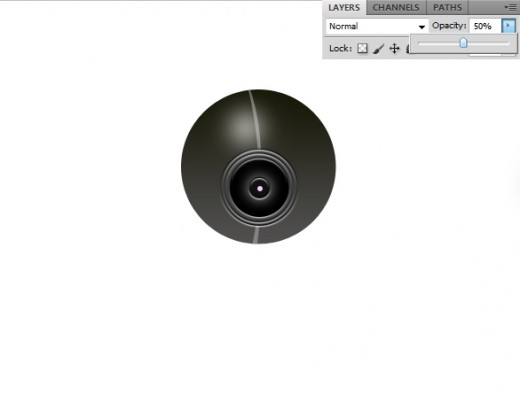
Now minimize the opacity of line layer 50%.
Step 11
Create new layer select Polygonal Lasso Tool and make a selection as like in preview.
Fill this selection with gradient Overlay gray to transparent.
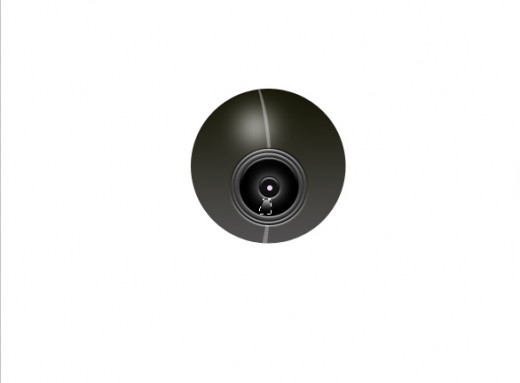
After applying gradient overlay we get beautiful shape as like in picture below.
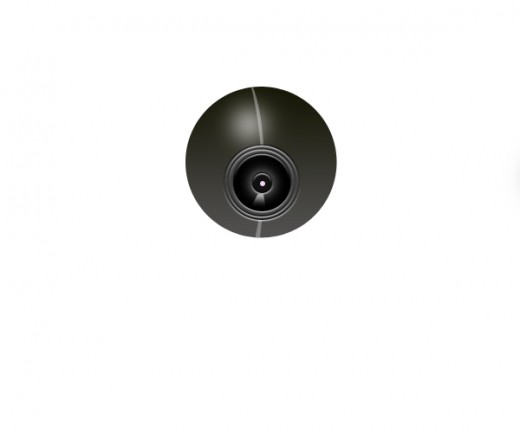
Step 12
Select the Ellipse Tool create a circle with black color #000000 bottom of all the layers and name it layer Small Stand.
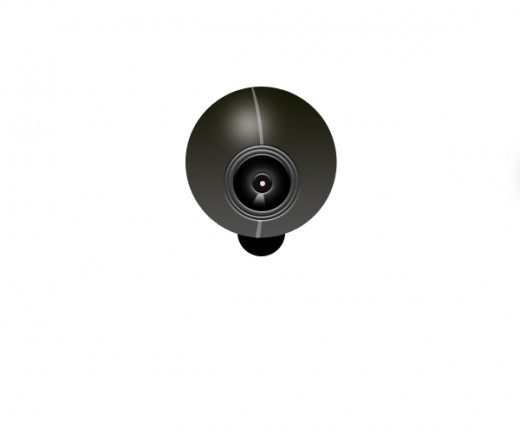
Step 13
Select Ellipse Tool and create a shape with black color #000000 name it layer Stand.
Go to Edit > Transform > Perspective minimize the size of upper side of stand layer as like in preview.
Now adjust the stand layer little bit upper side as like in picture below.

Step 14
Now go to Layer > Layer Style and applying some blending options on this stand layer.
Bevel and Emboss
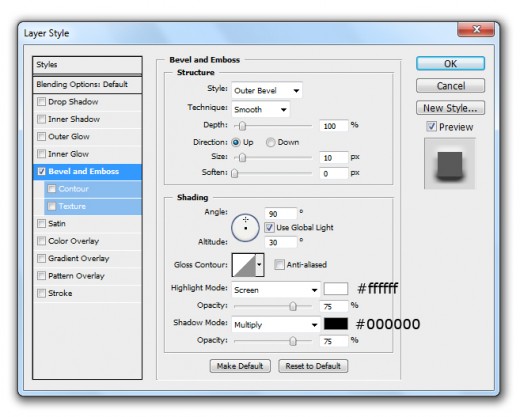
Color Overlay
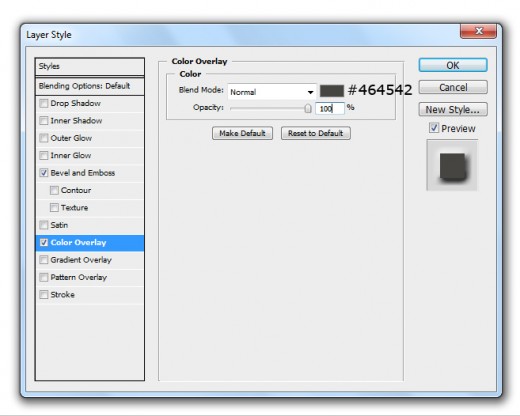
After applying these layer styles we get new effect on stand shape layer.

Step 15
Duplicate this stand layer and change the Layer Style of duplicate stand layer.
Bevel and Emboss
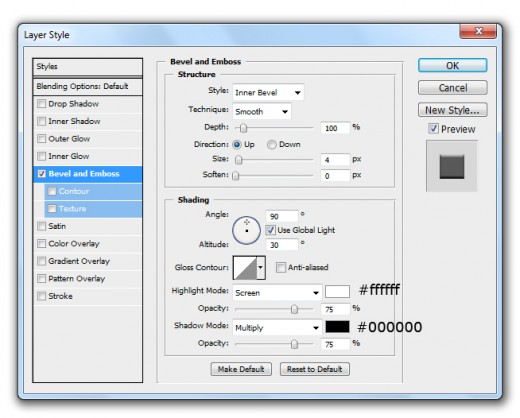
After applying bevel and emboss on duplicate stand layer we get beautiful webcam stand.
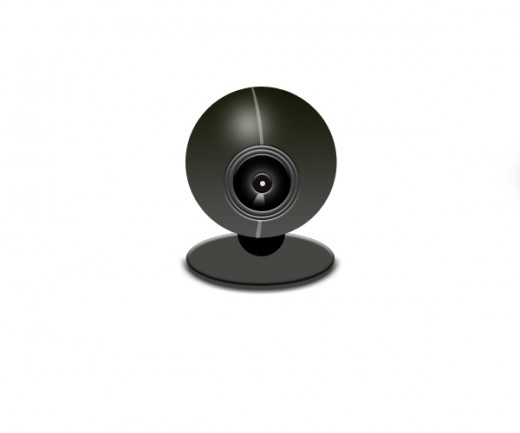
Step 16
In this last step applying the gray color #555454 on small stand layer as like in final preview.
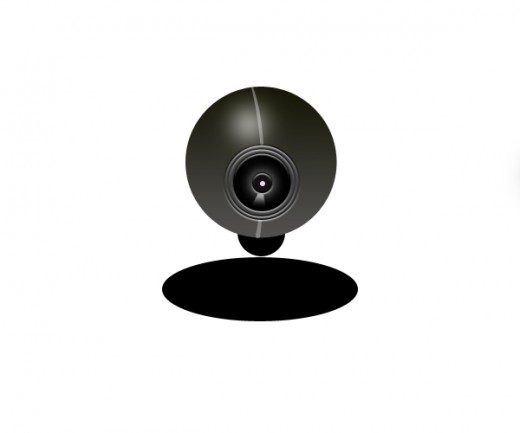
Final Preview
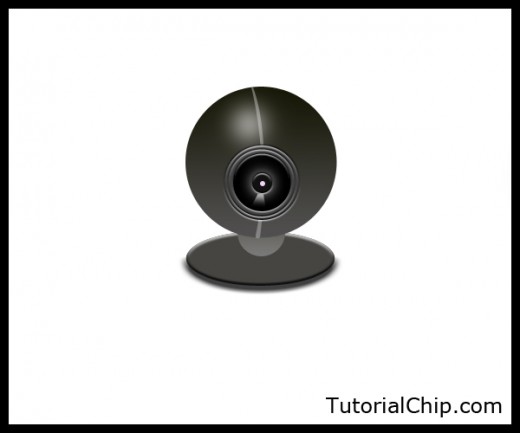
I hope you have definitely enjoyed this webcam tutorial. Remember to share your comments with us. Follow TutorialChip on Twitter or Subscribe to TutorialChip to Get the Latest Updates on Giveaways, Tutorials and More for Free.