In this Photoshop tutorial I would like to show you easy way how to displace the text and get an interesting effect on it. In this tutorial I am just using some photoshop tools and a fantastic font to make this displaced design. I hope you enjoyed this tutorial. Don’t forget to share your expensive opinions with us.
More photoshop exclusive tutorials:
- Create a New Eid Text Effect in Photoshop
- How to Create a Texture Text Effect in Photoshop
- How to Create a Glossy and Shiny Text Effect in Photoshop
- How to Create a Stuffed Text Effect: Photoshop CS5 Tutorial
Tutorial details:
- Program: Adobe Photoshop CS5
- Difficulty: Intermediate
- Estimated Completion Time: 30 Mins
Create a Displaced Text Effect in Photoshop – Final Preview

Tools and Resources

External Resource
Photoshop Tools
- Text Tool
- Ellipse Tool
- Gradient Overlay
- Rectangle Marquee Tool
Lets start to create our displaced text effect in photoshop.
Step 1
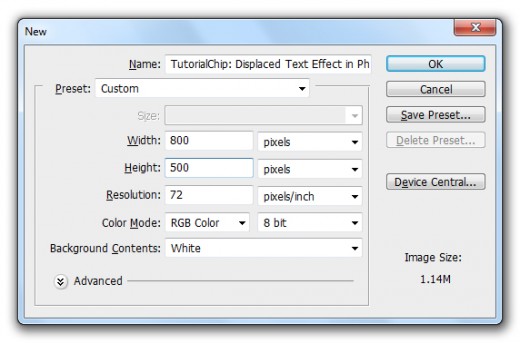
Create a new document (Ctrl+N) with 800×500 of size.

Step 2
Go to the Blending Options and applying Gradient Overlay on background layer.


After applying gradient we get beautiful effect on background layer.


Step 3
Select Text Tool from tool panel and type some text with black color #000000, Here I am using Caption America Font you can use your own choice of font.


Step 4
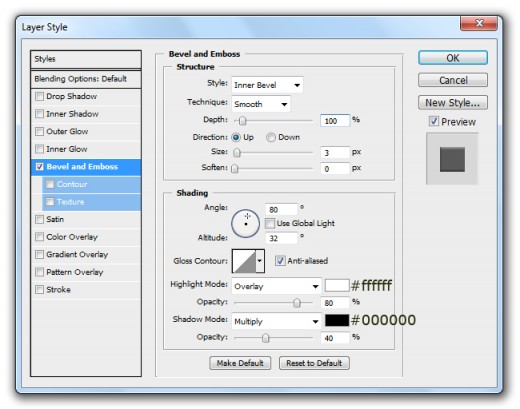
Go to the Blending Options and applying some Layer Styles on this text layer.
Go to Layer > Layer Styles and applying these Layer Styles.
Bevel and Emboss

Gradient Overlay
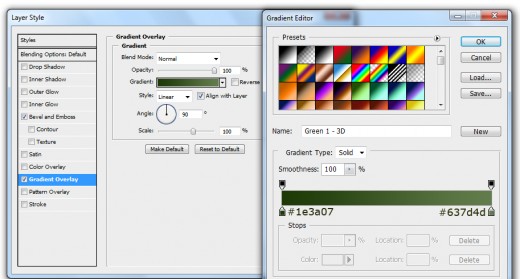

After applying these layer styles we get nice effect on text layer.
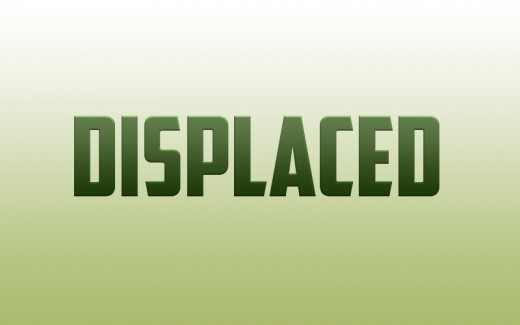

Step 5
Select Ellipse Tool from tool panel and draw a shape with black color #000000 as like in preview.
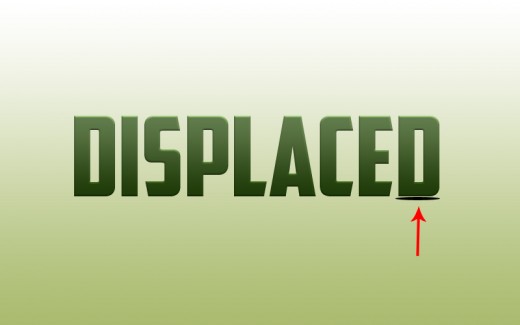

Now I am going to applying Gaussian Blur Filter on circle shape layer.
Go to Filter > Blur > Gaussian Blur.
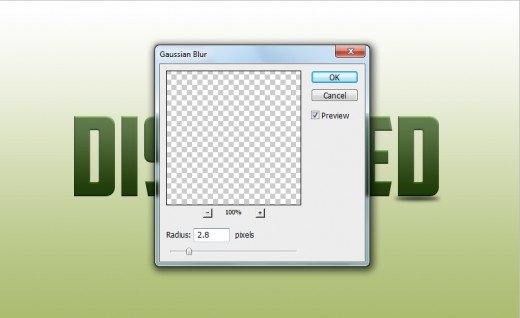

After applying gaussian blur we get a new effect on circle shape layer.
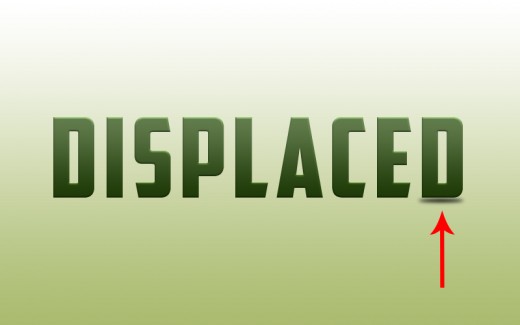

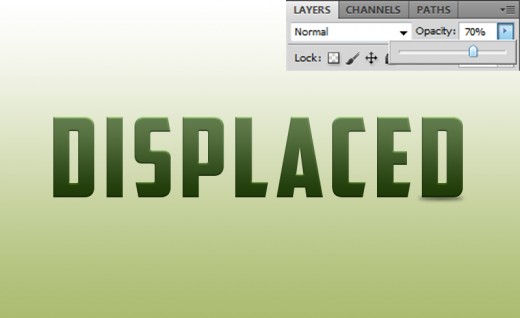
Down Opacity (70%) of this circle shape layer.

Step 6
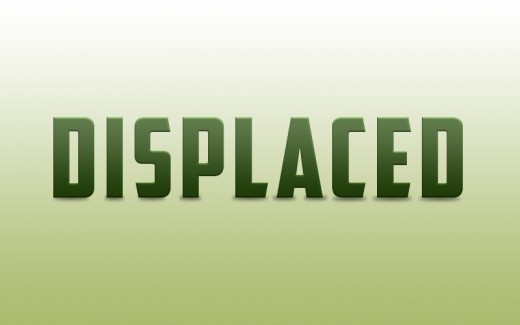
Repeat step 5 and make all text shadow’s as like in picture below.

Step 7
Select Rectangle Marquee Tool from tool panel and make a selection as like in preview.
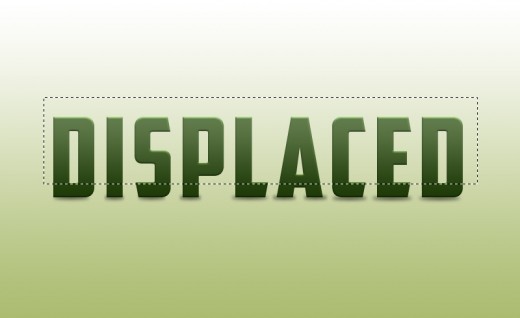

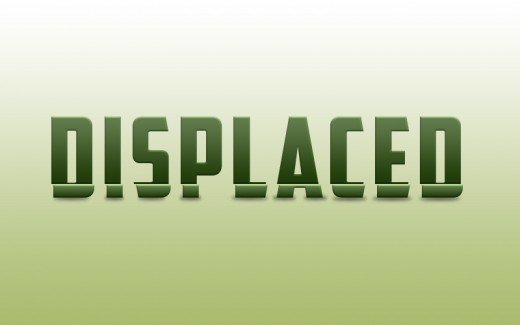
Press (Shift+Ctrl+J) to cut the selected area in a new layer then set it 2px left side as like in picture below.

Step 8
Select Rectangle Marquee Tool again and make a selection as like in preview.
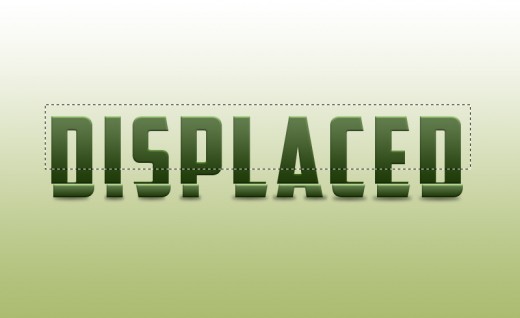

Press (Shift+Ctrl+J) to cut the selected area in a new layer and set 2px right side as like in picture below.

Step 9
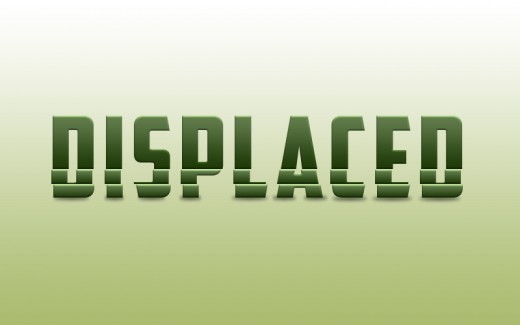
Repeat step 8 and make more selections set them two pixel left and right side as like in picture below.


After all the struggle we get our displaced text in final preview.
Final Preview


I hope you will like this displaced text effect tutorial. Never forget to share your comments with us. Follow TutorialChip on Twitter or Subscribe to TutorialChip to Get the Latest Updates on Giveaways, Tutorials and More for Free.