A few days ago, I have published a article on difference between opacity and fill options in Photoshop. I hope you will have this useful article. So today, in this article we will learn that how to use Type tool or Text tool in Photoshop. Type tool is very important option of Photoshop. If you are Photoshop designer then using before of text tool, read this article and right use of type tool.
More useful photoshop basic tutorials:
- How to Change the Hair Color in Photoshop CS5
- Learn How to Create Your Own Brush in Photoshop
- Create a Clean and Sleek Separator Line in Photoshop
- Difference Between Opacity and Fill Options in Photoshop
Using of the Type or Text Tool
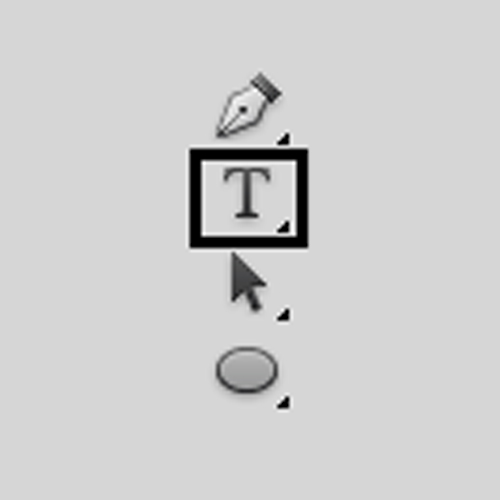
We use Photoshop’s type tool. It’s the icon that looks like a capital letter T. You can also select the type tool by pressing the letter T on your keyboard:
Choosing the Font
When we select the type tool, the Options Bar to show us options related to the text tool, including options for choosing a font, a font style and the font size:
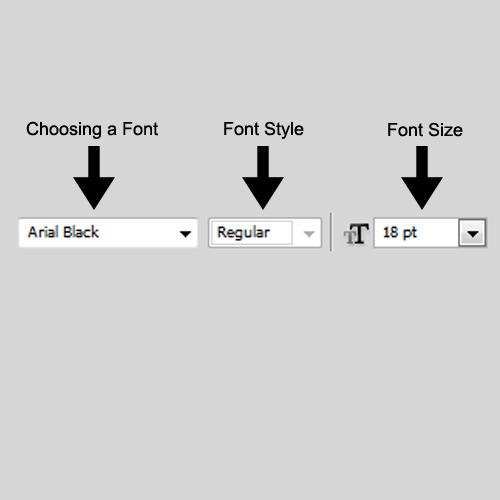
Choosing a Font:
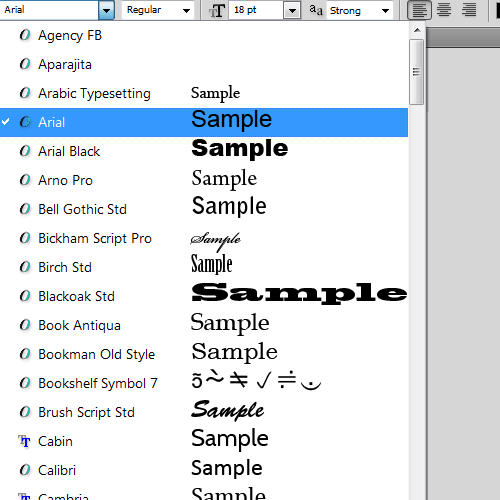
To view the complete list of fonts that are available to you, click on the small down-pointing triangle to the right of the font selection box:
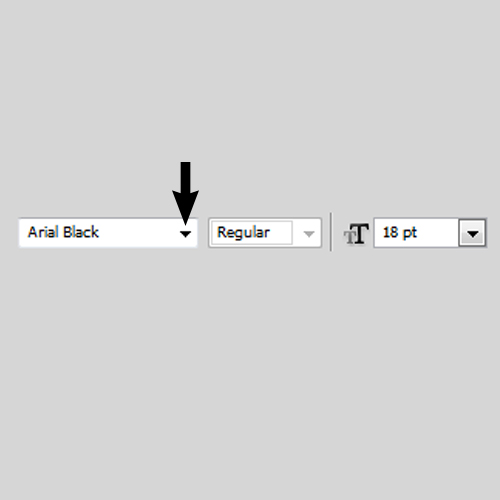
When you click on down-pointing triangle, then a font selection box will be opened. Now you can choose the font as you like.
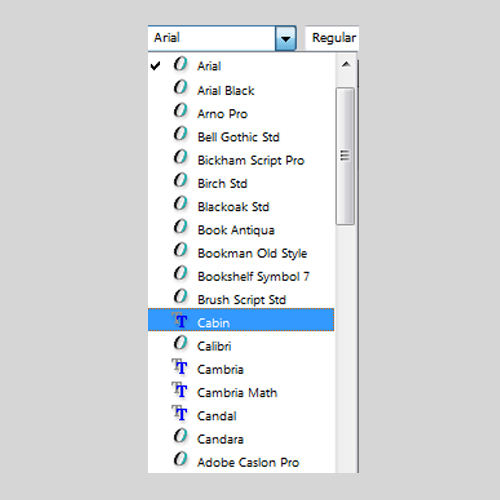
Change the Size of the Font Preview:
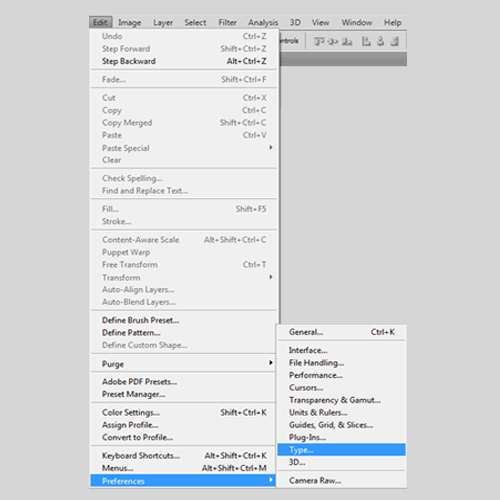
We can change the size of the font preview by going to Photoshop’s Preferences settings. Go to Edit menu in the Menu Bar, choose Preferences, and then choose Type option.
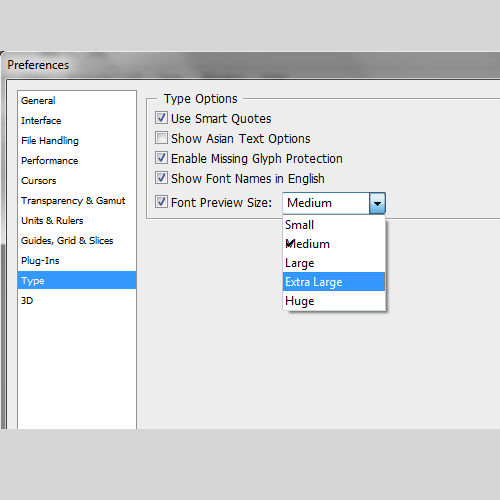
Now Photoshop’s Preferences dialog box will be opened. This is by default, it’s set to Medium. You can click on the word “Medium” and choose a different size from the list. I’ll choose the Extra Large size:
Click OK to close out of the Preferences dialog box, and now if we go back up to the Options Bar and bring up the list of fonts again, we see that the font previews now appears much larger.
Choosing the Font Style:
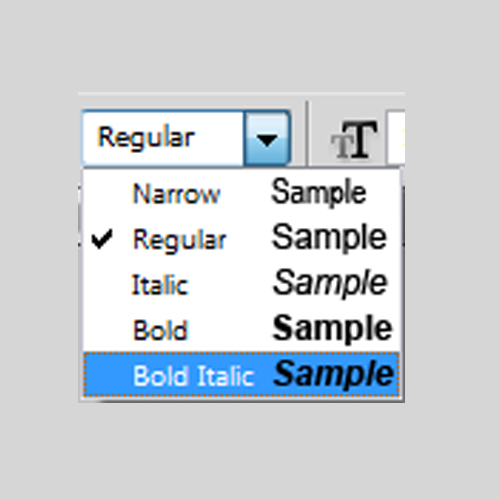
Choosing the font style just click on the triangle to the right of the Style selection box:
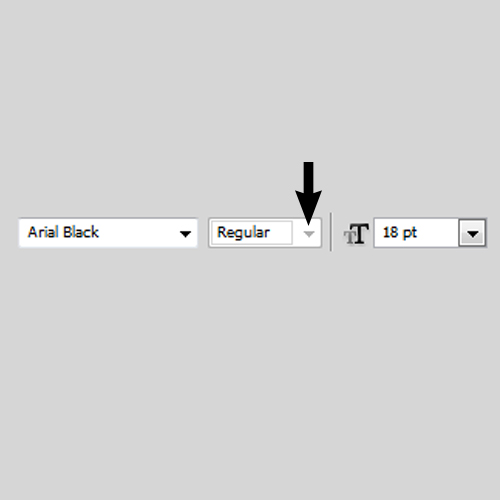
Select the style you need from the list. The style choices you’re given will depend on the font.
Choose The Font Size:
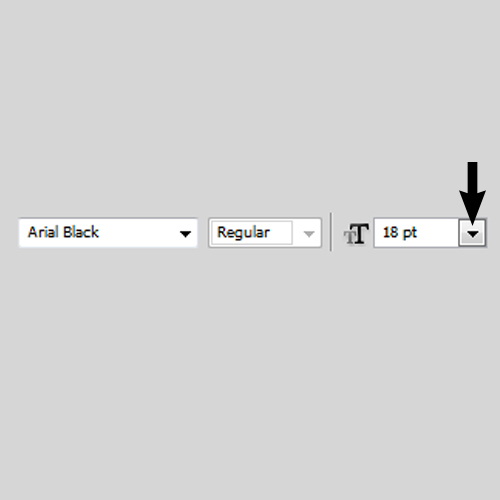
Choose the size for your font by clicking on the triangle to the right of the Size selection box:
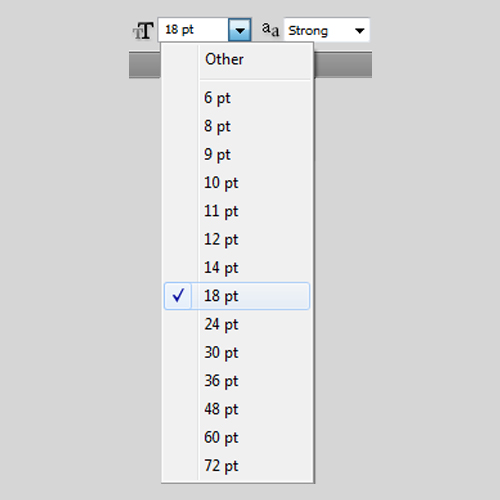
Now choose your font size from this dialog box. The font size ranging from 6 pt up to 72 pt:
Anti-Aliasing:
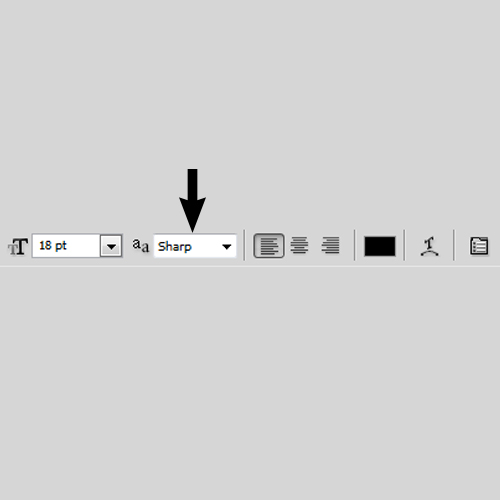
Anti-aliasing is used to keep the edges of the letters looking smooth. Without any form of anti-aliasing, most letters would appear blocky and jagged around the edges.
Alignment of the Text:
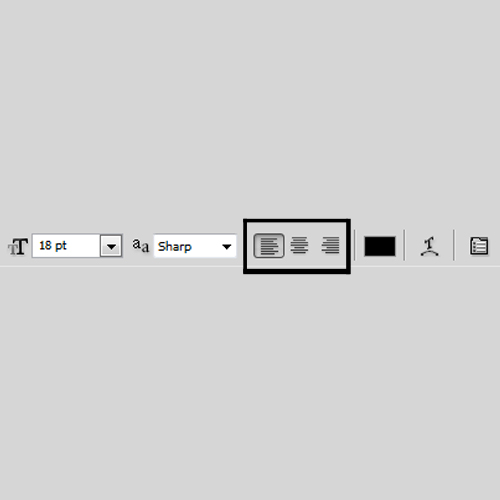
We can choose the alignment we need for our text using the Left Align Text, Center Align Text and Right Align Text options in the Options Bar. The Left Align Text option is selected by default:
Choose the Right Text Color:
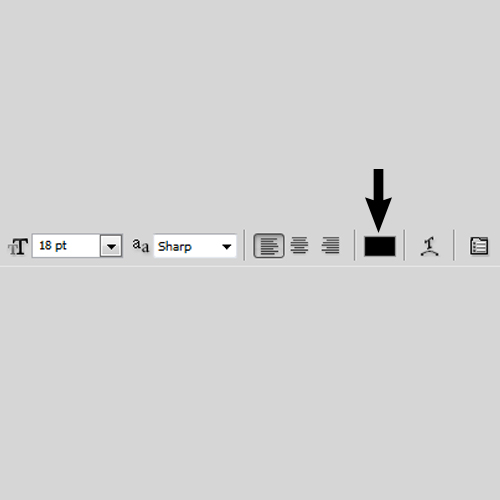
With this option you can change your font color. By default, the color is set to black. To change the color, click on the swatch:
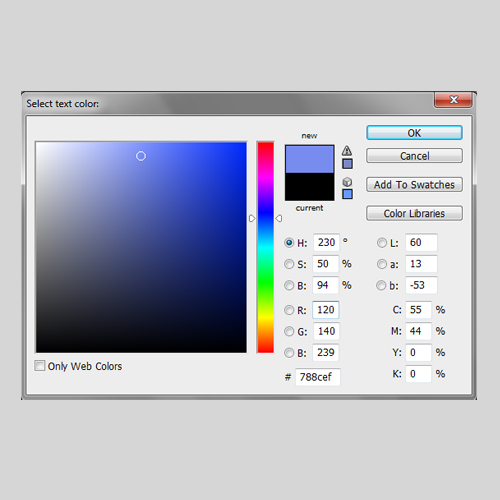
When you click on the color swatch then a box will be opened, now you can choose the any color with help of color picker as you like.
Editing the Text:
We can easily add and edit text at any time, just double-click on the Type layer’s thumbnail in the Layers panel:
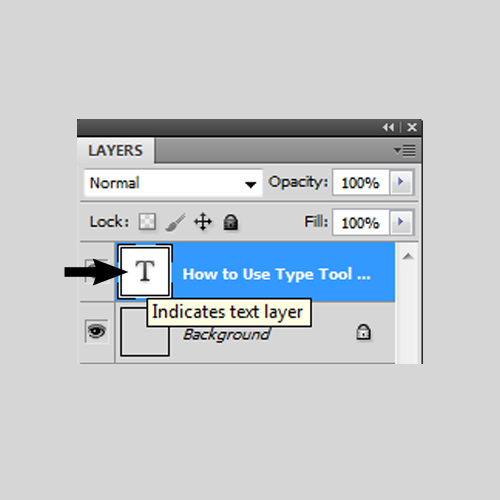
When you click on thumbnail then all text will select.
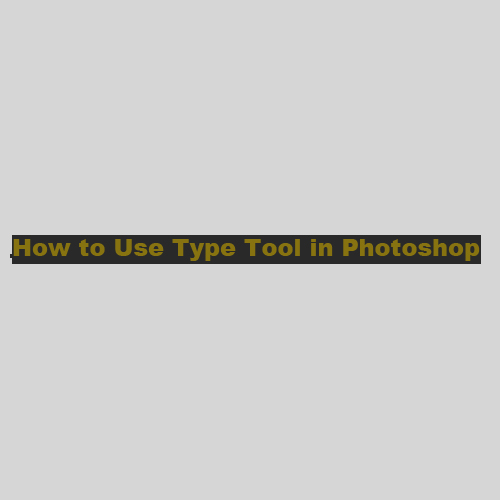
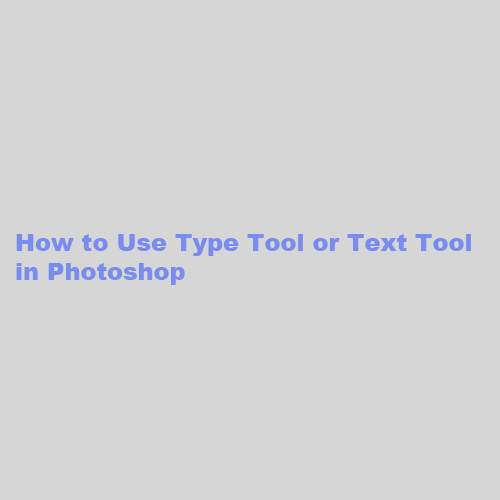
Now you can easy add or delete your text as like in preview.
I hope you have enjoyed this useful and helpful tutorial and you will have learn that how to use type tool in Photoshop. Don’t Forget to Follow TutorialChip on Twitter or Subscribe to TutorialChip to Get the Latest Updates on Giveaways, Tutorials and More for Free.