In this Photoshop tutorial, we are going to make a surreal smoking bird composition photo. Here we are using a bird image and Photoshop smoke brushes. We are quit sure that you will definitely like this Photoshop tutorial, and appreciate our awesome creation. So enjoy and remember to share your lovely comments with us.
Other photoshop tutorials:
- How to Create a Vector Composite Effect in Photoshop
- Create a Medieval Fantasy Themed Photo in Photoshop
- Create a Fantasy Photo Manipulation Tutorial in Photoshop
- How to Create an Out of Bounds Surreal Photo in Photoshop CS5
Tutorial details:
- Program: Adobe Photoshop CS5
- Difficulty: Intermediate
- Estimated Completion Time: 40 Mins
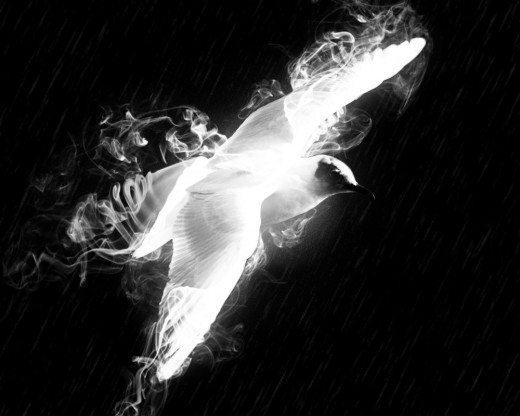
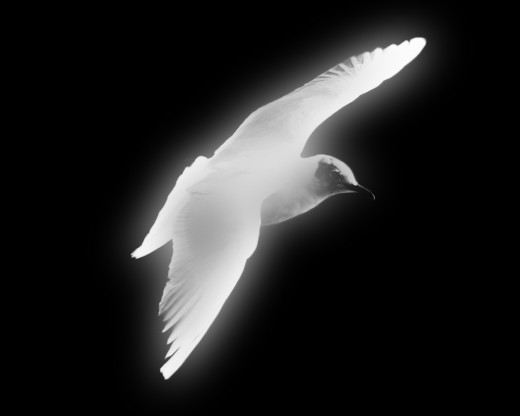
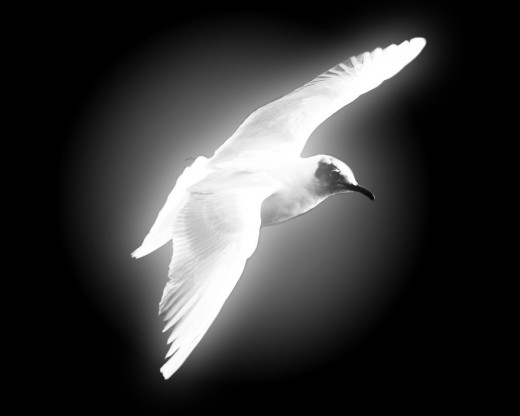
Inspirational Surreal Smoking Bird Composition – Final Preview
Tools and Resources
External Resources
Photoshop Tools
- Brush Tool
- Eraser Tool
- Gradient Overlay
- Polygonal Lasso Tool
Lets start to create our surreal smoking bird composition in photoshop.
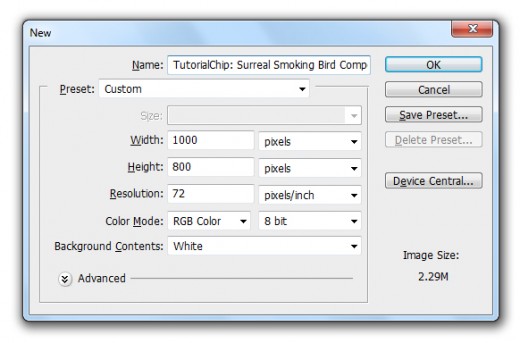
Step 1
Create a new document (Ctrl+N) with 1000×800 of size.
Step 2
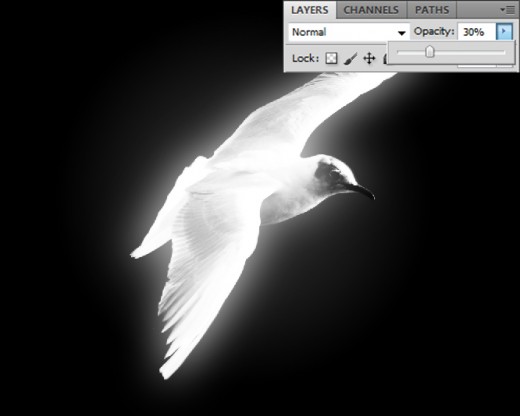
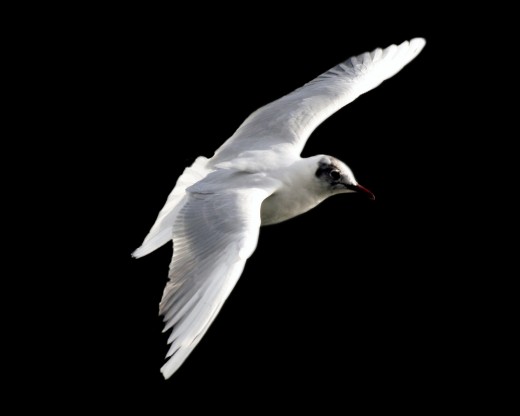
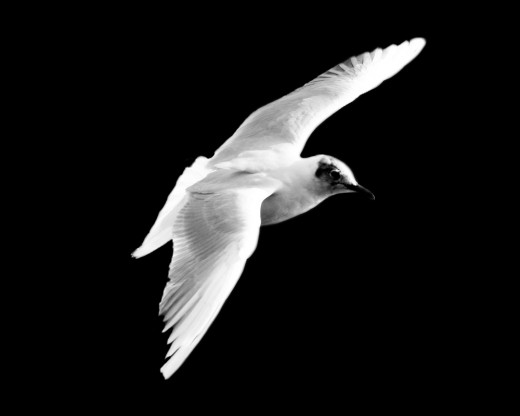
First of all fill background with black color #000000, now add the Flying Bird Image in photoshop.
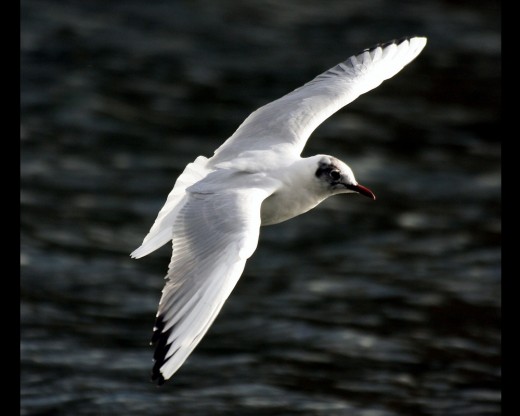
Rasterize bird image select Polygonal Lasso Tool from tool panel and make a selection around the bird as like in preview.
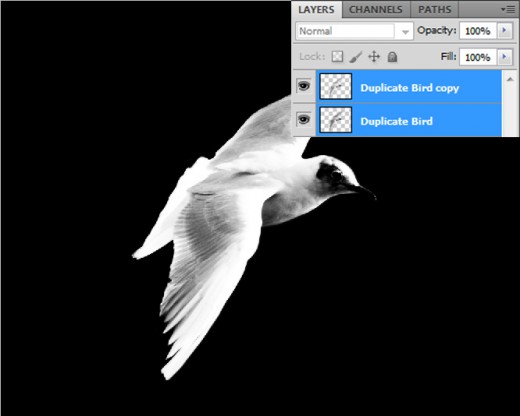
After make selection press (Ctrl+J) to duplicate the selected area name it Bird then delete the original image and we get this result.
Step 4
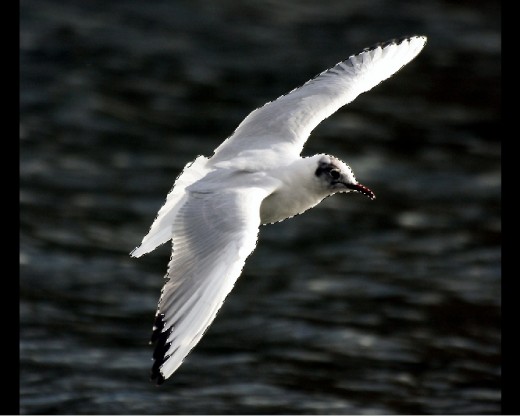
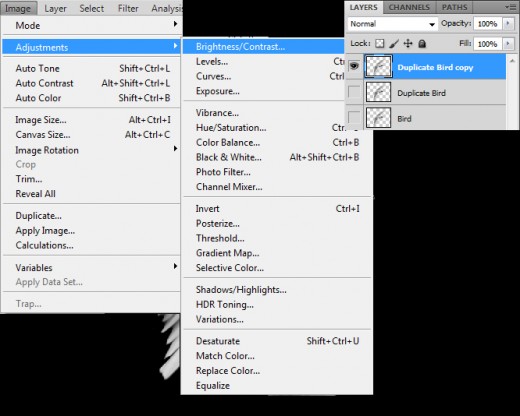
Now in this step duplicate the bird layer name it 1st Duplicate, hide the original bird layer and applying Hue Saturation on 1st duplicate bird layer.
Go to Image > Adjustment > Hue Saturation.

After set hue saturation we get cool effect on 1st duplicate bird layer.
Step 5
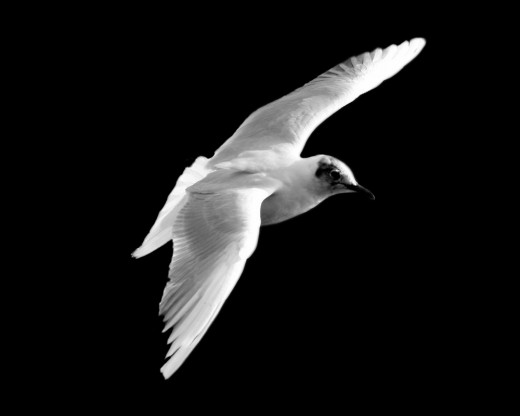
Here now duplicate the 1st duplicate bird layer name it 2nd Duplicate hide 1st duplicate layer and set the Brightness and Contrast of 2nd duplicate layer.
Go to Image > Adjustment > Brightness and Contrast.
Brightness and contrast penal opened, now set Brightness (27) and Contrast (34).
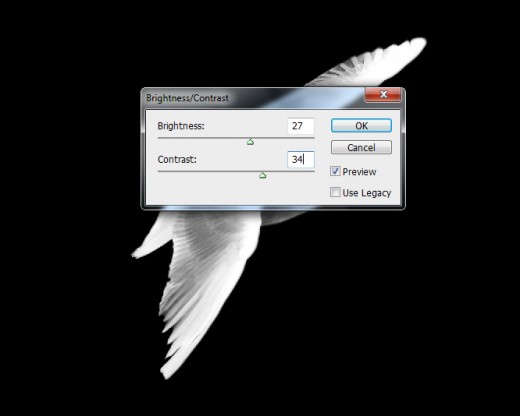
After brightness and contrast setting we get this new result.
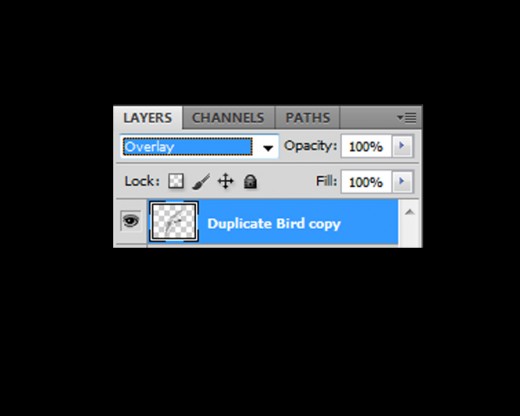
Set Blend Mode to (Overlay) of this 2nd duplicate layer.
Step 6
Now unhidden 1st duplicate layer, select both 1st and 2nd duplicate layers and merge them
(Ctrl+E).
After Merge both layers now duplicate this merge layer and applying Gaussian Blur on duplicate merge layer.
Go to Filter > Blur > Gaussian Blur.
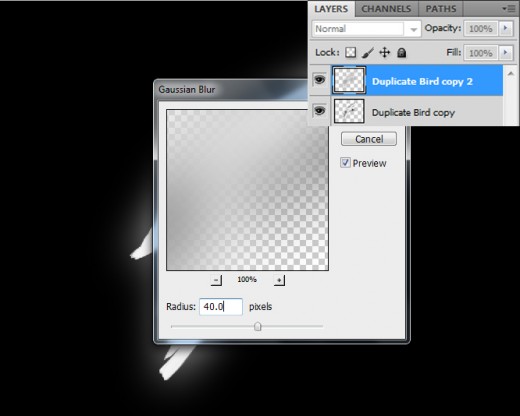
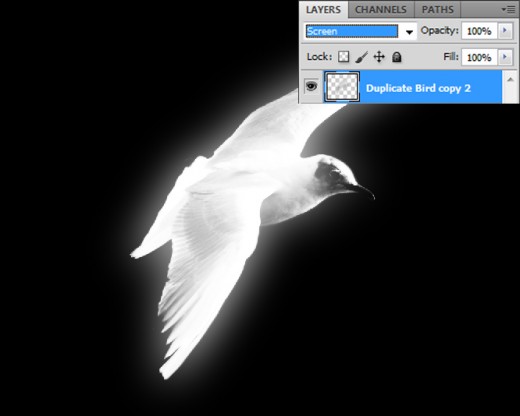
After applying gaussian blur we get this result.
Set Blend Mode to (Screen) of this blur layer.
Step 7
Now create a new layer bottom of all layers (Shift+Ctrl+N) applying Radial Gradient on this layer, set gradient white to transparent as like in preview.
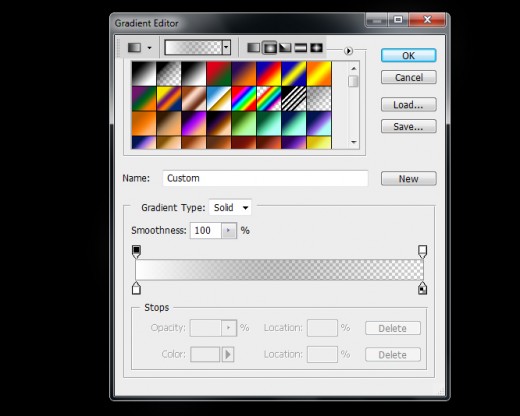
After applying gradient we get this new result as like in picture below.
Set Opacity (30%) of this gradient layer.