I am going to write tutorial of Photoshop Glowing Effect today after sharing Photoshop Navigation Bar and Photoshop Button tutorials. It will take you approximately 30 minutes to be master in glowing effect.
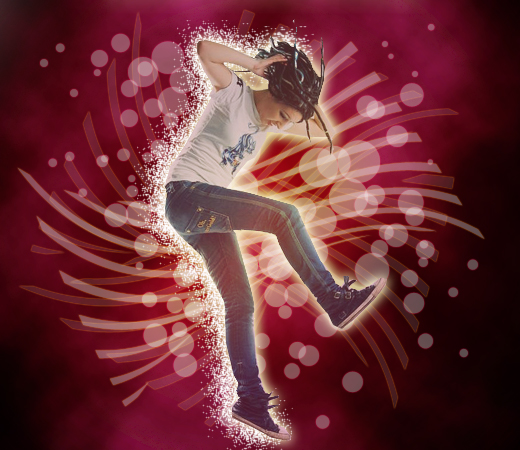
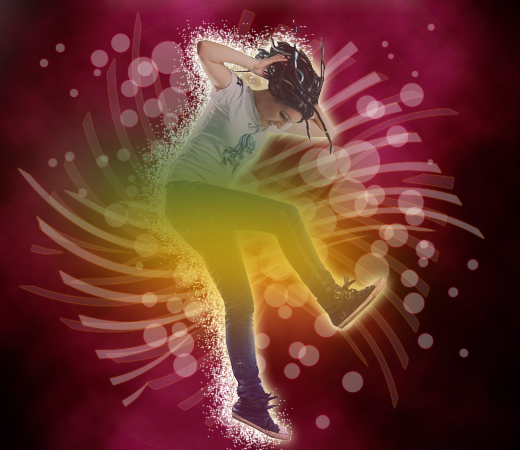
I have used “DnB step girl” as a Sample Image from flickr for creating this stunning and cool glowing effect. Lets take a quick preview first on the final result.
Final Preview
Let’s start for our brilliant creation.
Step 1
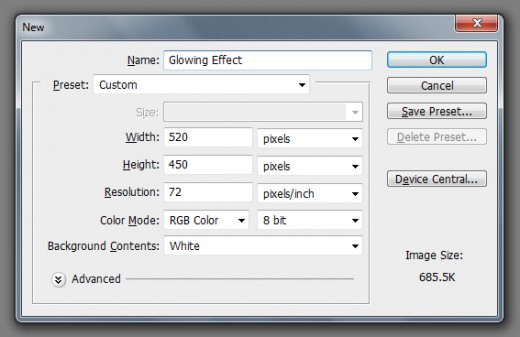
Open Adobe Photoshop, and create a new Photoshop document. I am going to create a new document of 520 x 450 px with white background.

Step 2
- Change the background color to #000000.
- Adjust our sample image as in the following preview.
- Name the sample image layer “DnB step girl”


Step 3
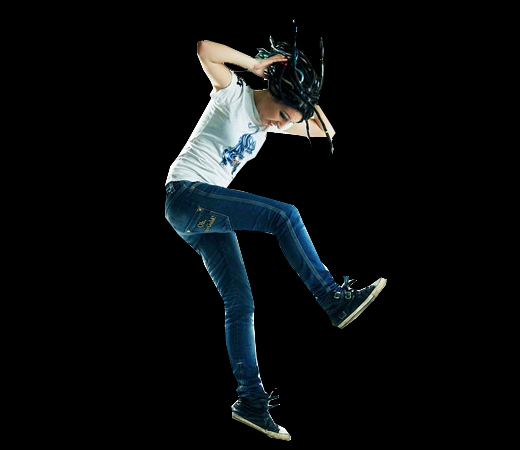
- Remove the background of Sample Image by using suitable Lasso tool. I have used Polygonal Lasso Tool to gain the following effect.

Step 4
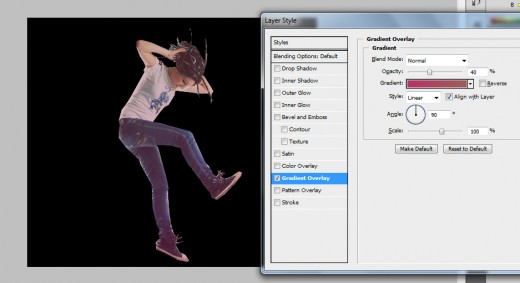
Apply the Blending Options to the Sample Image
Gradient Overlay
- Blend Mode: Normal
- Opacity: 40%
- Gradient Color: #b53564 #9d5c5b
- Style: Linear
- Angle: 90
It will look like this after applying Gradient Overlay.

Step 4 Preview


Step 5
- Create a new layer between the background and the Sample Image. Name this layer “Glow Gradient”.
- Set the Foreground Color: #640618
- Select the Gradient Tool
- Use “Foreground to Transparent” in Radial Gradient mode.
- Gain the following effect by applying it.


Step 6
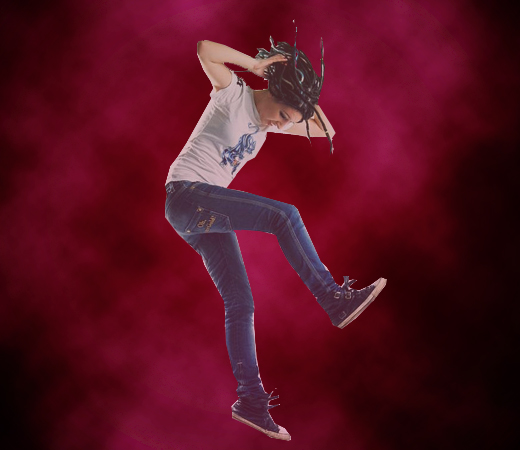
- Create a new layer above the “Glow Gradient” and name it “Cloud Filter”.
- Apply the “Cloud Filter” via Filter > Render > Clouds menu.
- Set the “Cloud Filter” layer to the “Soft Light”.
- Duplicate the “Cloud Filter” layer to get the following effect.
Layer View


Step 6 Preview

Step 7
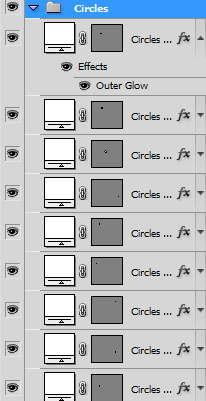
- Create a new Folder below the Sample Image. Name it “Circles”.
- Create a new Layer within circles directory and name it also “Circles”.
- Set the Foreground color: #FFFFFF.
- Use Ellipse Tool and create a circle. You can hold Shift key to make the perfect circle.
- Adjust the fill to 30%.
Apply this Blending Option
Outer Glow
- Blend Mode: Screen
- Opacity: 100%
- Color: #62051b
- Spread: 6
- Size: 2
Duplicate Layer Circle
- I have made 20 copies of layer “Circles”.
- Make sure to have circles of different dimensions.
- Make sure to place circles at different locations.
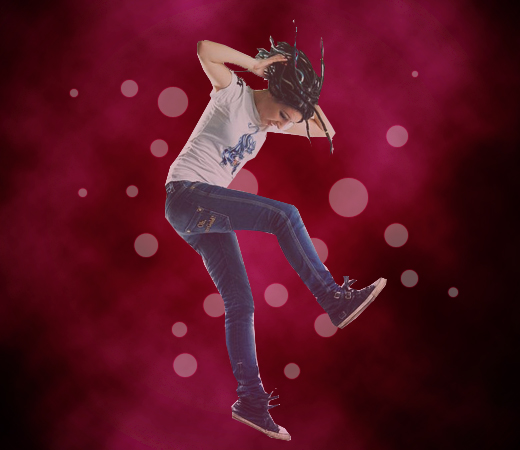
Effect will be like this,
Layer View

Step 7 Preview

Step 8
- Duplicate “Circles” group. I have made 4 copies of “Circles” folder.
- Make sure to adjust each folder at different location with the help of “Move” tool.
- You may scale some “Circles” group to gain effect of your desire.
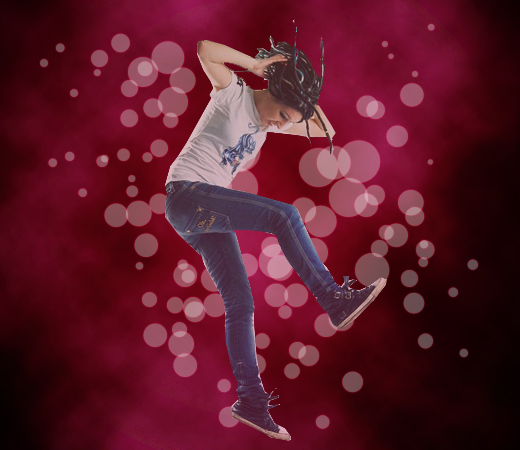
Output will be like this,
Layer View
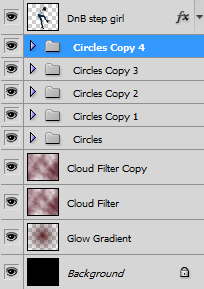

Step 8 Preview

Step 9
- Create a new layer below the Sample Image and name it “Glow Spikes”.
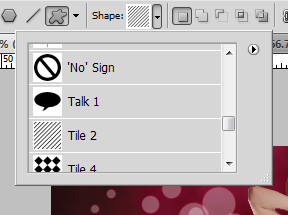
- Choose the Custom Layer and select “Tile 2”.
- Draw a shape over the picture.
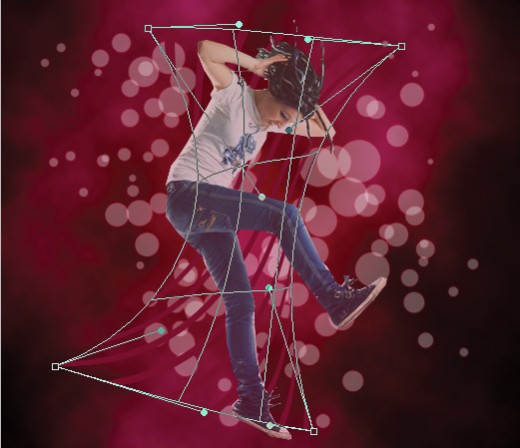
Attain the following effect by wrapping the Tile. Edit > Transform > Wrap


Apply this Blending Option
Outer Glow
- Blend Mode: Screen
- Opacity: 100%
- Color: #603503
- Spread: 6
- Size: 2
Let attain the following effect by rotating “Glow Spike” layer. Edit > Transform > Rotate
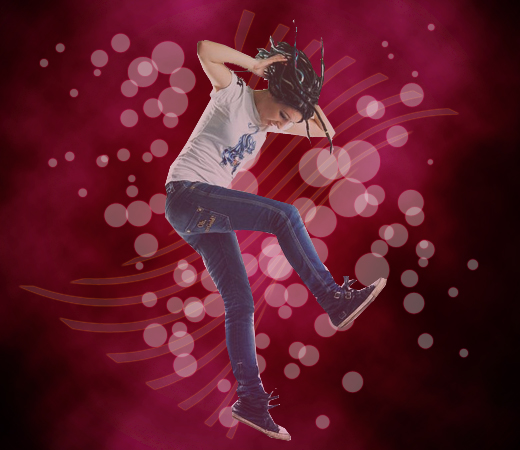

Let duplicate the “Glow Spikes” layer.
- I have made tow copies of “Glow Spikes” layer.
- Rotate the Second and Third layer to get the following effect.
- First Layer Fill: 10%
- Second Layer Fill: 30%
- Third Layer Fill: 10%
Layer View
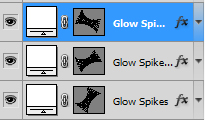

Step 9 Preview


Step 10
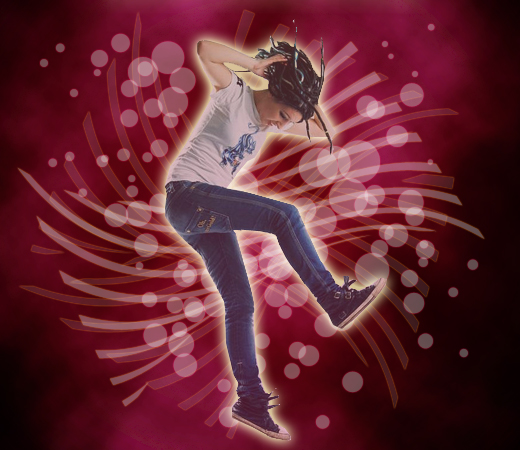
Select Sample Layer, and Apply this Blending Option
Outer Glow
- Opacity: 75%
- Color: #ffffbe
- Spread: 0%
- Size: 15
You have the following preview

Step 11
Create a new layer below the Sample Image an name it “Splatter 59”. Follow the simple steps,
- Set the Foreground coloe to #FFFFFF
- Choose the Brush Tool.
- Set the brush to “Splatter 59 Pixels”.
- Now apply the brush on the right side of the Sample Image to attain the following effect.
Brush View
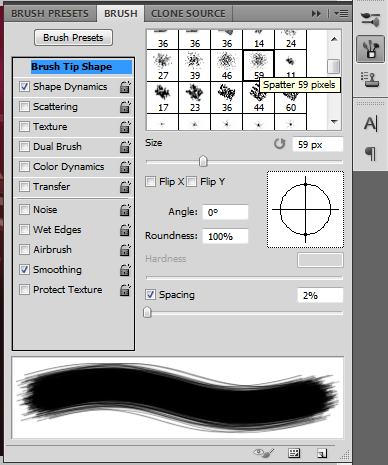

Step 11 Preview


Step 12
Create a New Layer above the Sample Image and name it “Color Highlight”.
- Choose Brush Tool (B) then adjust the brush to Soft Round 30 Pixels.
- Make the following Horizontal lines by using four colors.
- Colors: #fecd04 #d99904 #5c8016 #2e5a37
It will like this,
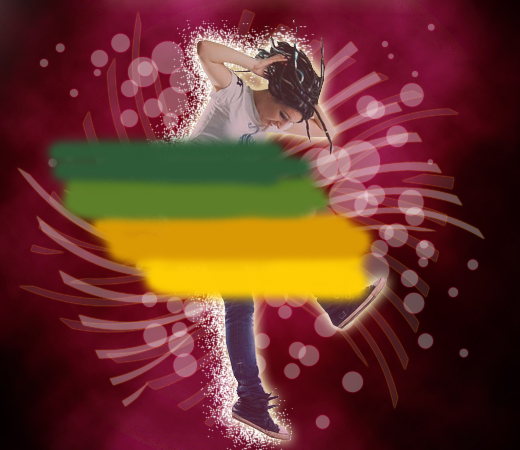

Step 13
- Go to Filter > Blur > Gaussian Blur.
- In the Gaussian Blur, set the radius to 25 pixels.
Preview will

Step 14
- Set the layer to “Color Dodge”.
- Opacity: 45
- Rotate to adjust the position of the Color Highlight. Edit > Transform > Rotate
Finally, we have completed the tutorial and learn to create a stunning glowing effect to our Sample Image.


I hope you have enjoyed the tutorial, and don’t forget to subscribe your email to stay up-to-date with incoming tutorials.
I am Graphics Designer & Prints Media/ID Dreamer….. I love to learn more of Web Designs and Video and perfect Graphic Designs as in Photoshop and illustration.