Many creations that we can make in Photoshop. Various ideas and creativity have graced. If you’re interested in learning some new skills, whether you’re a beginner, intermediate or advanced user, this Photoshop tutorial is for you.
Today we are creating a melting text effect tutorial in Adobe Photoshop. Lets start to made a melting effect.
Other useful photoshop tutorials:
- Photoshop Smoke Text Tutorial in 10 Minutes
- Professional Photoshop Text Effects Tutorials
- Well-Explained Fire Text Effect Tutorial in Photoshop
- Photoshop Tutorial: Learn Layered Text Effect in Simple 5 Steps
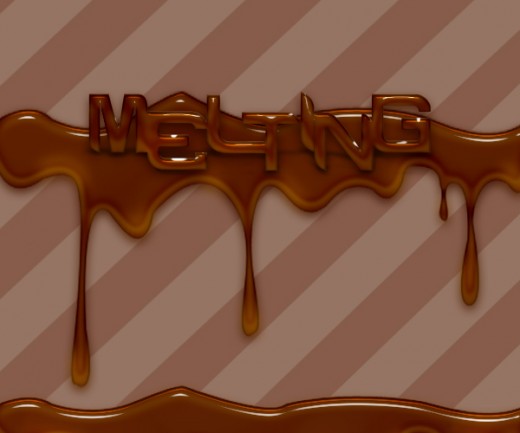
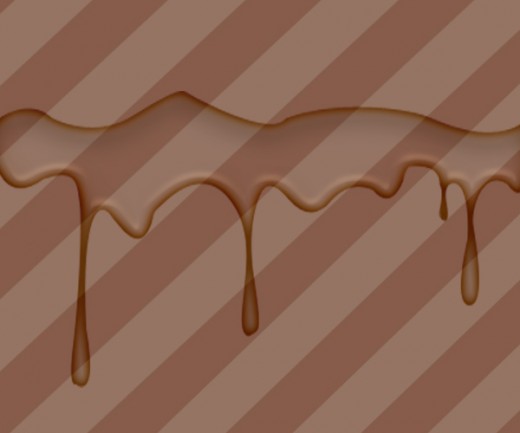
Create A Melting Effect In Photoshop: Final Preview
Tools And Resources
Photoshop Tools
- Rectangle Tool
- Pen Tool
- Text Tool
Lets start to create a melting effect,
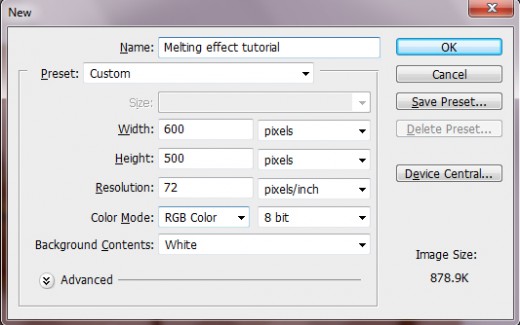
Step 1
First of all open adobe Photoshop and create a new file ( Ctrl+N) chose the size of the file 600 width x 500 height or any size.
Step 2
Chose the paint panel and select the background color. I am selecting the color #865c4a.

Step 3
Select the Rectangle Tool and draw a rectangular with the color #957464 as like show in preview.
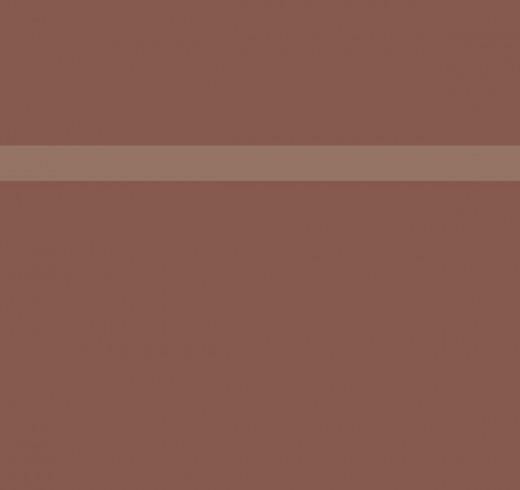
Now duplicate the layer 5 or 6 time and rotate one by one to set like zebra crossing as in preview.

Step 4
Now create a new layer and select the Pen Tool to create a melting shape any color. Named it layer liquid and set it where looking good.

Step 5
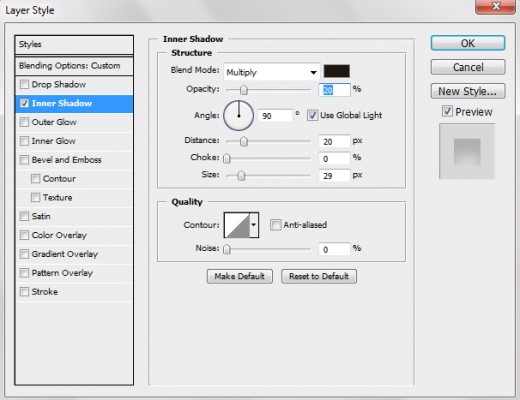
Now duplicate the liquid shape layer 4 time, now all liquid shapes layers Fill 0% and select the first Liquid layer then apply some implements.
Go to blending options apply Inner shadow with the color #1d170d.
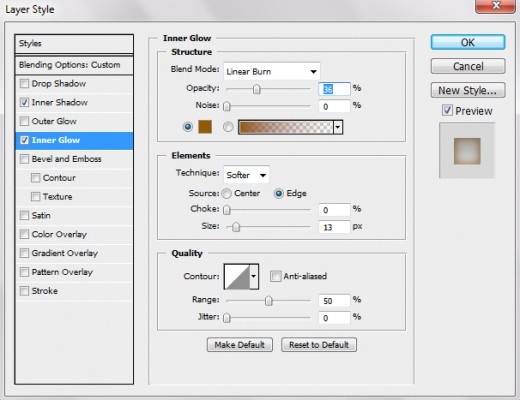
Inner Glow With color #935a00
Apply Bevel And Emboss with highlight mode color #ffe4ad and shadow mode color #ccaf76
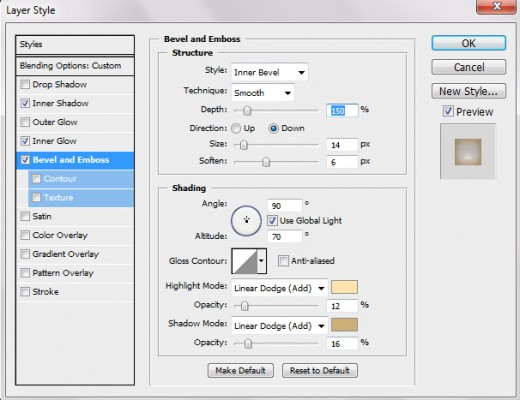
Set bevel Contour.

Set satin with color #6f3d00.
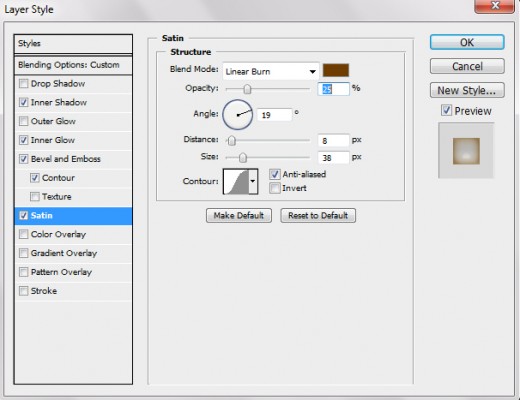
After apply some effect we get awesome preview.
Great outcome, shiny, liquid looking chocolate! Very well described, especially the Blending Modes in the Layer Styles (advanced?). Thanks for the Tutorial…keep it up!
Jürgen
Great ! Thank this tutorial useful
The result is great, the chocolate effect is amazing. I could use this tutorial to create some “chocolated” text for my own sote. Bravo!