In this tutorial we will demonstrate some easy steps to help you to create your own shiny folder icon in Photoshop. These steps can be easily modified to produce a folder icon for your website.
Other useful photoshop tutorials:
- Best 3D Effects Adobe Photoshop Tutorials
- Tutorial: Create a Rainbow Effect in Photoshop
- Excellent Lighting Effect Tutorial in Photoshop
- Create a Mysterious Space Photo Manipulation in Photoshop
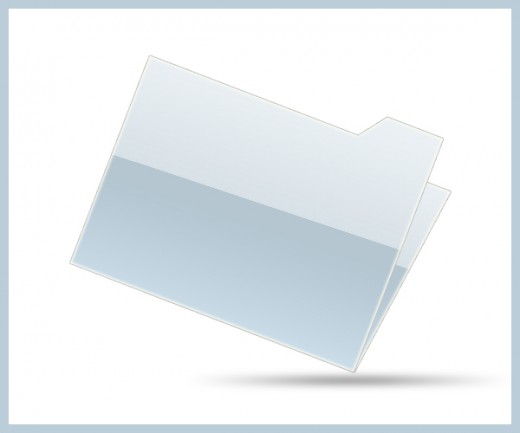
Creating a Shiny Folder: Final Preview
Tools and Resources
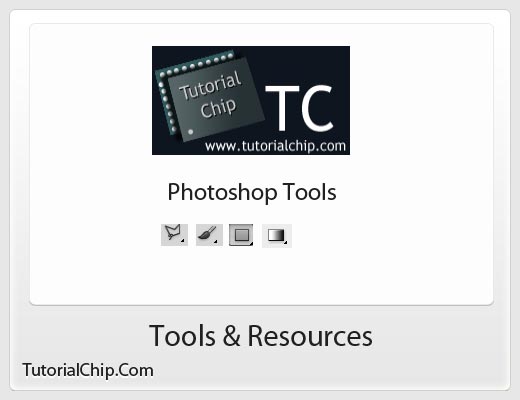
Tools
- Polygonal Lasso Tool ( L )
- Brush Tool ( B )
- Rectangle Tool ( U )
- Gradient Tool ( G )
Lets start to create our shiny folder,
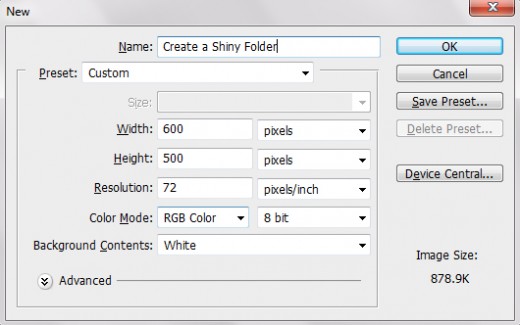
Step 1
Open Adobe Photoshop, create a new file ( Ctrl+N ) (width 600) x (height 500) with white color #ffffff.
Step 2
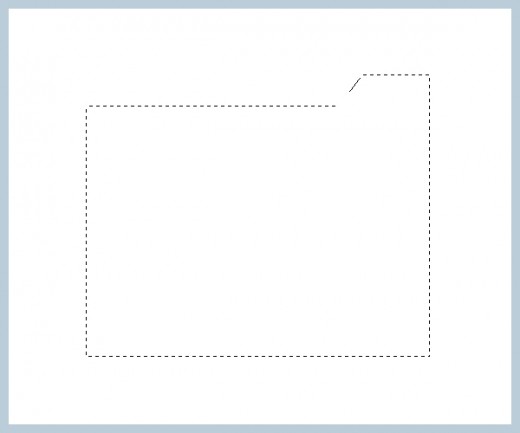
Create a new layer named it Folder, select Polygonal Lasso Tool ( L ) and create a shape like shown in preview.
Step 3
After creating folder shape, select any soft or hard brush tool ( B ) and paint the color in folder layer, chose any color as you like, but I am choosing black color #000000.

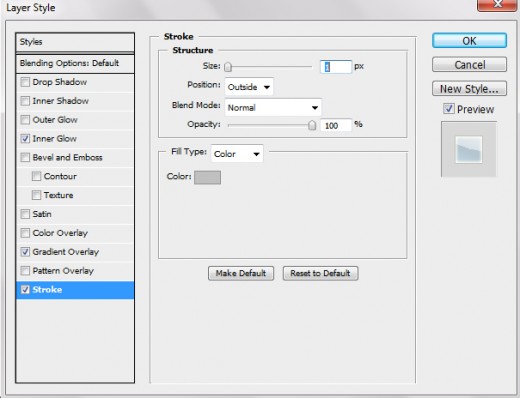
Step 4
Now I am going to blending option and applying these effects.
Gradient Overlay.
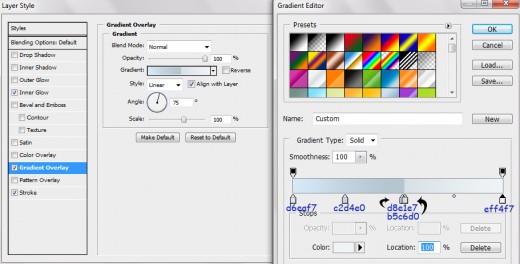
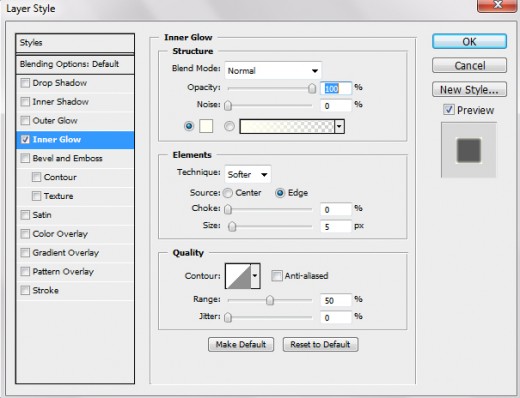
Inner Glow with color #fffff2
Stroke with color #c0c0c0.

After applying these blending options we get an awesome effect in the following preview.

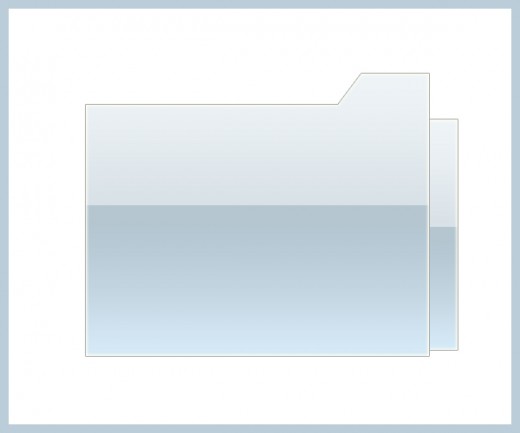
Step 5
Now after applying all blending option on folder shape layer. Now we create a new layer, select the Rectangle Marquee tool (M) and draw a rectangle as like in preview.
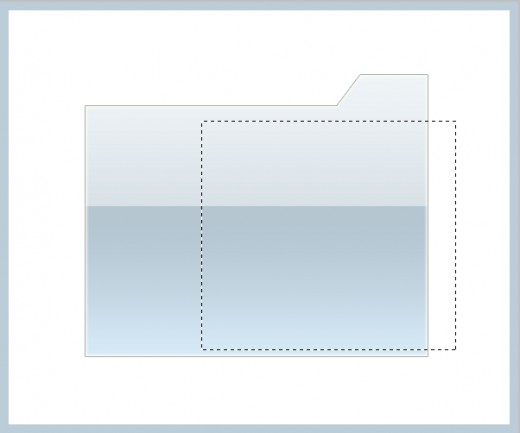
Select any soft or hard brush and fill it any color, I am filling this layer with black color #000000. Set this layer down to folder shape layer ( Ctrl+[ ) as like in preview.
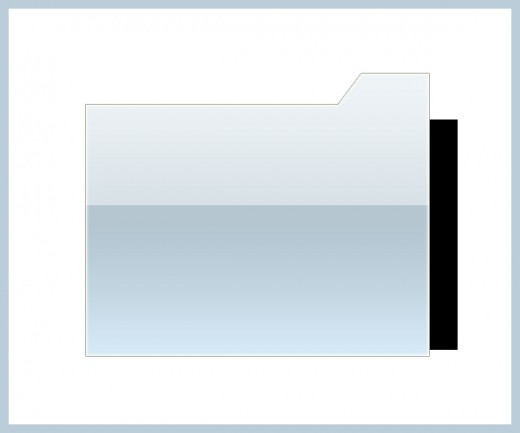
Step 6
Now go to blending option and apply some effects on current layer.
Inner Glow with color #fffff2.

Gradient Overlay.

Stroke with color #c0c0c0.
After applying these all blending options we get cool effect as shown in preview.