Photoshop is a powerful tool that gives a flexible ability to designers for the creation of some amazing, dazzling and beautiful effects. So today, in this tutorial I am going to share with you that how to draw a shoes box in Photoshop CS5. You can create any 3D box with these very helpful techniques. I hope you will like this cool tutorial. Feel free to share your comments with us.
You may also like:
- Create a Fantastic Retro Radio Using Photoshop CS5
- Design a Cool WordPress Logo in Photoshop CS5
- Creating a Watercolor Painting Effect in Photoshop
- Learn How to Create a Glass in Photoshop CS5
Tutorial details:
- Program: Adobe Photoshop CS5
- Difficulty: Intermediate
- Estimated Completion Time: 20 Mins
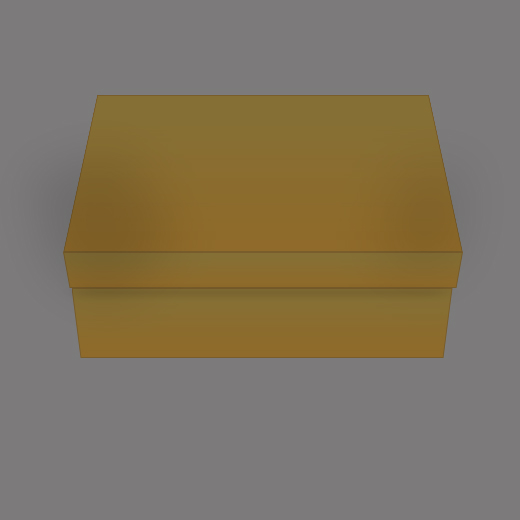
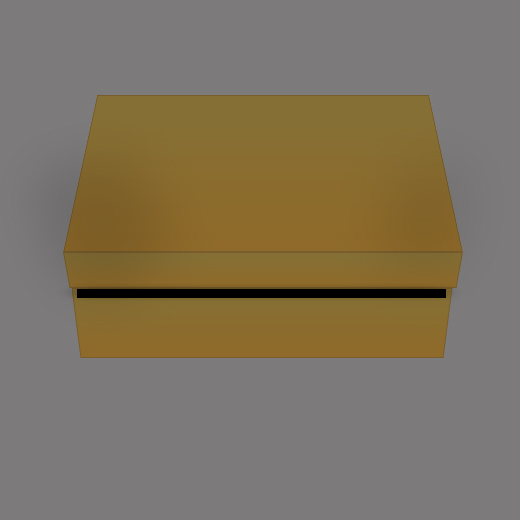
Shoe Box Tutorial in Photoshop: Final Preview
Tools and Resources
Photoshop Tools
- Rectangular Marquee Tool
Lets start to create our cool shoes box in photoshop.
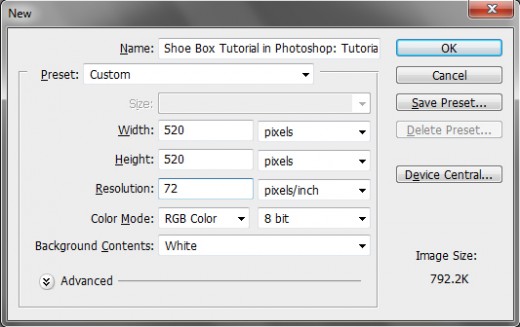
Step 1
Create a new document the size you want your shoe box to be, and fill with any color as you like.
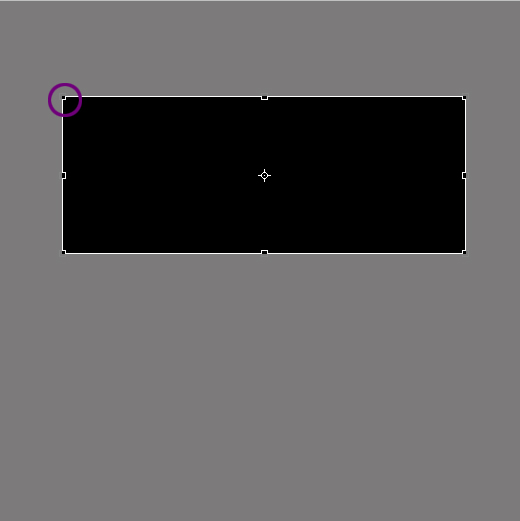
Step 2
Take a new layer name it “Box-1”. Select the rectangular marquee tool and create a simple rectangle with black color.

Step 3
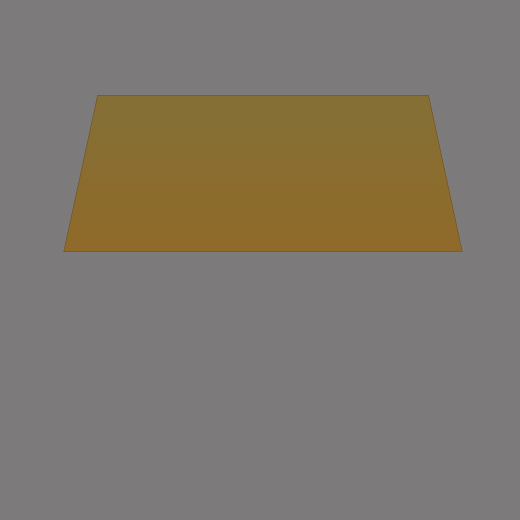
Go to Edit > Transform > Perspective, select the top left corner and drag towards the right untill you have something.
After applying perspective option, we have get a cool effect as like in preview below.

Step 4
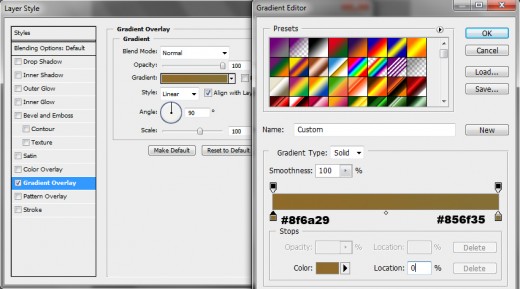
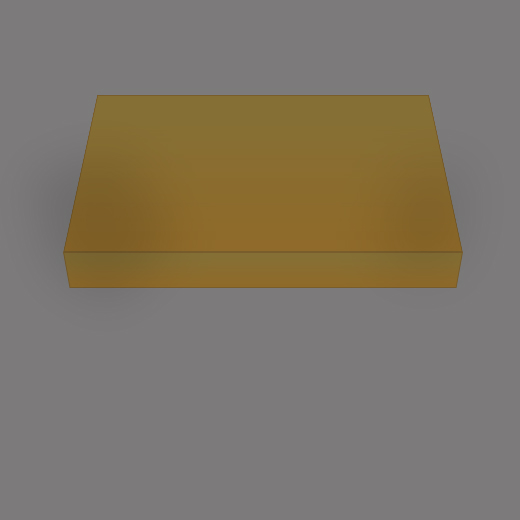
Now in this step we will add gradient overlay and stroke on this layer, follwo these steps.
Gradient Overlay:
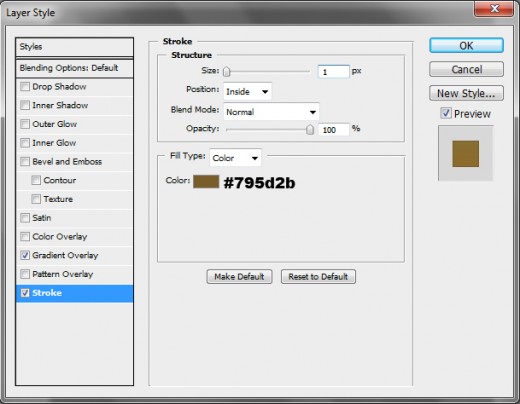
Stroke:
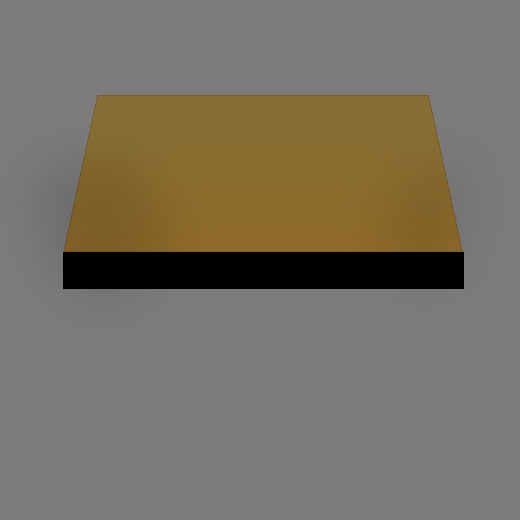
After applying layer styles we have get new effect.
Step 5
Choose the once again rectangular marquee tool, take a new layer name it “Box-2” create another rectangle like this.
Step 6
Once again go to Edit > Transform > Perspective in this time using the bottom left achor point drag inwards untill you have something like this.
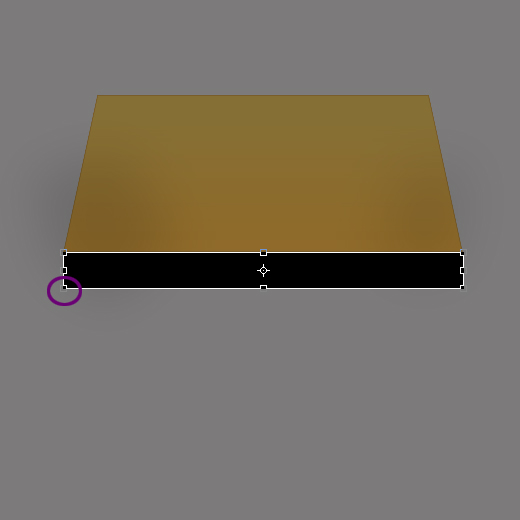
After applying perspective option, we have get a very amazing effect as like in picture.

Step 7
In this step we will again applying gradient overlay and stroke. Please follwo the same steps as like step 4.
Step 8
For completing the shoes box, again select the rectangular marquee tool and take new layer name it “Box-3” create a simple rectangle with black color.
Go to Edit > Transform > Perspective. Prespective this rectangle as like in screenshot below.
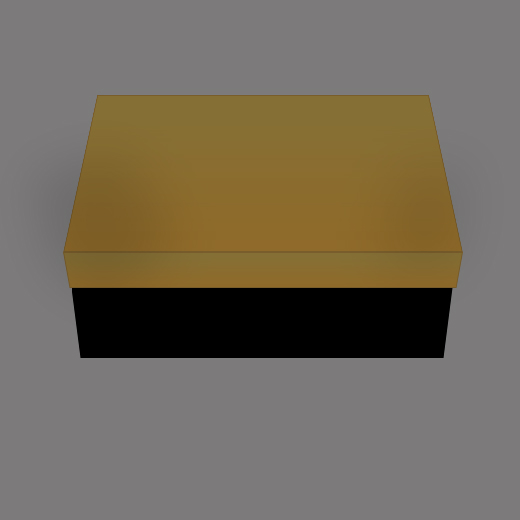
Now gain applying blending options as like Step 4 above.
Step 9
Create new layer middle of the Box-2 and Box-3. Name it layer Box-4, draw a 3 to 4 pixle rectangle as like in preview.
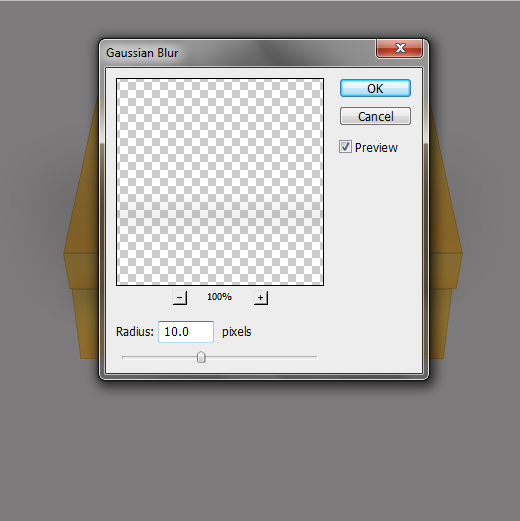
Step 10
In this step we are applying Gussain Blur Filter. Go to Filter > Blur > Gussain Blur on Box-4 layer.
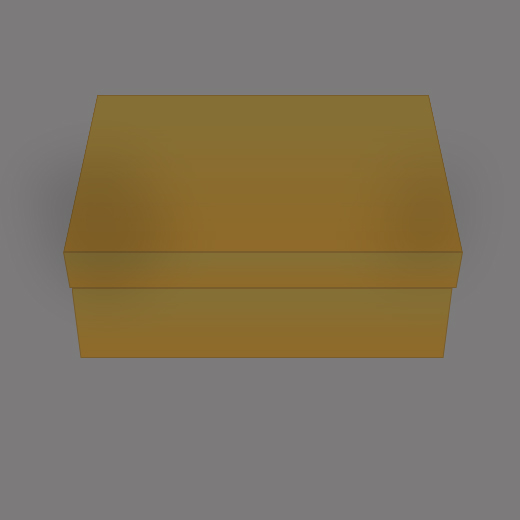
Now down opacity till 25% this rectangle under your middle section to act as a shadow. Finally we have successfully create our very awesome Shoes Box in Photoshop CS5.
Fianl Preview:
We hope you will definitely like this cool 3d like shoes box tutorial and always share your lovely comments with us. Follow TutorialChip on Twitter or Subscribe to TutorialChip to Get the Latest Updates on Giveaways, Tutorials and More for Free.