Step 6
After doing this procedure, create a new layer
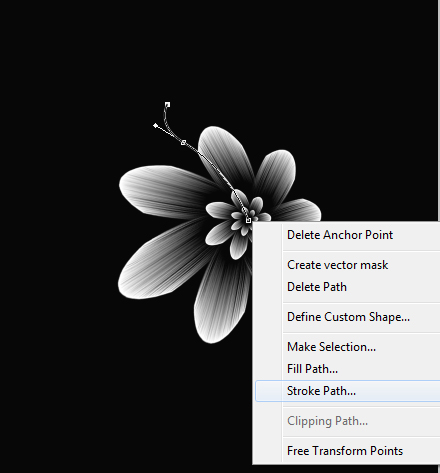
- Select the Pen Tool
- Create a path
- Chose the any soft brush size 3px with white color
- Again select the pen tool
- Right click on the path’s node
- Click on Stroke path
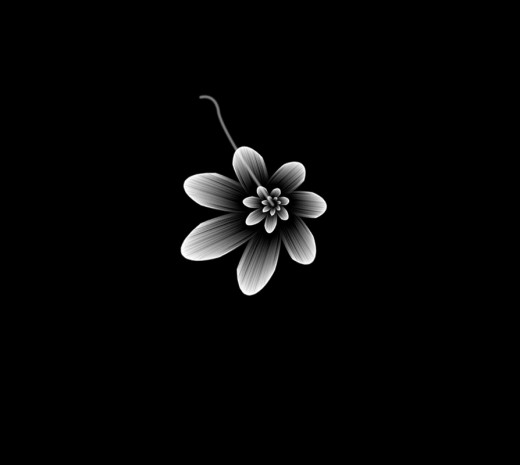
Create a filament on flower as shown in preview,
After complete this step, we get a amazing filament of flower.
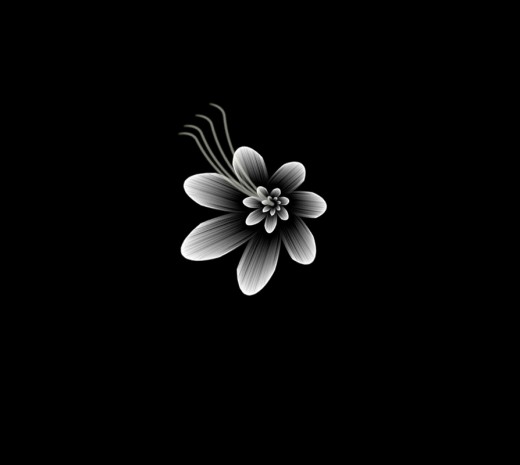
Now duplicate the layer three time and using the Transform tool set it as you show in preview.
Step 7
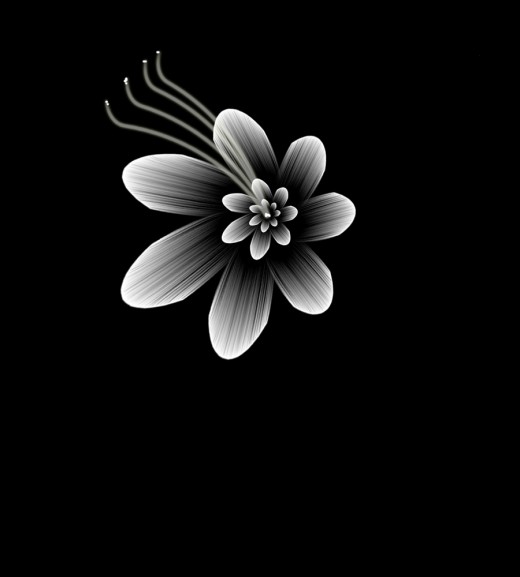
When you made the filaments,
- Select all filaments layers
- Merge the filament layers (Ctrl+E)
then create new layer and select brush tool of 4px and made these filament points.
Step 8
Now create a new layer to draw a flower steam,
- Select the Pen Tool
- Create a path
- Chose the any soft brush size 6px with white color
- Again select the pen tool
- Right click on the path’s node
- Click on Stroke path
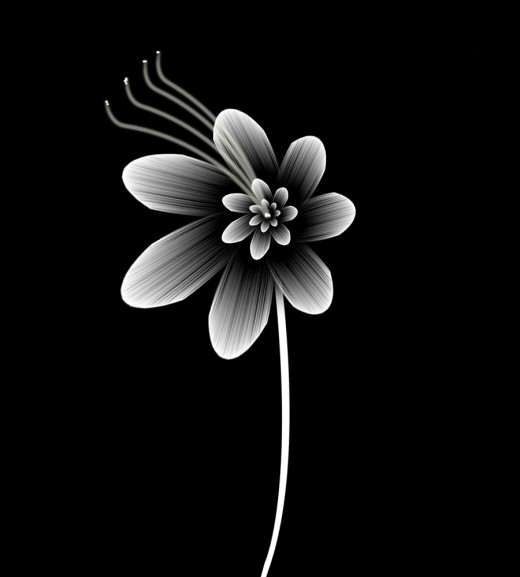
We have got a flower steam with white color;
Step 9
Go to the Blending option and apply same Outer Glow effect all the layers.
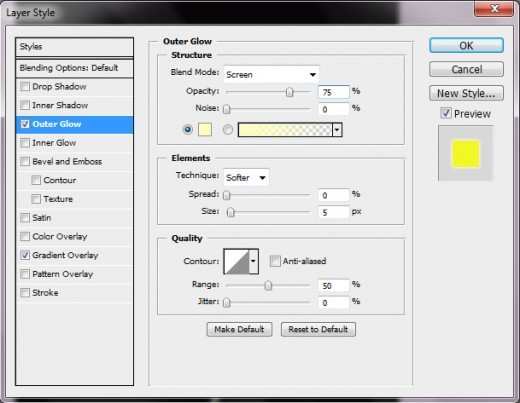
After applying the glow effect we got a new effect as in preview below,

Step 10
Here I am going to apply Blending option and the Gradient overlay on flower and then we are applying the steam color Green (# 79d56d)
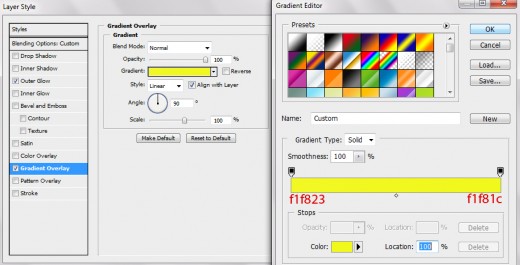
After apply Gradient overlay on flower you can see the result below.
Step 11
Now hide the flower layers and create a new layer and go to the brush tool select the Grass brush use it on bottom of the layer and then select the leaf brush and use it to create awesome effect like in the preview.

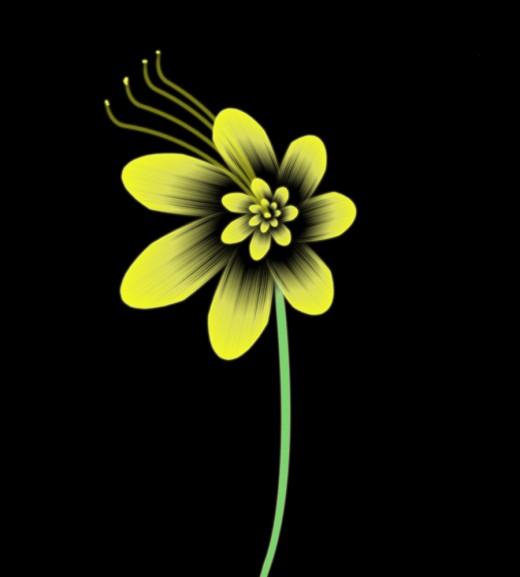
Now show the flower layers in which result you can see a beautiful yellow flower in final preview below.
Final Preview

I hope you have enjoyed this photoshop flower tutorial. Don’t Forget to Follow TutorialChip on Twitter or Subscribe to TutorialChip to Get the Latest Updates on Giveaways, Tutorials and More for Free.