Step 11
Create new layer select again Soft Brush (200px) and make a spot with this yellow color #bb9910 as like in picture below name it layer Yellow Brush.
Set Blend Mode to (Vivid Light) of this yellow brush layer.

Step 12
Now duplicate this yellow brush layer named it 2nd yellow brush layer and applying Motion Blur.
Go to Filter > Blur > Motion Blur.
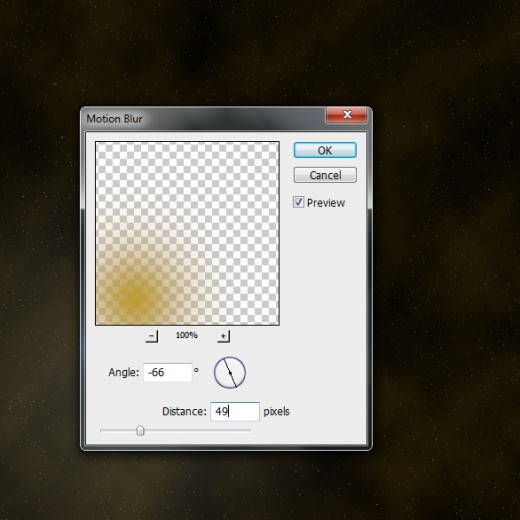
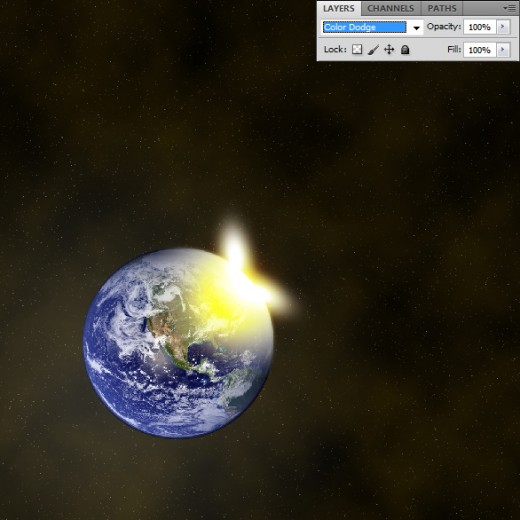
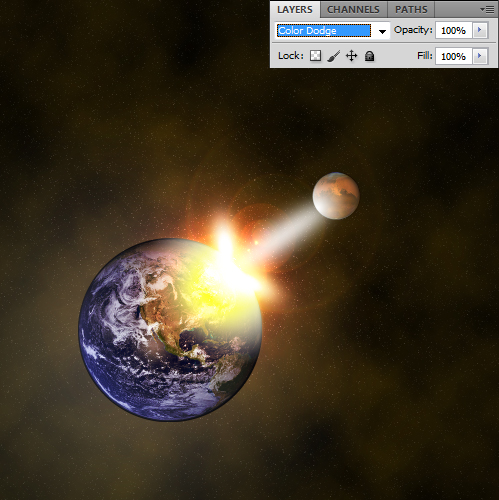
After applying motion blur set Blend Mode to (Color Dodge) of this 2nd yellow brush layer and we get new result.
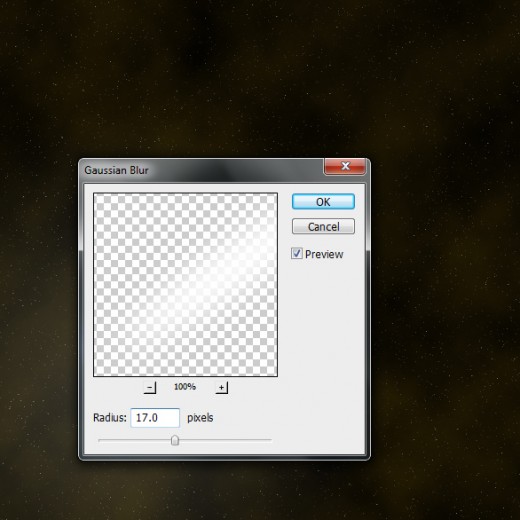
Step 13
Here duplicate this 2nd yellow brush layer named it 3rd yellow brush layer and applying Gaussian Blur.
Go to Filter > Blur > Gaussian Blur.
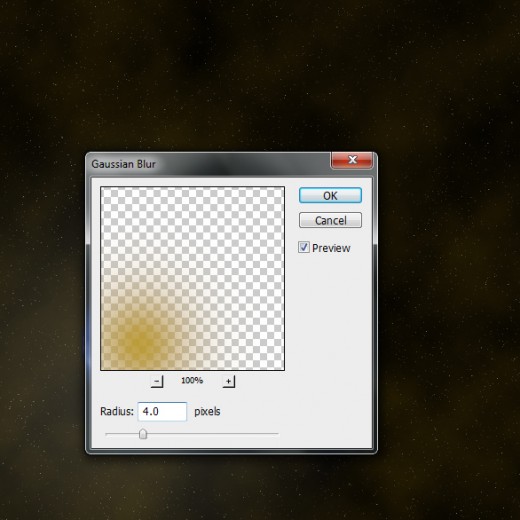
After applying Gaussian Blur we get this awesome result.

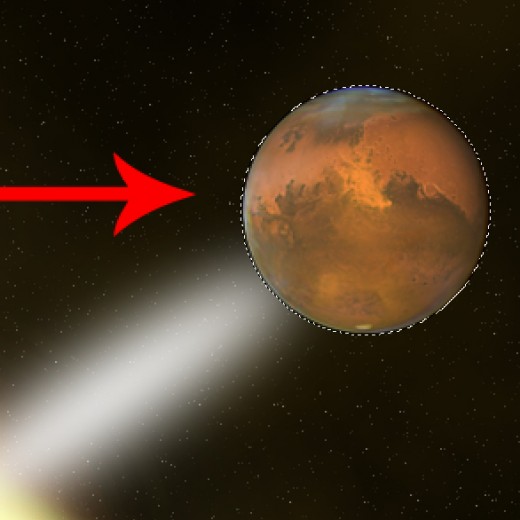
Step 14
Select Pen Tool from tool panel and create a path as like in picture below.

After creating path right click on path and select Make Selection option.

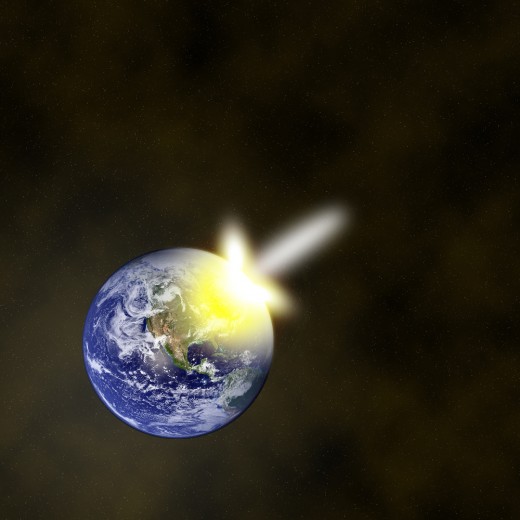
After make selection create new layer bottom of the NASA blue marble image layer and fill selection with white color #ffffff.

Press Ctrl+D to deselect the selection and set this layer back side of NASA blue marble image layer and name it layer White Light Layer.

Step 15
Now I am going to applying the Gaussian Blur on this white light layer.
Go to Filter > Blur > Gaussian Blur.
After applying Gaussian Blur we get cool effect on white light layer.
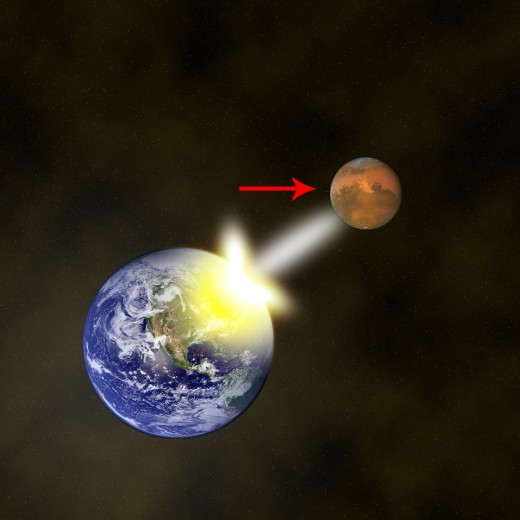
Step 16
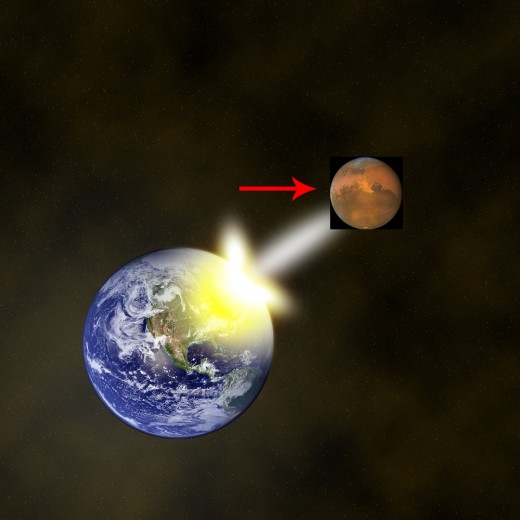
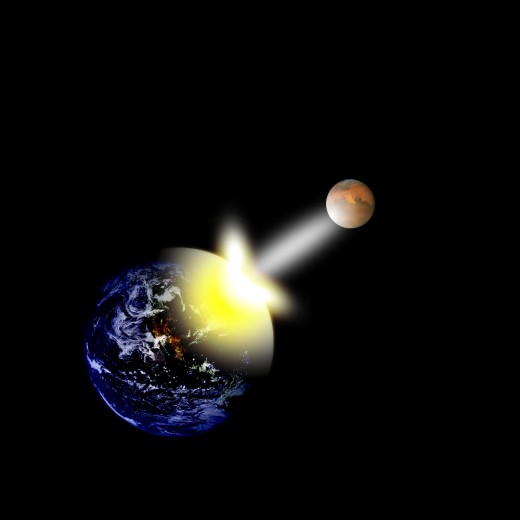
Now its time to add the Storm on Mars image in Photoshop.
Select the Elliptical Marquee Tool and make a selection on this storm on mars image layer.
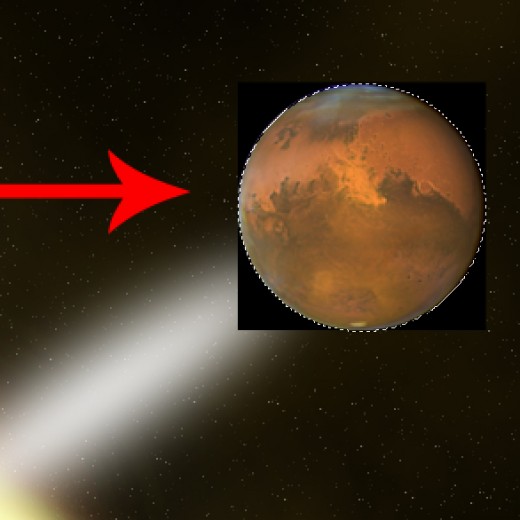
Press (Ctrl+Shift+I) to inverse the selection and hit Delete button to delete the unneeded area.
Now press (Ctrl+D) to deselect the selection.
Press (Ctrl+T) to transform it and minimize the size as like in preview.
After transform we get this result.
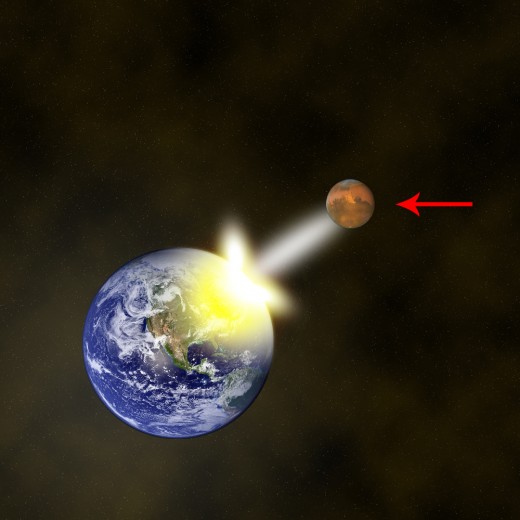
Step 17
Hold Ctrl key and click on the thumbnail of storm on mars image layer to make selection.

Create new layer top of storm on mars image layer, fill selection with Radial Gradient as like in picture below.

Press (Ctrl+D) to deselect the selection.

Step 18
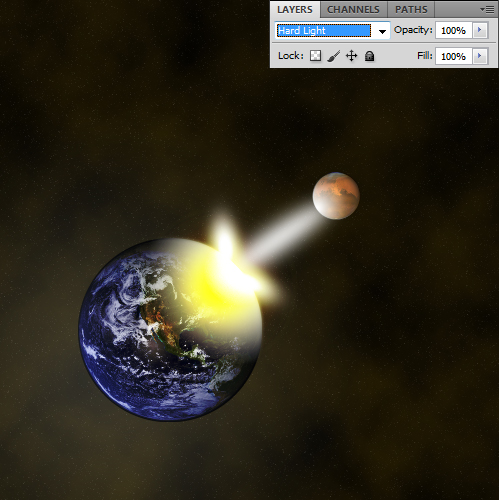
Select the NASA blue marble image layer and set the Blend Mode to (Hard Light) to make it more effective.
Step 19
Create new layer bottom of the NASA blue marble image layer fill with black color #000000.
Here I am going to applying Filter Render on this layer.
Go to Filter > Render > Lens Flare.
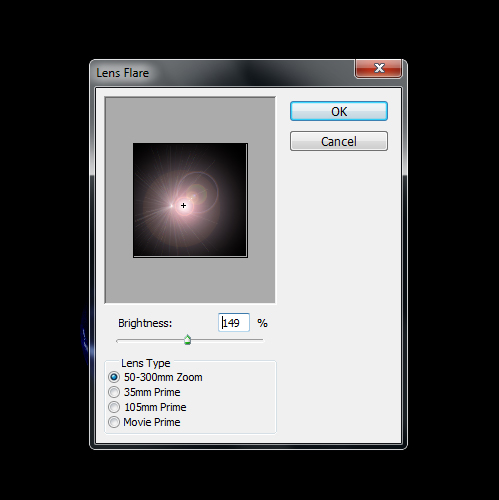
Now set the Blend Mode to (Color Dodge) of this lens layer.
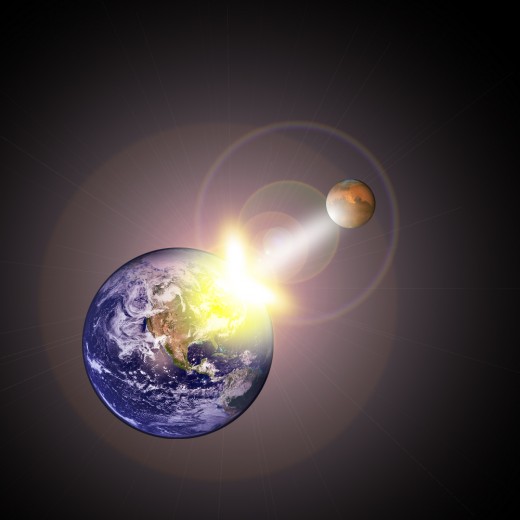
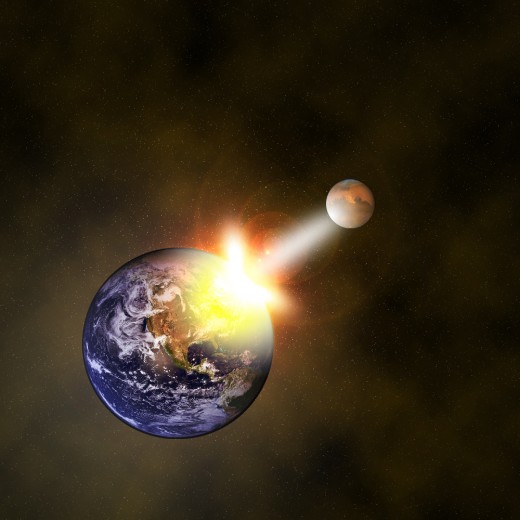
After this procedure here we have a awesome space explosion in final preview.
Final Preview
I hope you have enjoyed this useful space explosion tutorial. Never forget to share your comments with us. Follow TutorialChip on Twitter or Subscribe to TutorialChip to Get the Latest Updates on Giveaways, Tutorials and More for Free.